
This step-by-step guide shows how mimoLive, Boinx’s live switching software, and BoxCast work together.
What is BoxCast?
BoxCast is a live video streaming platform designed for broadcasters, organizations, and individuals to stream high-quality video content to a wide audience. It offers a comprehensive suite of tools for streaming, including scheduling, embedding, analytics, and viewer engagement features. BoxCast supports streaming to multiple platforms simultaneously, such as Facebook, YouTube, and custom websites, making it a versatile solution for live event broadcasting. Users can also benefit from its hardware encoder, which simplifies the streaming process and ensures reliable and professional-grade video transmission. Overall, BoxCast aims to make live streaming accessible and effective for various types of events and broadcasts.
How to stream to BoxCast.com from mimoLive?
BoxCast and Boinx now have a seamless integration with Boinx’s live switching software called mimoLive. Below are the following steps to start streaming in both these systems.
Please take note:
Originally written by Mindy Worley from boxcast.com

Overview
- You must schedule a broadcast in the BoxCast Dashboard. You can not start streaming in mimoLive without a broadcast in the dashboard first.
- You will want to schedule all social media streaming through BoxCast still.
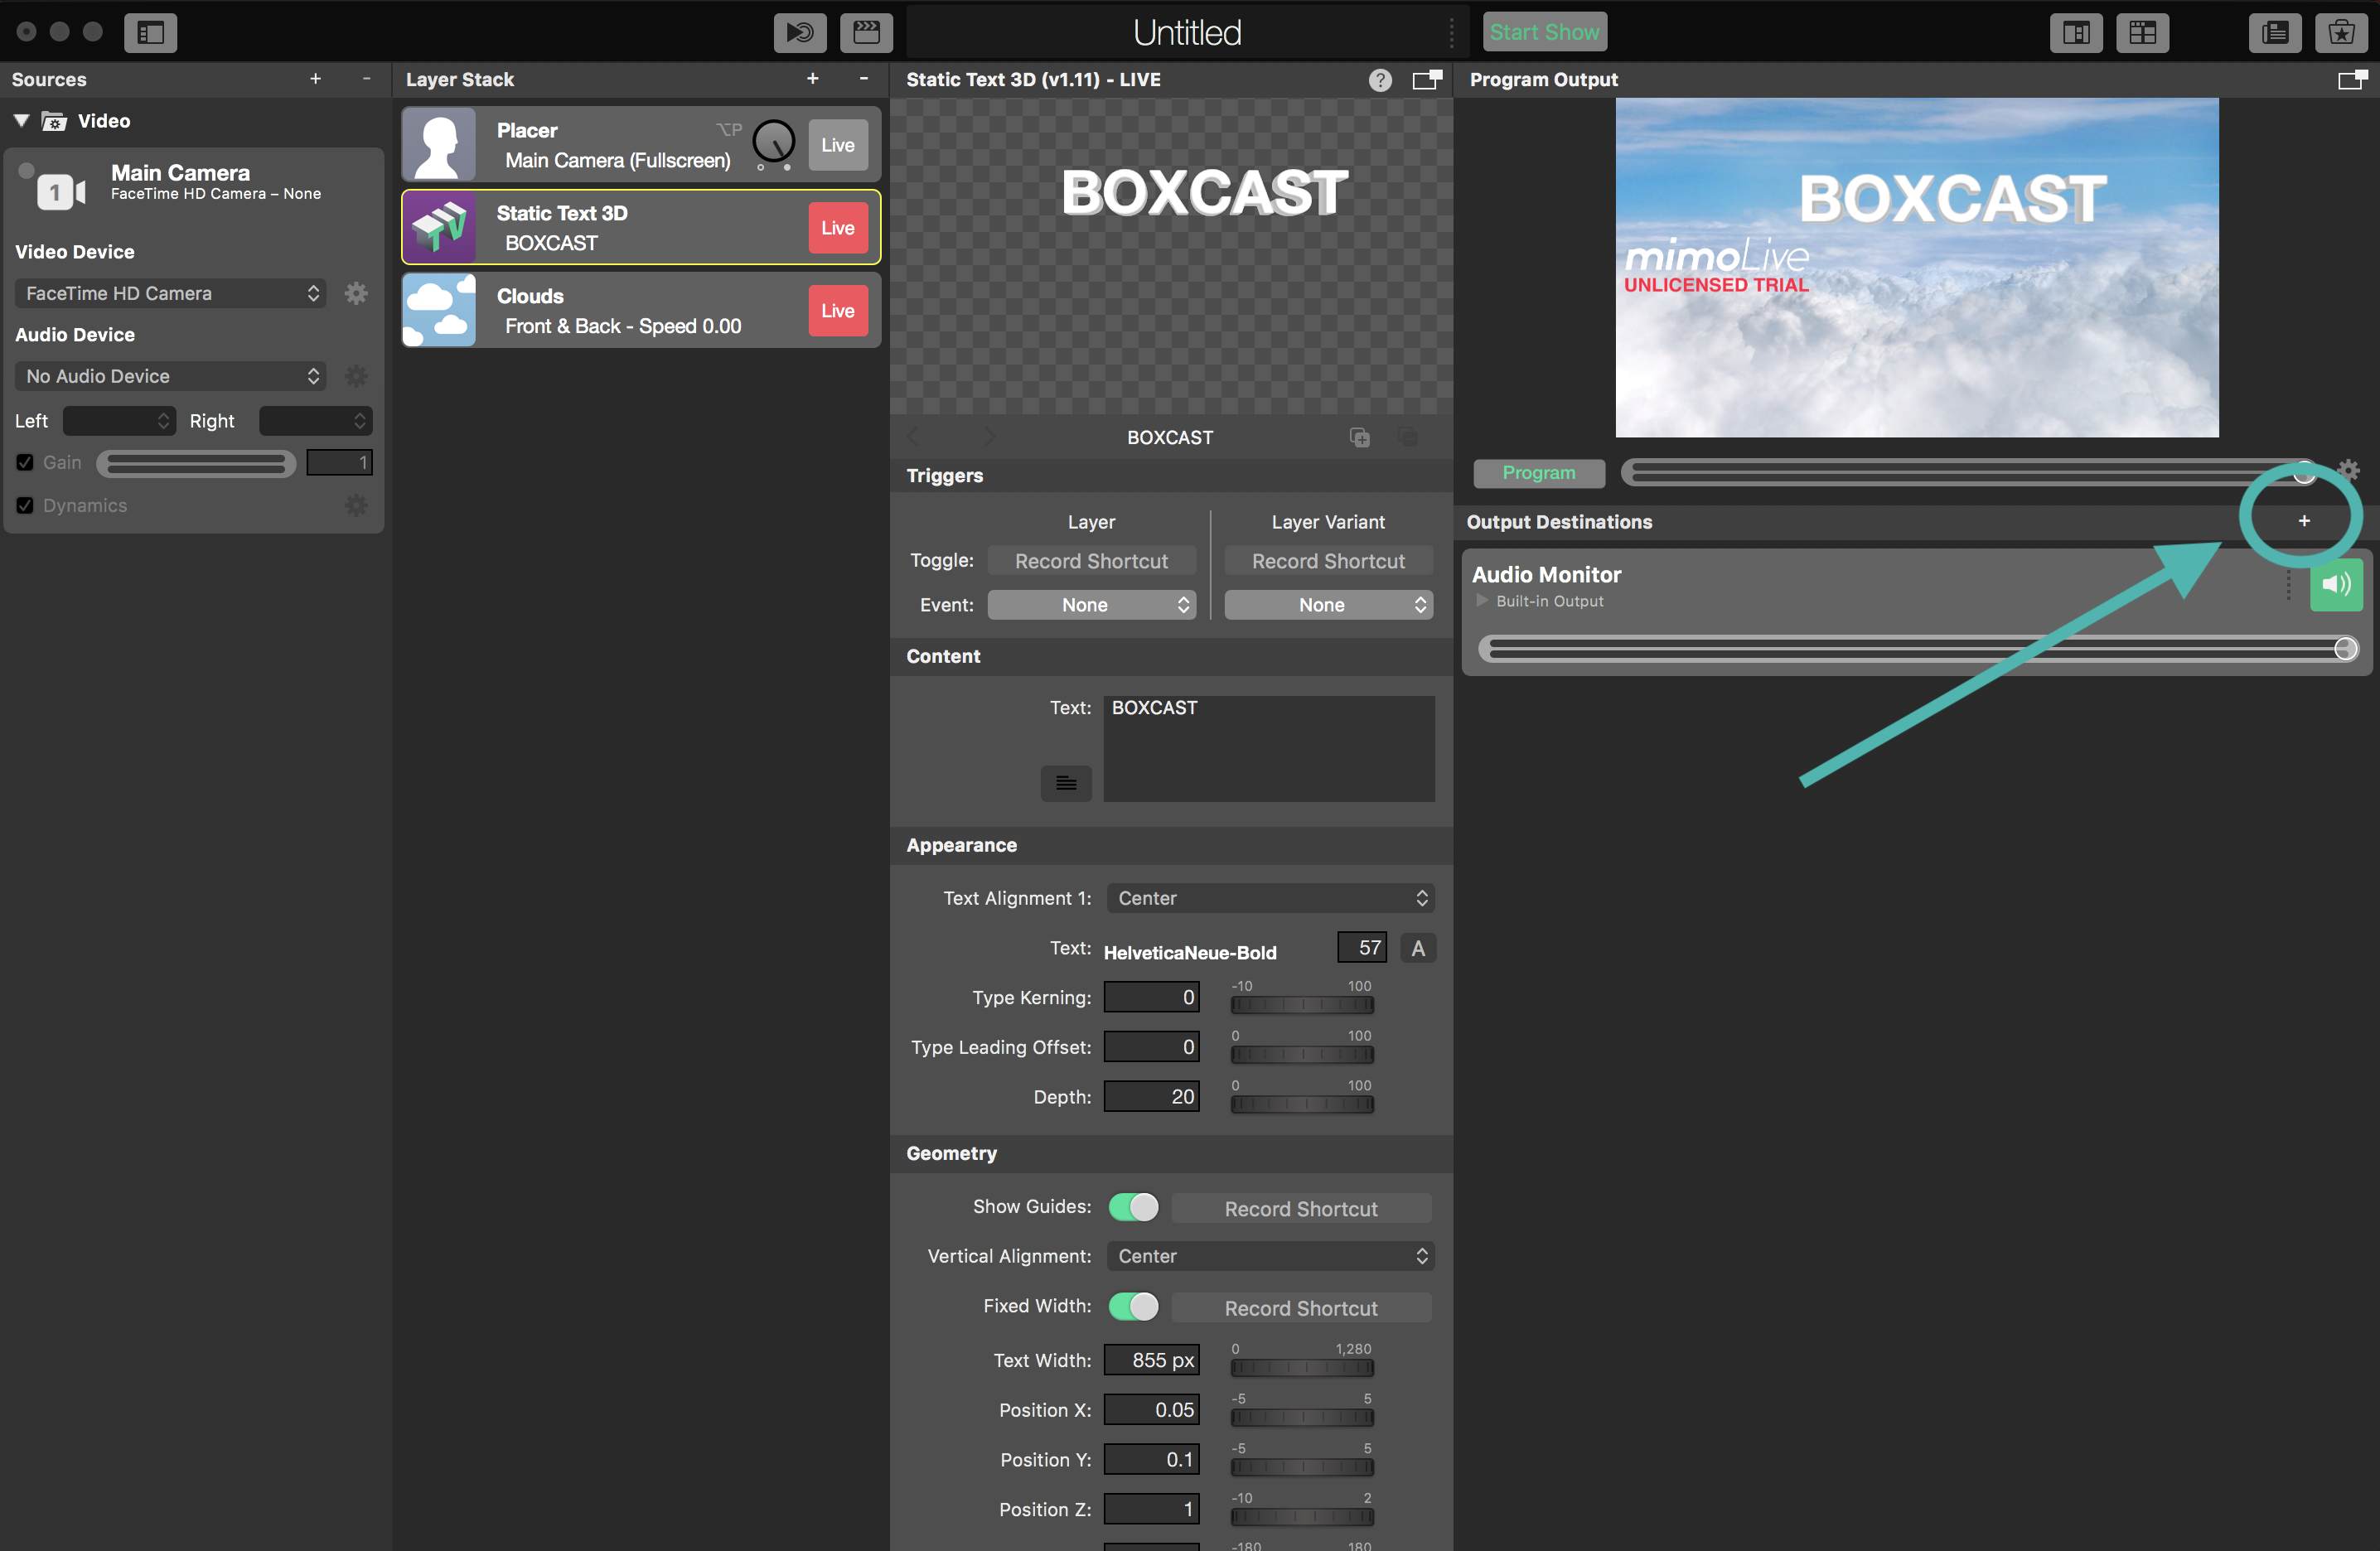
Step 1 – Create a new output destination
Open up mimoLive and click on the + symbol next to output destinations.
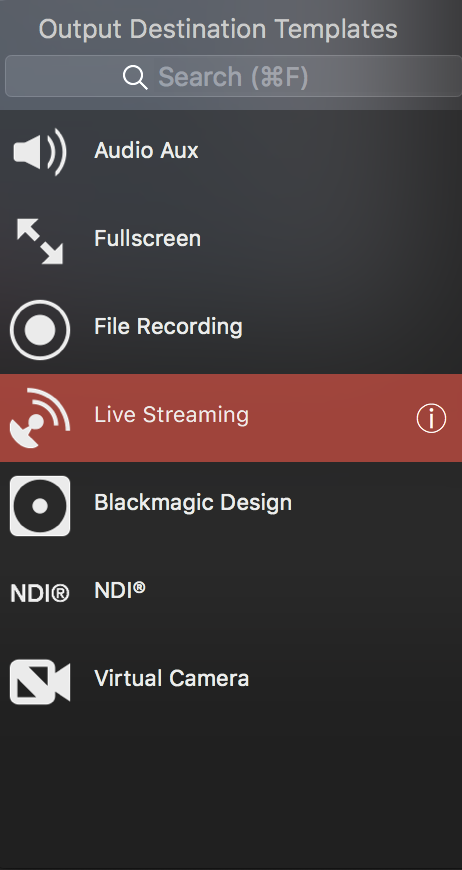
Step 2 – Choose Live Streaming
Select Live Streaming in the outputs.
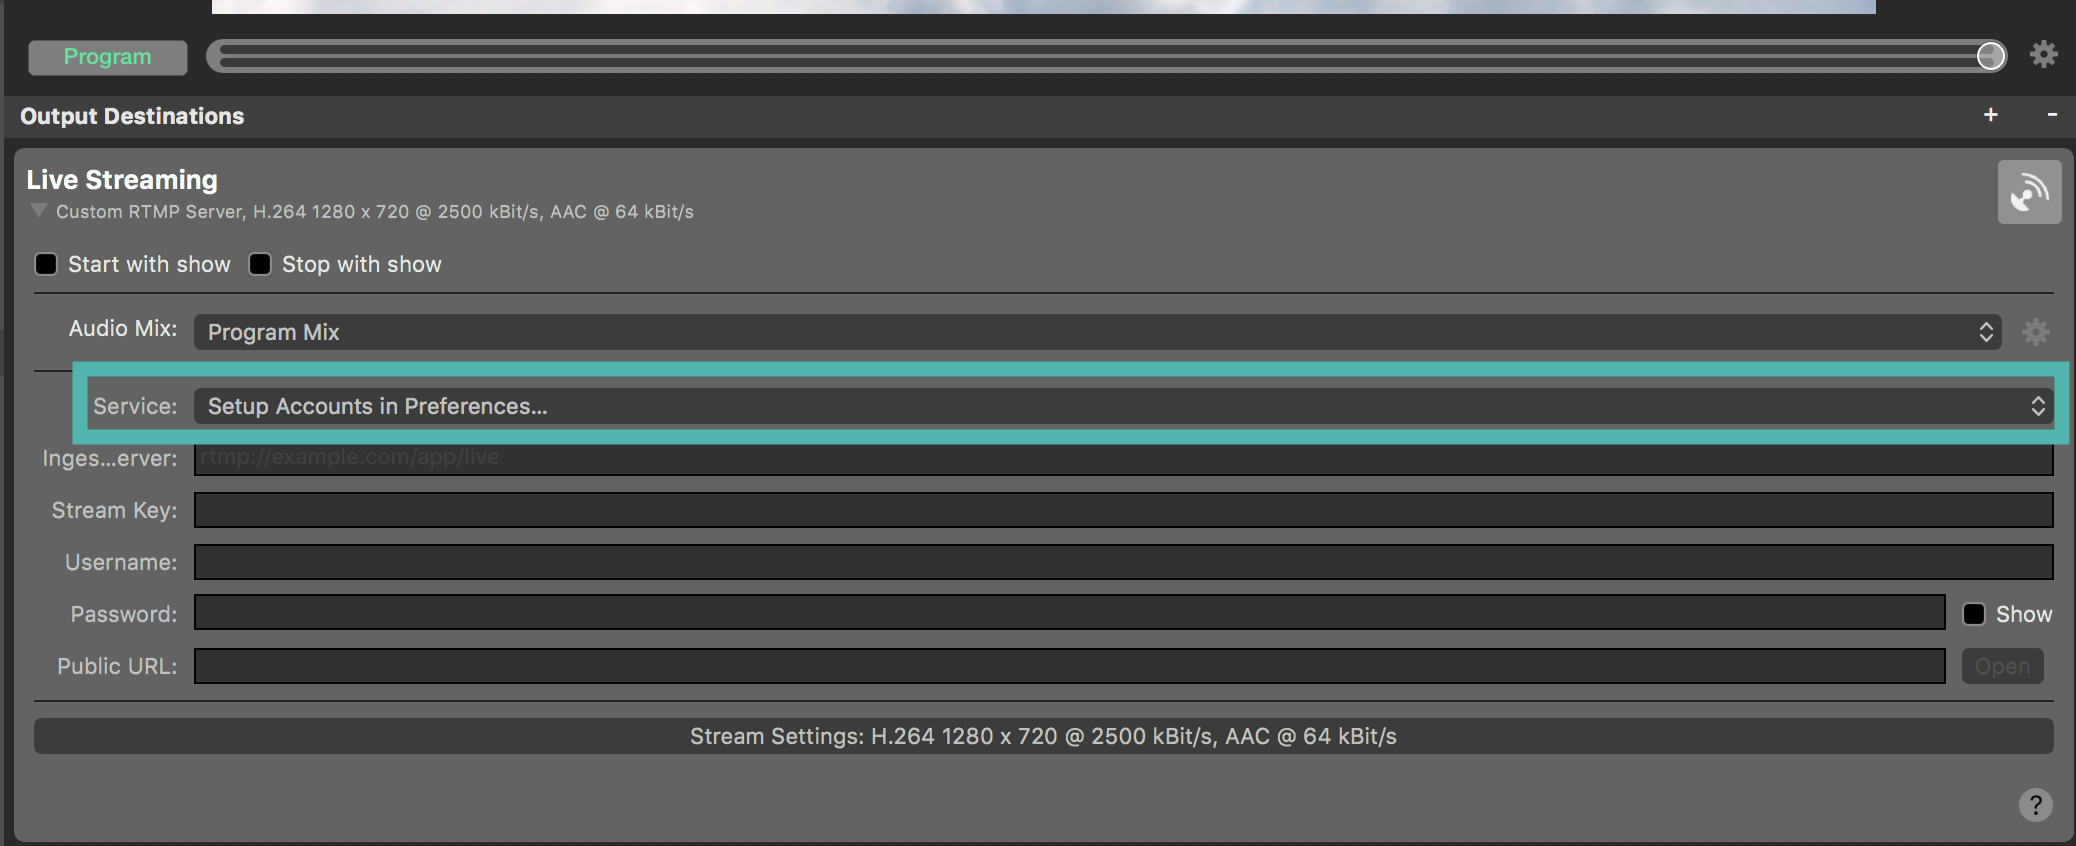
Step 3 – Go To Setup Accounts..
Click on the service drop-down and click on “Setup Accounts in Preferences”.
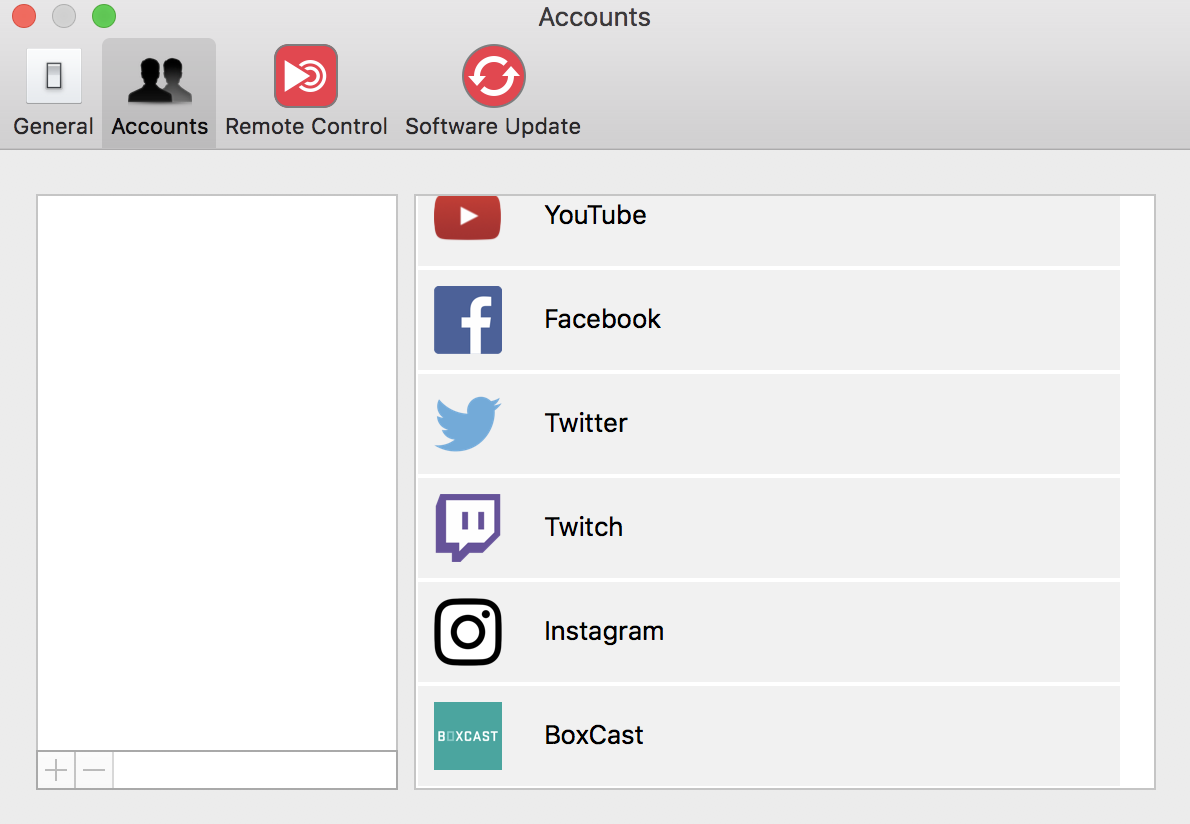
Step 4 – Choose BoxCast from the list
Scroll down and click on BoxCast. You will need to sign into BoxCast and your account will be linked. You will only need to do this one time and you will be all set up in the future.
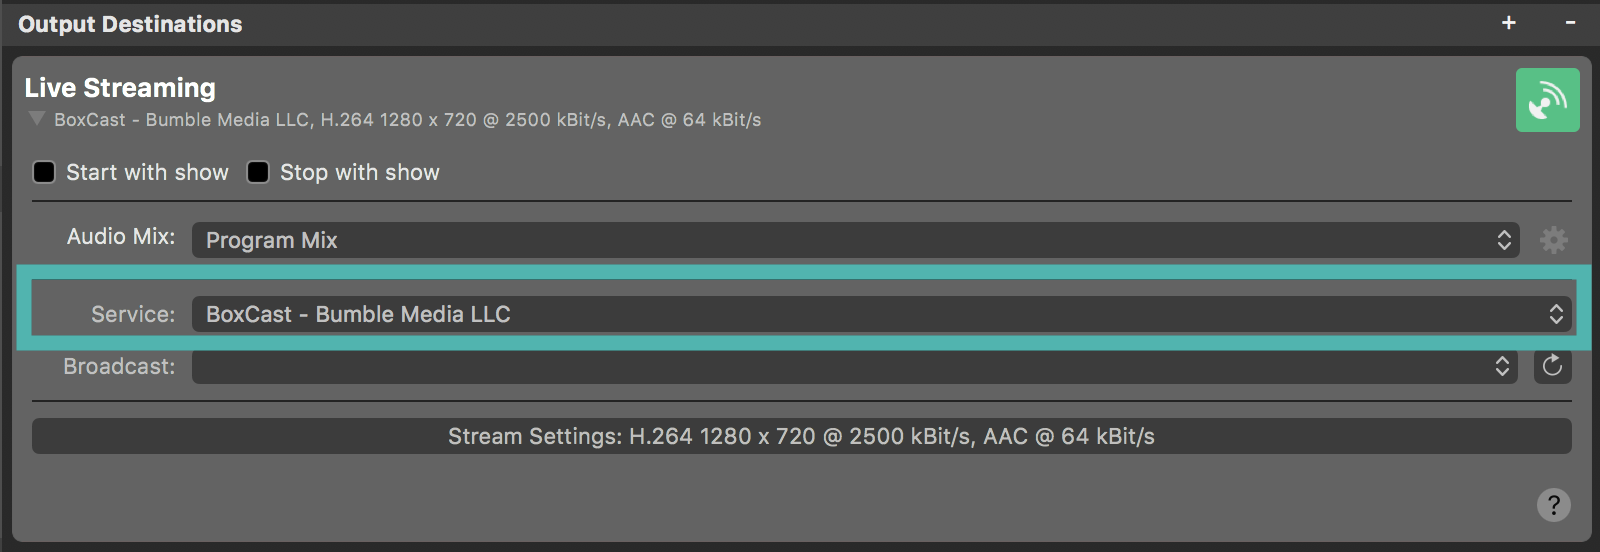
Step 5 – Select BoxCast as the Service
Select your BoxCast account as the output service.
Step 6 – Go To Your BoxCast Dashboard – Add a Broadcast
Next, go to the BoxCast Dashboard and schedule an event selecting a RTMP Source.
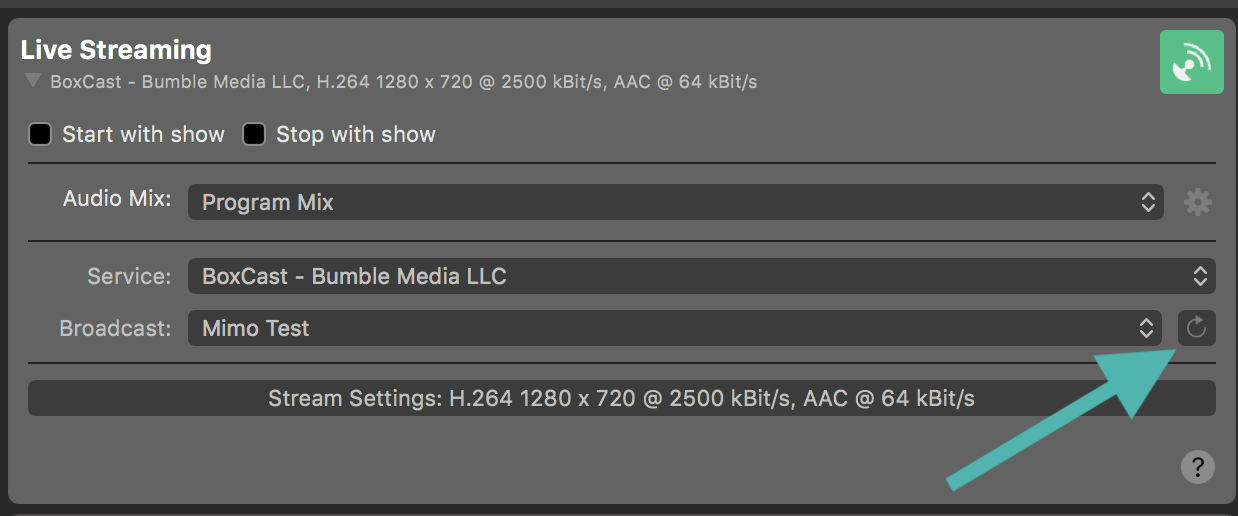
Step 7 – Obtain the new broadcast
Click the refresh button in mimoLive and your broadcast will appear below the service tab.
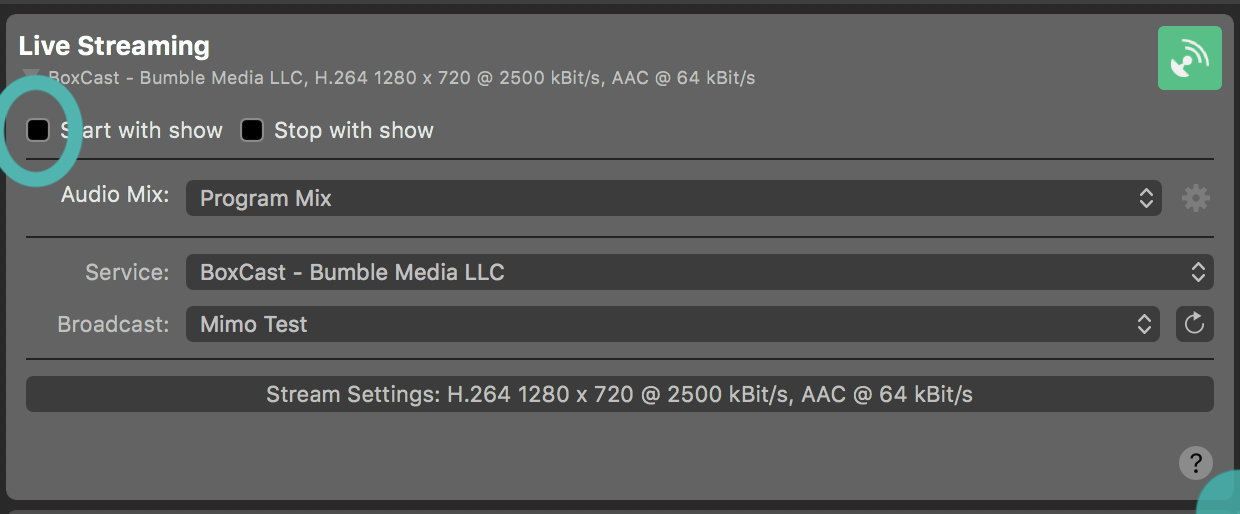
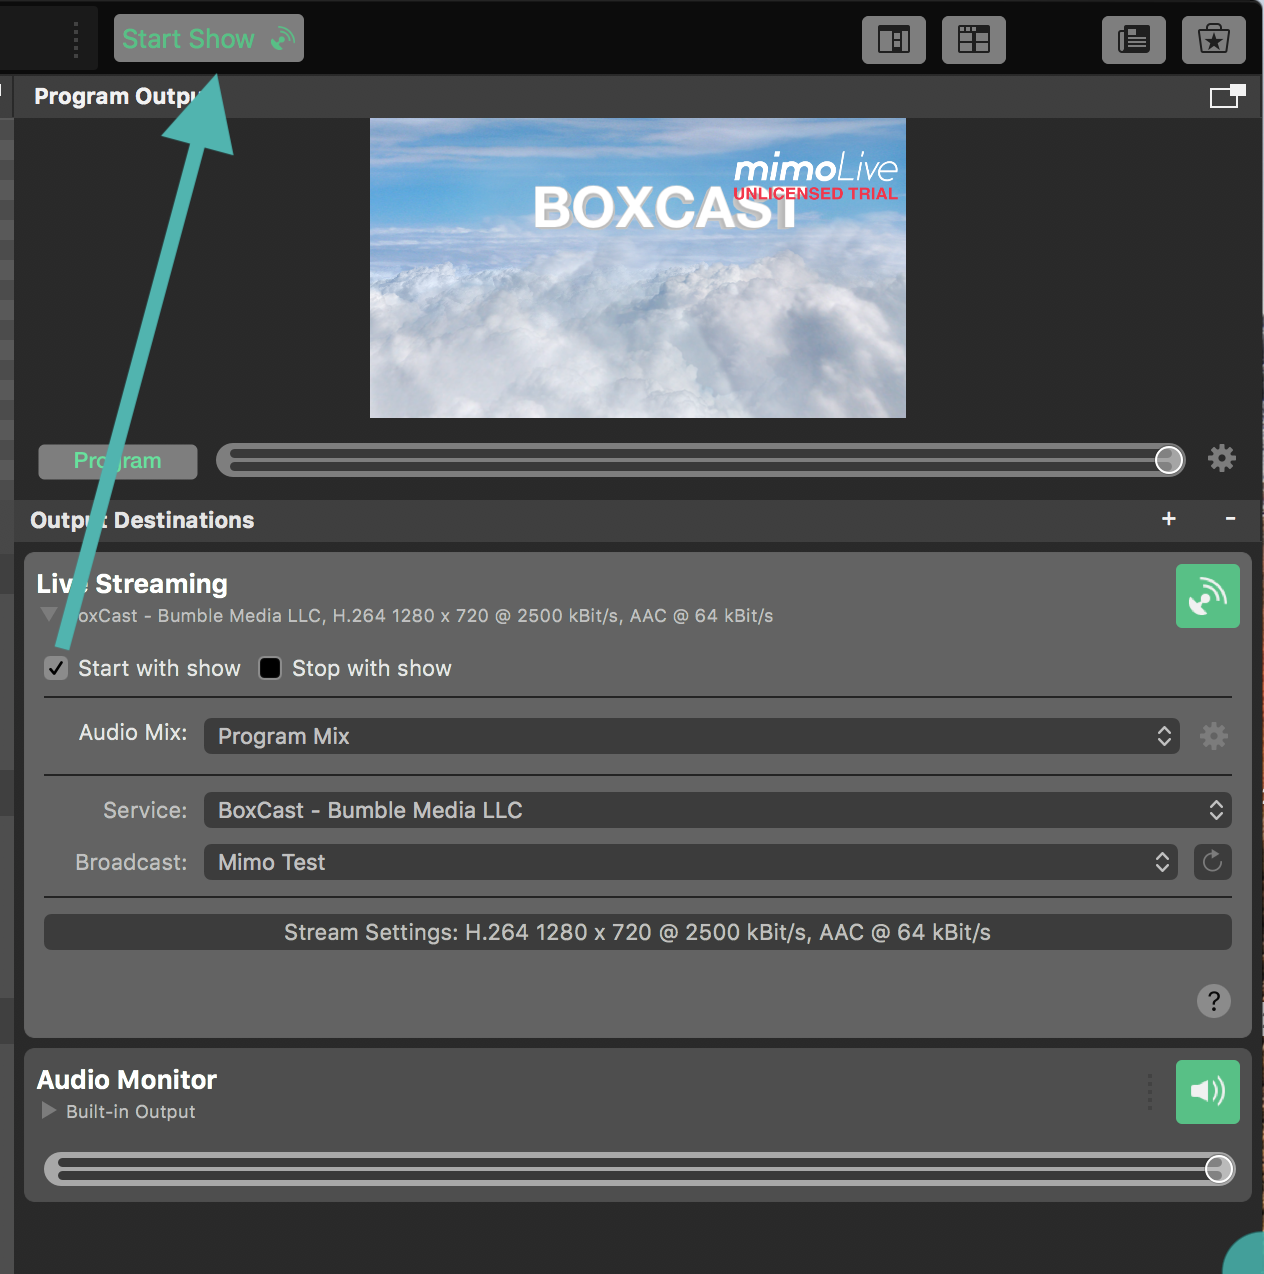
Step 8 – Complete Setup & Start the show
Make sure you click on the “Start with show” button and then click Start Show at the top of the screen. This will begin your live stream as long as it is in the 10 minute window before the stream starts on the BoxCast Dashboard.
For more information visit boxcast.com
This post was originally posted at : https://support.boxcast.com/en/articles/4235198-mimolive-boxcast
If you have any questions about these steps above, please feel free to reach out to questions@boxcast.com for more assistance.


