

What Mac Do I Need?
You can use mimoLive on every current Mac. How well it works depends on what you want to do with it: How many cameras will you use? How complex are your graphics? How many streams and recordings do you want to send?
Get the best Mac you can afford, and put the money into the chip and memory rather than a bigger internal drive. mimoLive scales with your hardware, so every extra bit of performance becomes headroom. And headroom is what keeps a live show smooth when things get busy.
Recordings can always go to an external SSD. Memory cannot be added later.
A MacBook is a complete production studio: screen, speakers, and a battery that doubles as a built-in UPS. Perfect when you produce on location.
A desktop Mac gives you more performance for your money, more ports, and cooling that stays relaxed on long shows. If your setup lives in one place, a Mac mini or Mac Studio is hard to beat. And if it lives in a rack, have a look at mimoRack.
Raw speed is not the whole story. Count the ports your cameras, capture devices, and drives will need. Plan for wired Ethernet, because WiFi has no place in a live show. And take memory seriously, since it is the one thing you cannot upgrade later.
The details below show what each part of your Mac does for mimoLive.
Get inspired by the example setups.
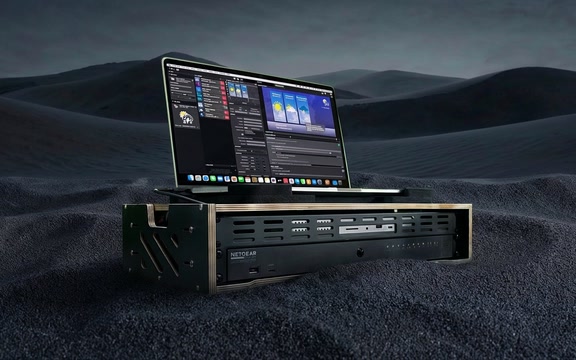
Dip into NDI without getting IT involved
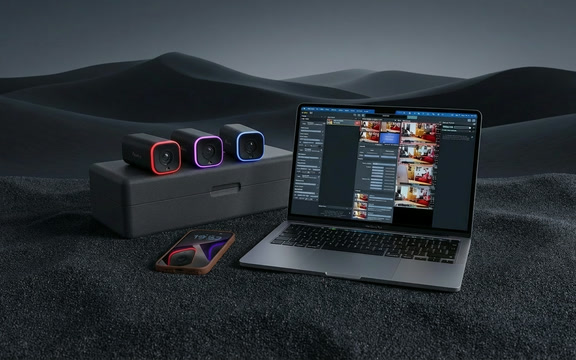
A million-buck Broadcast Truck in your Backpack
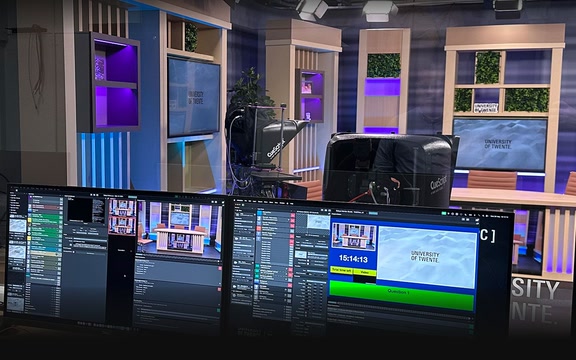
Morning Announcements Next Level
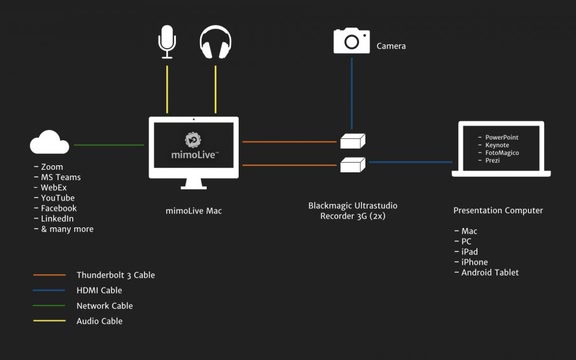
Dazzle your audience on Zoom, Teams and others
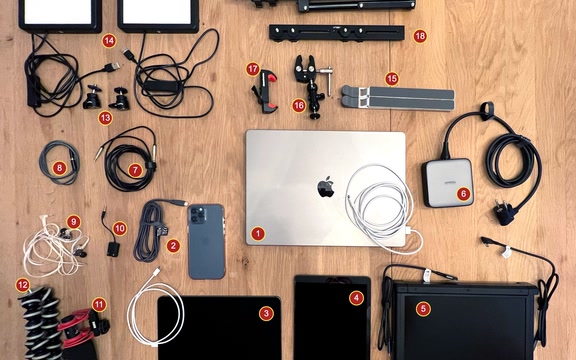
Take your studio on the road
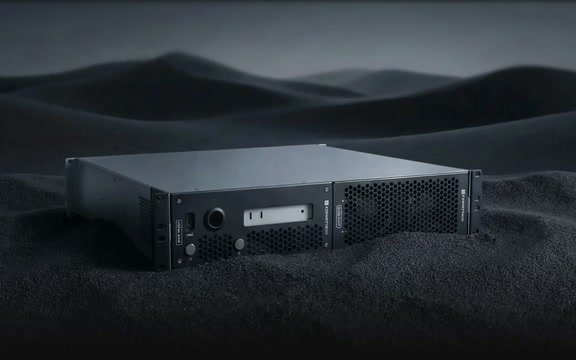
Versatile Graphics Processor 19″ Rack
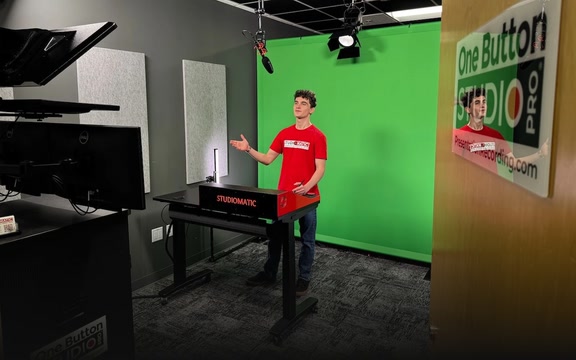
All-in-1 solution for schools, libraries, companies
Under the Hood What influences mimoLive requirements?
Your show’s format is the single biggest factor. Every source, layer, and output gets processed at this resolution and frame rate, so the work multiplies fast: 1080p60 means twice the pixels per second of 1080p30, and 4K60 means eight times as many.
Decide where your show will be watched first, then size the Mac for it. For most online streams, 1080p is still the sweet spot.
Compressed vs. full: Webcams, NDI feeds, and remote guests arrive compressed, and your Mac has to unpack every frame of every source. Capture devices deliver full, uncompressed video instead: heavy on cable bandwidth, but almost free to process.
Network vs. direct: Network sources like NDI, SRT, and mimoCall share your Ethernet connection with your outgoing streams. Directly attached cameras have their own cable and do not compete.
As a rule of thumb, an Apple Silicon MacBook with 16 GB of memory handles between 3 and 8 NDI sources, depending on the model.
mimoLive keeps only the current frame of your show in memory, so it typically runs in about 4 GB. Some layers and filters store extra frames, and every source needs a little room to unpack its compressed video, but that rarely adds much on top.
The exception is the Instant Replay layer, which keeps every frame it buffers in RAM. If replays are part of your show, provision more memory. The recommended minimum is 16 GB.
The CPU runs the show: layer logic, audio mixing, and unpacking every compressed source. More cores help most when many things happen at once, because each camera, NDI feed, and remote guest is handled in parallel.
Apple’s media engines encode and decode video in hardware, and the bigger chips carry more of them. That is what lets one Mac run several streams and recordings at the same time without breaking stride.
Everything you see in mimoLive is composited on the graphics processor: every layer, transition, chroma key, and effect, at full resolution, for every single frame.
If your productions lean on rich graphics and many layers, more GPU cores are the upgrade that pays off first.
Recordings are what fill disks. An hour of 1080p ProRes takes 70 to 130 GB depending on frame rate, and 4K takes four times that. Compressed recordings are far smaller, but you will be glad to have ProRes when the footage goes into post production.
Plan for a fast SSD with 1 TB or more. A Thunderbolt or USB SSD handles recordings just fine and keeps your internal drive free.
HDMI and SDI cameras come in through capture hardware: inexpensive USB capture sticks for a camera or two, or Thunderbolt devices from Blackmagic and others for professional multi-camera setups. The professional drivers are highly optimized, so these inputs cost mimoLive very little.
Mind the bus: USB devices may share one internal connection, so spread cameras across ports, or use a Thunderbolt device that brings its own bandwidth. Count the ports you need before you pick the Mac.
Type and speed: A single full-quality NDI camera at 1080p60 needs around 150 Mbit/s, so Gigabit Ethernet is the baseline, and five or six feeds fill it up. Desktop Macs offer 10 Gigabit Ethernet as an option; on a MacBook, a Thunderbolt adapter does the job.
WiFi: Fine for browsing, wrong for broadcasting. WiFi shares the air with every device nearby, and one moment of congestion becomes a dropout in your stream. Always cable the production Mac.
The Definitive Answer Test mimoLive on your Mac.
mimoLive runs on any Mac with macOS 13 or newer, Intel or Apple Silicon, and it is free to download and test on your own hardware. Build your show, watch the built-in performance monitors, and see what your Mac has left in reserve. Ten minutes of testing beats any spec sheet.