
What is the Start/Stop Show button for?
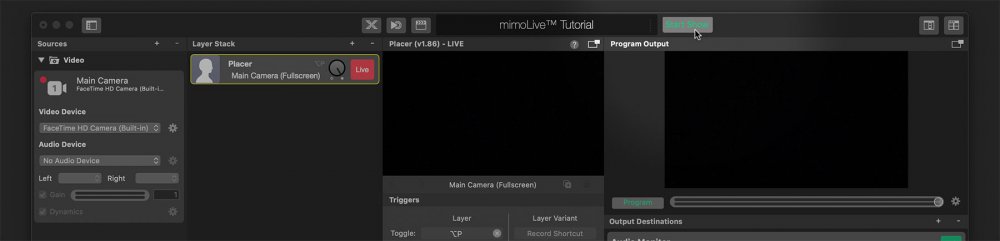
The Start/Stop Show button, located on the right side of the HUD at the top of the mimoLive document window, is used to trigger multiple actions simultaneously at the beginning or end of a show. For example, you can configure it to start recording to disk while also activating a layer that plays your show’s intro video. This makes it easy to automate your production workflow with a single click.
Things Triggered by the Start/Stop Show Button
he Start/Stop Show button triggers specific events that can be received by various components within mimoLive.
- The Start Show event is triggered when the show transitions from a stopped to a running state.
- The Stop Show event is triggered when the show is stopped.
To understand the full behavior and configuration of these events, please refer to the article on Show Settings.
Triggering Layers with Start or Stop Show Events
Each layer and layer variant in mimoLive can respond to the Start or Stop Show events. These behaviors can be configured in the Parameter Panel of each layer.
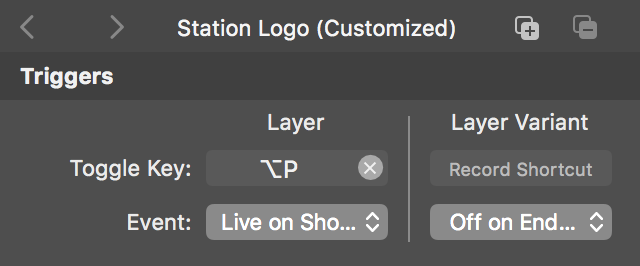
Available options are:
- Live on Show Start
Sets the layer (or a specific variant) to go live automatically when the show starts.
Use case: Play an intro movie or display a station logo as soon as the show begins. - LLive on End Trigger
Sets the layer (or a variant) to go live when the show ends.
Use case: Trigger rolling credits or an outro video when the show stops. - Off on End Trigger
Automatically removes the layer (or variant) from live output when the show ends.
Use case: Hide the station logo at the end of a broadcast.
The timing of the event triggers can be controlled in the Show Settings Panel
The Start Event will be sent to the output destinations immediately, however, it can be delayed for the layers in order to give you some seconds in advance in a recording or streaming before the actual show begins. The Show End Event will be set to the layers immediately while as for the output destinations it can be delayed. This can be configured in the Show Settings Panel.
Make Use of the Automation Layer
The Automation Layer supercharges the capabilities of Start and Stop Show events. By combining them with the events, you can trigger complex sequences—such as activating multiple layers in order, timing transitions precisely, or turning off various Output Destinations one after another.
Triggering Layer Sets with Start or Stop Show Events
In addition to individual layers, Layer Sets can also be recalled automatically by the Start or Stop Show events. This allows you to activate or deactivate multiple layers simultaneously, providing even more control and automation for your production workflow.
In the Layer Set configuration panel, you can enable automatic recall of the set using the following options:
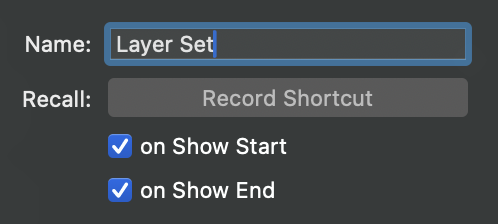
- on Show Start
The Layer Set will be recalled automatically when the show starts. This is useful for setting up your initial layer configuration—such as showing logos, lower thirds, or camera presets—at the beginning of your broadcast. - on Show End
The Layer Set will be recalled automatically when the show ends. This can be used to transition to an outro layout, hide on-air graphics, or reset the interface.
You can enable one or both options depending on your production needs. These settings make it easy to automate transitions between different stages of your show with minimal manual control.
Triggering Output Destinations with the Start or Stop Show events
Each Output Destinations in mimoLive can be configured to automatically start or stop in sync with your show. This allows you to streamline your workflow by linking output actions—such as recording, streaming, or broadcasting—to the Start/Stop Show button.
You can configure this behavior in the Settings panel of each Output Destination using the following options:
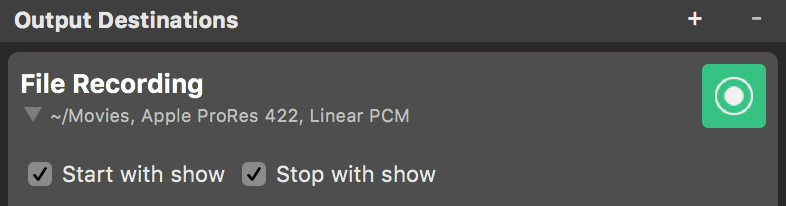
- Start with Show – Activates the output when the show starts.
- Stop with Show – Deactivates the output when the show ends.
Additionally, the Start/Stop Show button itself displays icons that indicate which output destinations are set to respond to the show events. This provides an at-a-glance overview of which outputs will be triggered automatically.
Example Scenario
The event-based triggering system in mimoLive is a powerful tool for automating production tasks.
Imagine you’re live streaming an all-day event with multiple speeches. You want the live stream to run continuously, but you also want to record each speech individually, including a branded intro and outro.
Here’s how you could set it up using show event triggers:
- The Intro Layer is set to Live on Show Start, so it automatically plays when you begin recording a speech.
- The Outro Layer is set to Live on End Trigger, so it plays when you stop the recording.
- Use the End Offset parameter (set to the duration of the outro video) to delay stopping the recording until the outro finishes playing.
- The Start/Stop Show button is configured to trigger only the “Recording to Disk” Output Destination.
- The Streaming Output Destination is not configured to respond to the Start or Stop Show events, so the stream continues uninterrupted throughout the day.
Between speeches, you can manually activate a layer that displays a “Next session starts soon” message to keep your viewers informed.
This setup gives you precise control over recording individual segments while maintaining a seamless live stream.