YouTube is constantly changing, The information in this document is valid as of April 2021.
If you notice a change, please let is know in the forum.
In order to live stream to YouTube, you need to comply with the live streaming requirements.
Once you’ve made sure your channel allows live streaming, follow the procedure below to schedule up a live stream in YouTube Studio, set up a Live Streaming destination in mimoLive and start your stream.
Please note there are special steps you need to take to stop the stream again.
Scheduling a live stream on YouTube
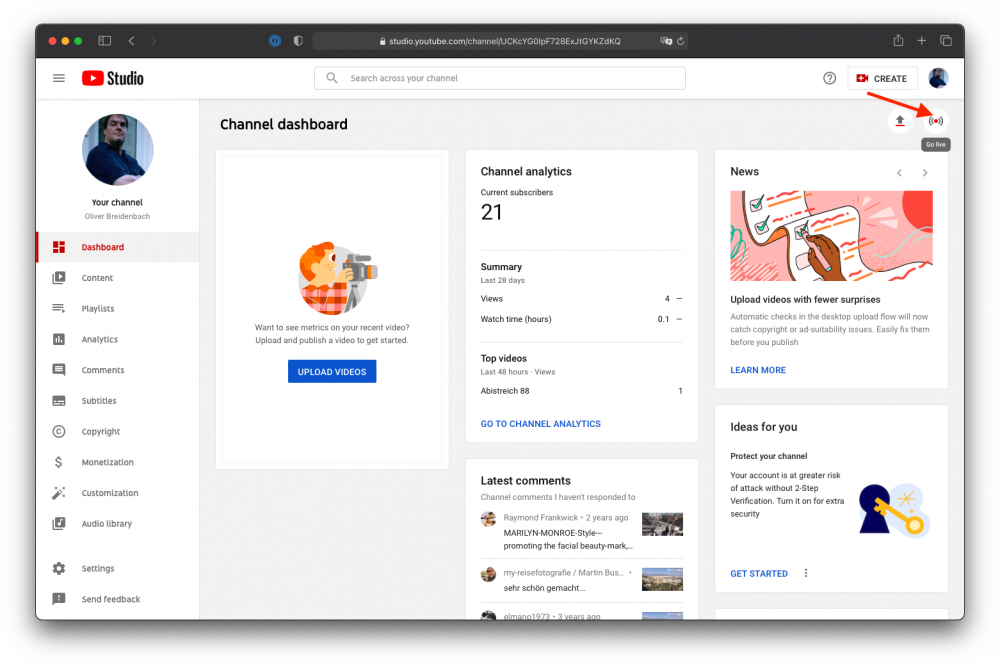
To get started, log in to YouTube and go to the Studio. Then, click on the Go Live button:
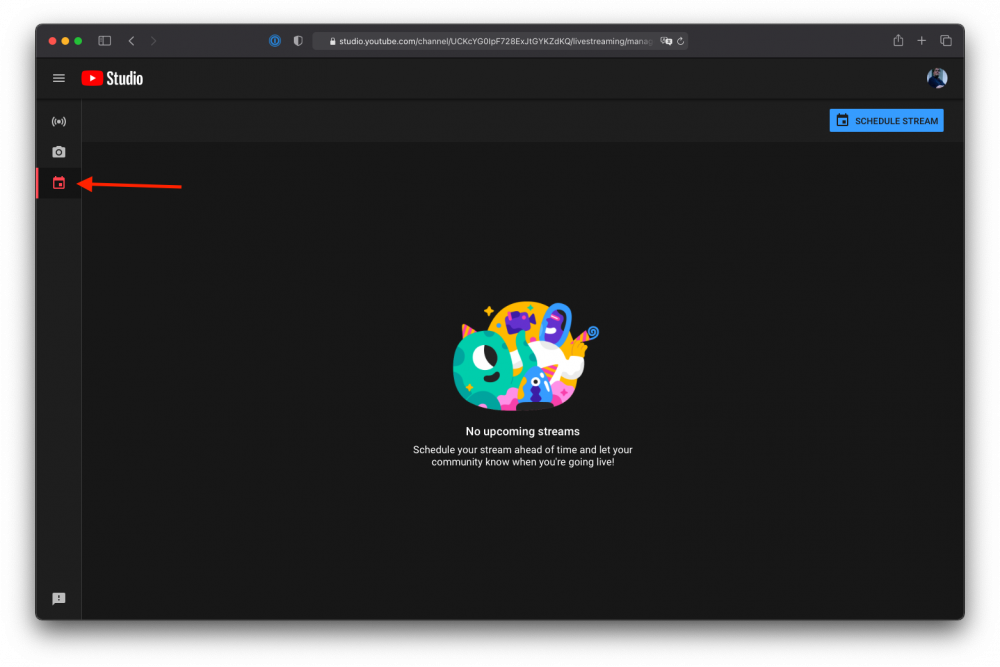
This will take you to your stream page.
Look for the “Manage” button on the left and click it:
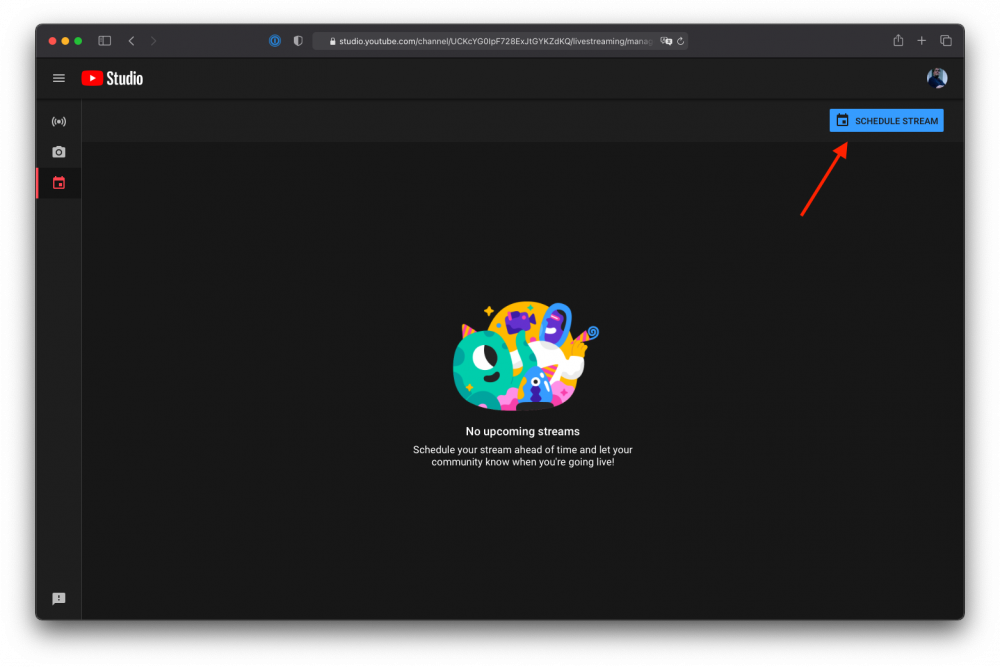
Now, find the Schedule Stream button on the right:
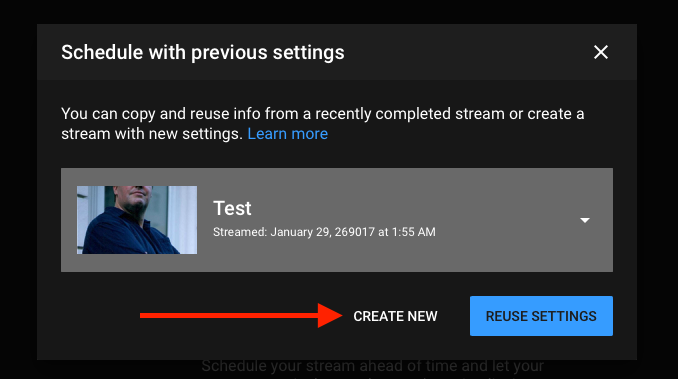
If you’ve set up a stream before, you will be asked if you want to use that as a template. If you get this message, click on Create New:
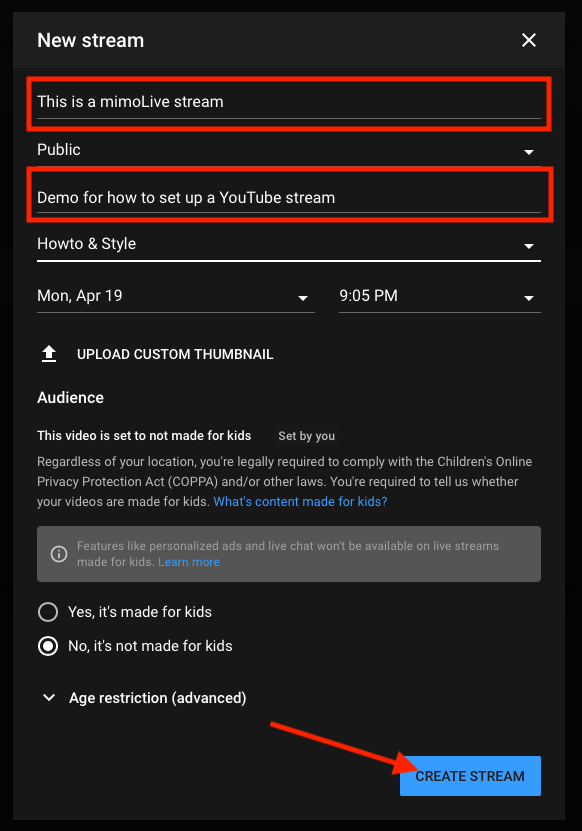
Enter the Title (and remember it because you will later use it in mimoLive to identify where you stream to), choose the visibility, enter a descrioption and make sure you select the proper “Made for kids” setting. Then click Create Stream:
At the time of this writing, YouTube Studio will take you then directly to the detail view of the stream where you can set additional parameters.
This is where you can reduce the latency for your stream to improve interaction. Low Latency means, your audience will only have a short delay in the stream between you doing or saying something and the viewers seeing it. Normal latency means up to 30 seconds. Reducing the latency also reduces the compression quality of the stream.
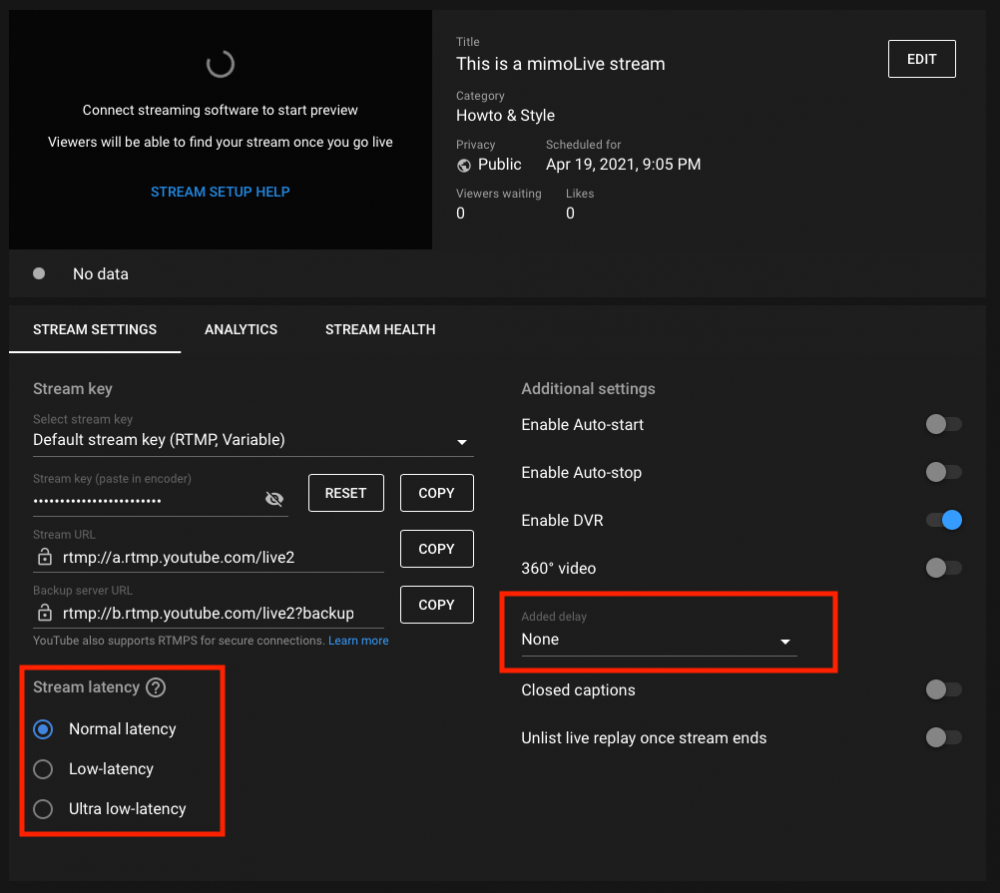
!Here you can also add a longer delay to comply with government regulations in some countries.
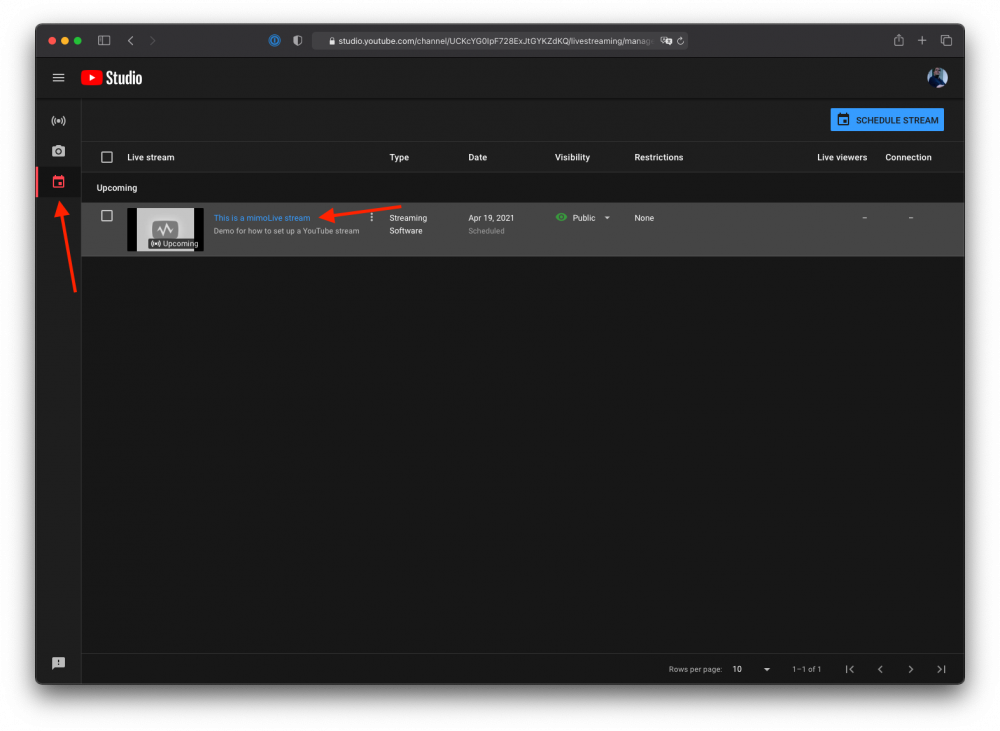
If you schedule a stream for the future and want to come back later, once you enter the YouTube Studio, find the Manage button again and select the scheduled stream from the list to get back to the stream details.
Setting up the Live Streaming output destination in mimoLive
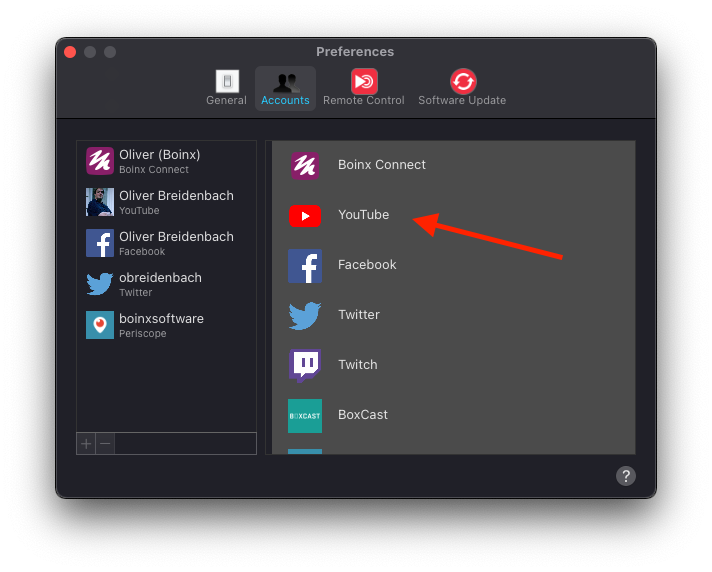
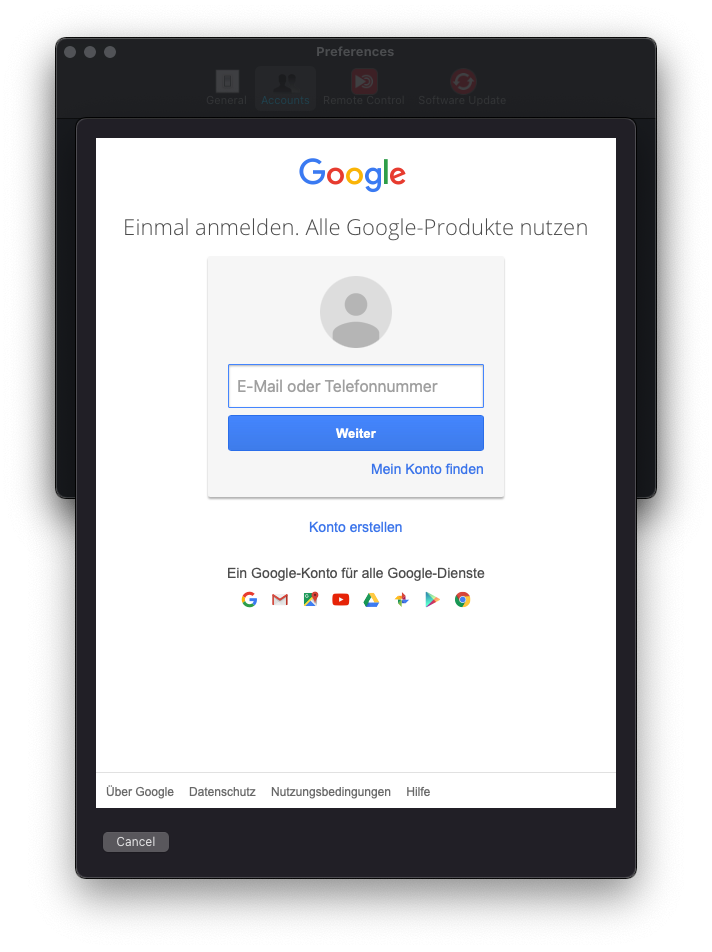
In mimoLive, first make sure that you log into YouTube from the Account panel in the mimoLive Preferences. Click on “YouTube” in the right panel to be sent to the login page of YouTube:
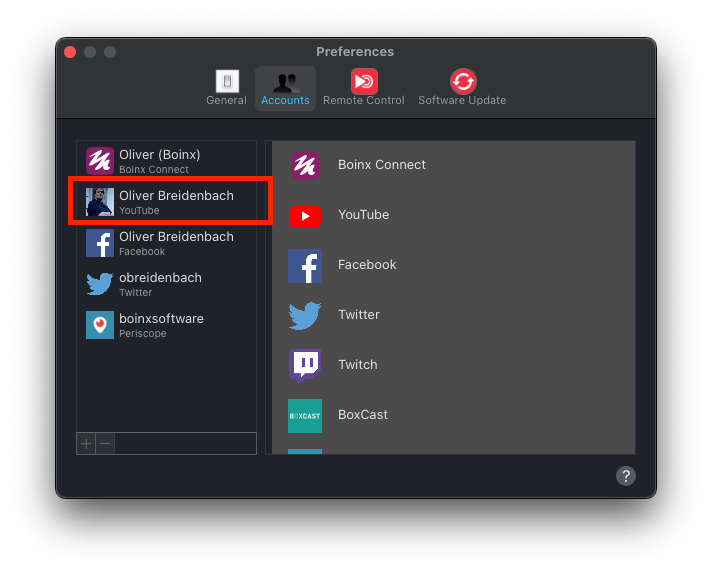
When you’ve logged in with your YouTube account, your account will be added to the list on the left:
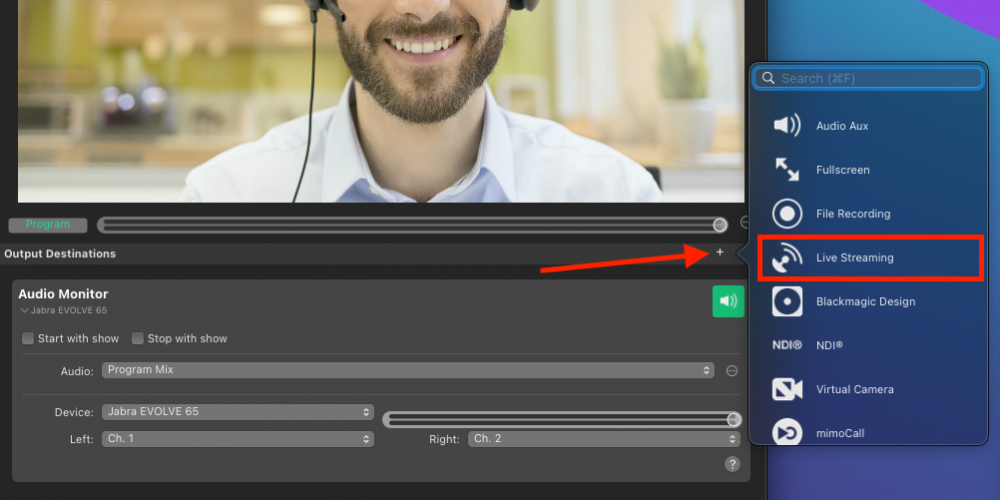
Now, go to the Output Destinations panel and add a Live Streaming destination:
Select your YouTube Account from the “Services” popup and the stream you created earlier from the “Broadcast” popup:
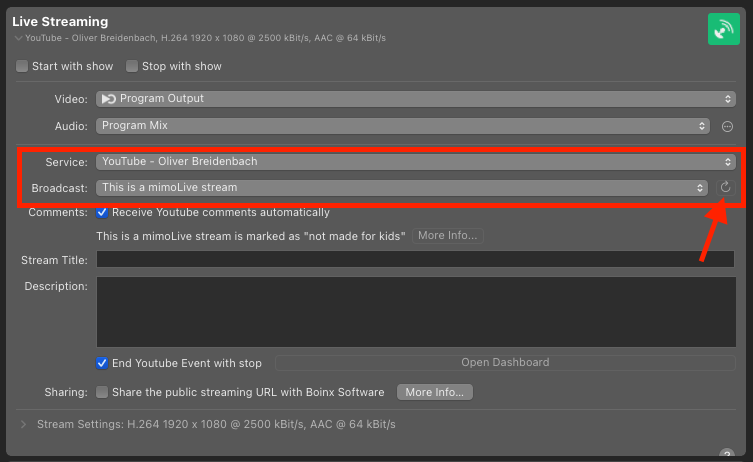
If the stream doesn’t show up on the Broadcast popup, try reloading the list of Broadcasts using the reload button to the right of the popup menu.
There are various options you can set regarding your stream:
- If you want to use comments in the stream, select “Receive YouTube comments automatically”.
- You can overwrite the Stream Title and Description of you need to.
- If you want to end the live stream from mimoLive, select “End YouTube Event with stop
- If you want to let us see what you’re streaming, you can choose to share the public streaming URL with Boinx Software
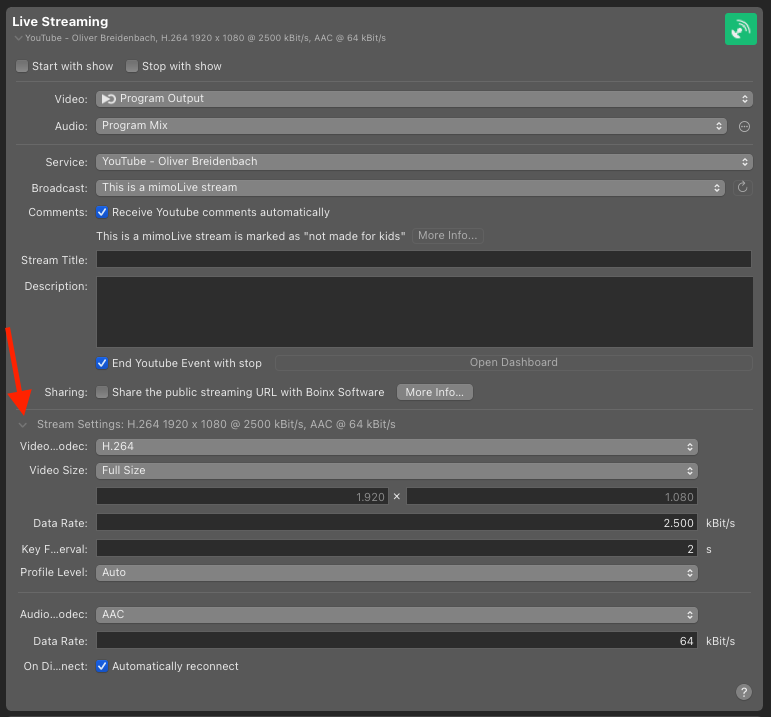
Changing streaming format
You can set a lot of parameters for the stream if you click on the disclosure triangle next to “Stream Settings”. For example, you can change:
- Codec
- Video Size (mimoLive can stream in a different resolution than your document)
- Data Rate
and more.
Only change the settings if you know what you’re doing.
Starting the stream
Once you’ve set up eveything, the live button will turn green and you can start sending data to YouTube by pressing the live button. It will turn red and start displaying statistical data:
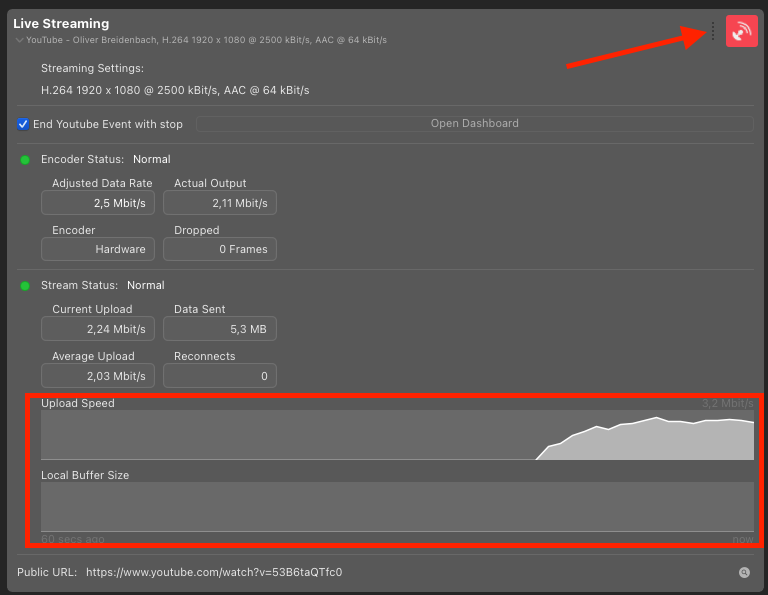
You can see that your internet speed is good if there is nothing in the Local Buffer Size graph.
You will now have to start the stream in the YouTube Studio for your audience to be able to watch it!
Go to YouTube studio. You will now see your stream coming in and YouTube will tell you if it is receiving the expected data.
Find the blue button labelled “Go Live” to start your stream:
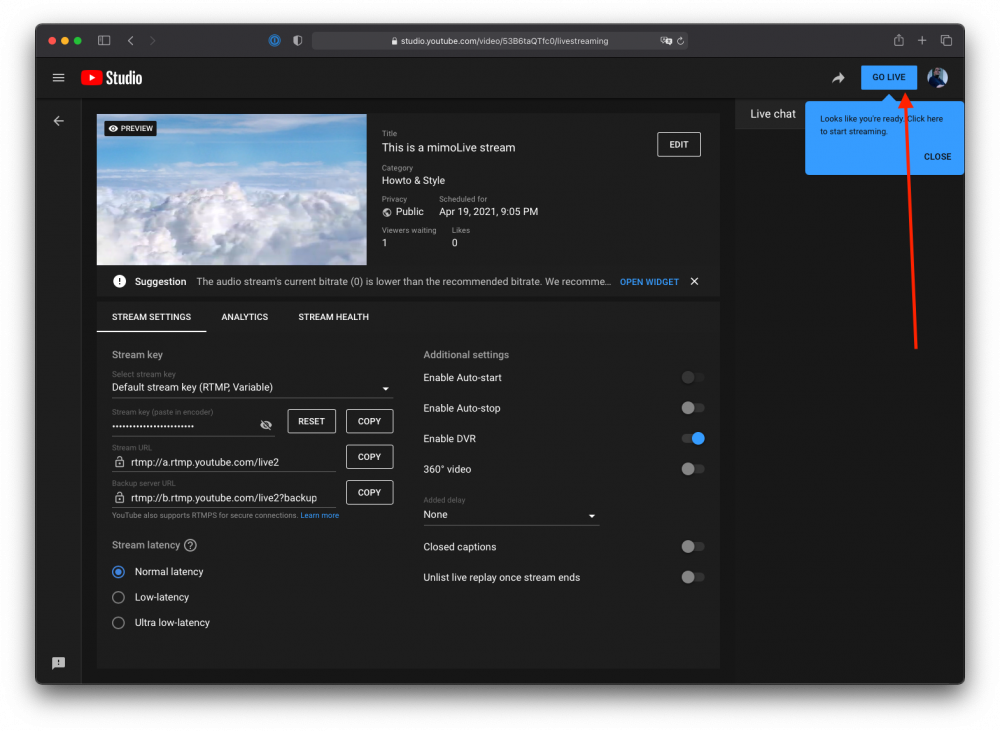
Congratulations, you’re now live.
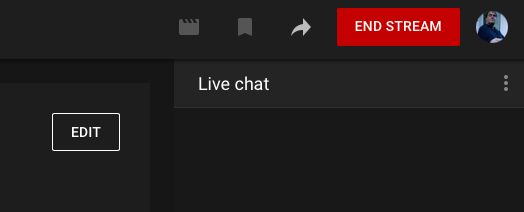
Ending the stream
If you have clicked the “End YouTube Event with stop” option in mimoLive, stopping the stream in mimoLive will also end the stream on YouTube.
If you have not set the option, you will have to end the stream manually in YouTube Studio: