Output Destinations
mimoLive supports broadcasting the live video simultaneously to YouTube, Facebook, Twitch.tv, Periscope, Twitter, BoxCast, Screen9, Smashcast, and customer RTMP server. Additionally, mimoLive can record & playout to other several destinations.
Where to find the Output destinations?
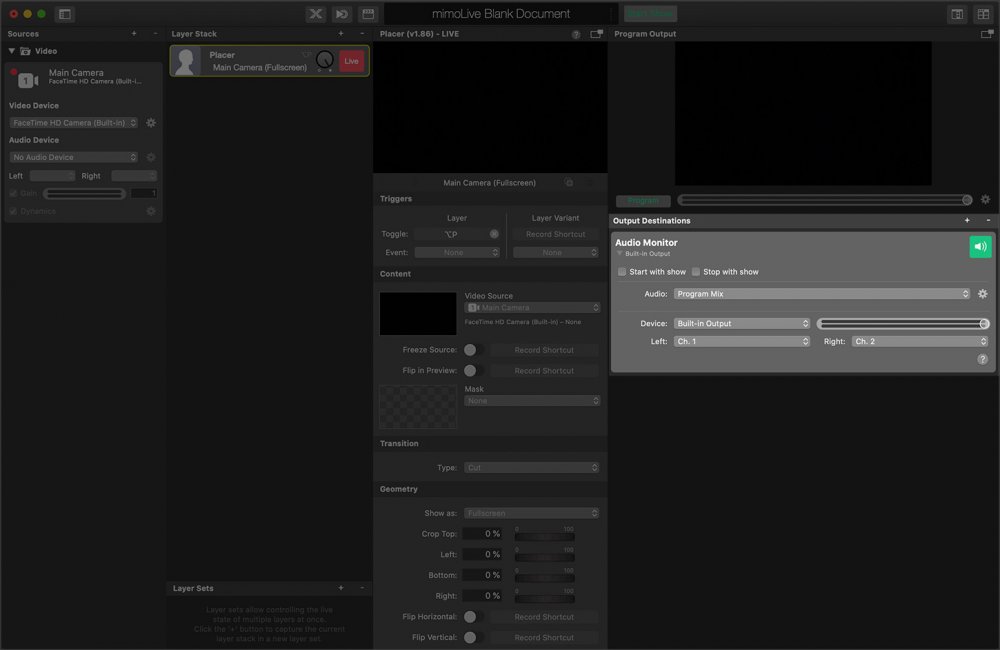
In the most right column of your mimoLive document window you can configure the Output Destinations for the live video production.

Output options
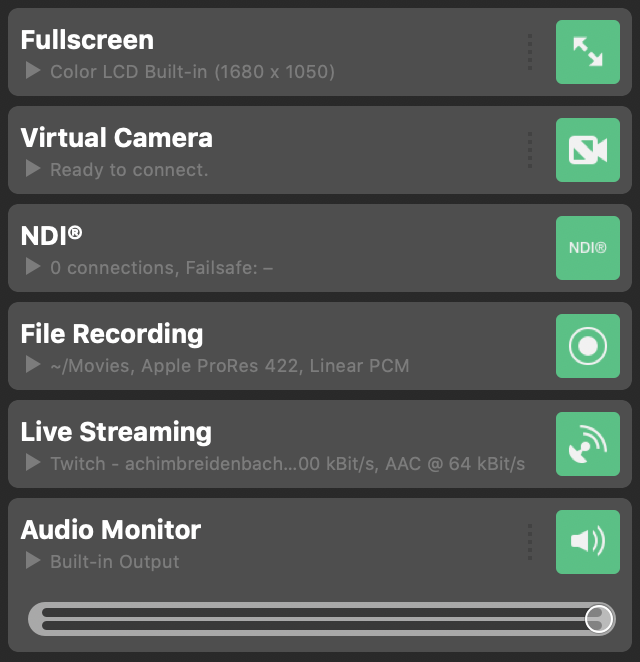
mimoLive has many options to output the final video product. You are able to set up those options in the rightmost column of the mimoLive document window:
Choose from these out destinations:
- Audio Aux
- File Recording
- Live Streaming
- SDI Playout
- Full Screen Playout
- Virtual Camera (Used for 3rd party software e.g. zoom.us)
- NDI® Playout
- mimoCall Output Destination
- Syphon Server (This output option needs to be placed in the layer stack and doesn’t have a representation here.)

Adding An Output Destination
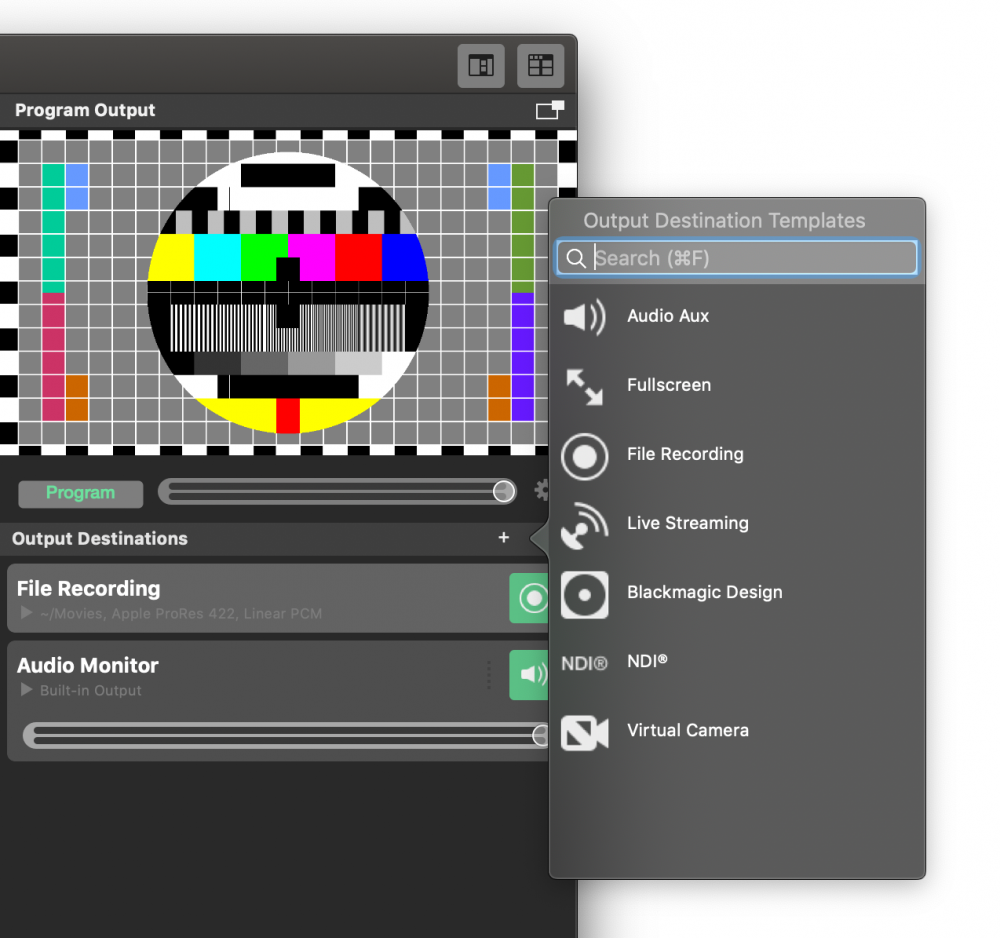
You can have multiple output destinations for your program out. To add a new output destination click on the “+” button on the top of the output destinations list. A popover window will appear with all available output destinations:

Either double click on the output destination you want to add or drag it to the Output Destinations list.
*Output Destinations may be unavailable under certain circumstances
Some output destinations may appear disabled in the popover window in certain situations. E.g. you only can have one Virtual Playout output destination per document since multiple macOS apps can connect to the sample Virtual Playout output destination at the same time. Please refer to the description of the Output Destination in question.
Output Live Button States
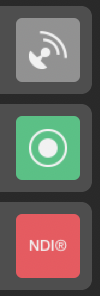
The live buttons of each output destination can appear in different colors that define different states:

| Colors | State |
|---|---|
| grey | This output isn’t configured and needs setup or is unavailable. |
| green | The output is correctly configured and ready for output. |
| red | The output is active and sending data to its destination. |
Automatic Triggering By The Show Start Button

Most of the output destinations can be triggered by the Start/Stop Show Button automatically. If the option “Start with show” is set for a certain output, this output will be activated when you click the Start Show Button. If the option “Stop with show” is set then the output will be deactivated when the show ended (this could be after a delay depending on your Show Settings).
Which output options will be triggered by the Start/Stop Show button will be indicated by the little output icons in the button itself:


