If you’re looking for a powerful mobile live broadcast production system, the mimoLive Pro Live Broadcasting Box™ is for you.
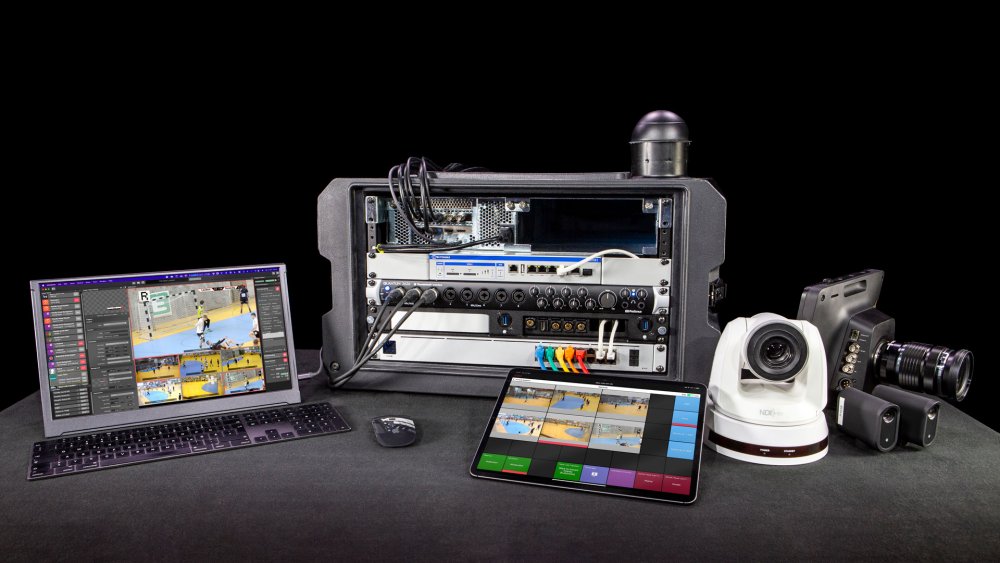
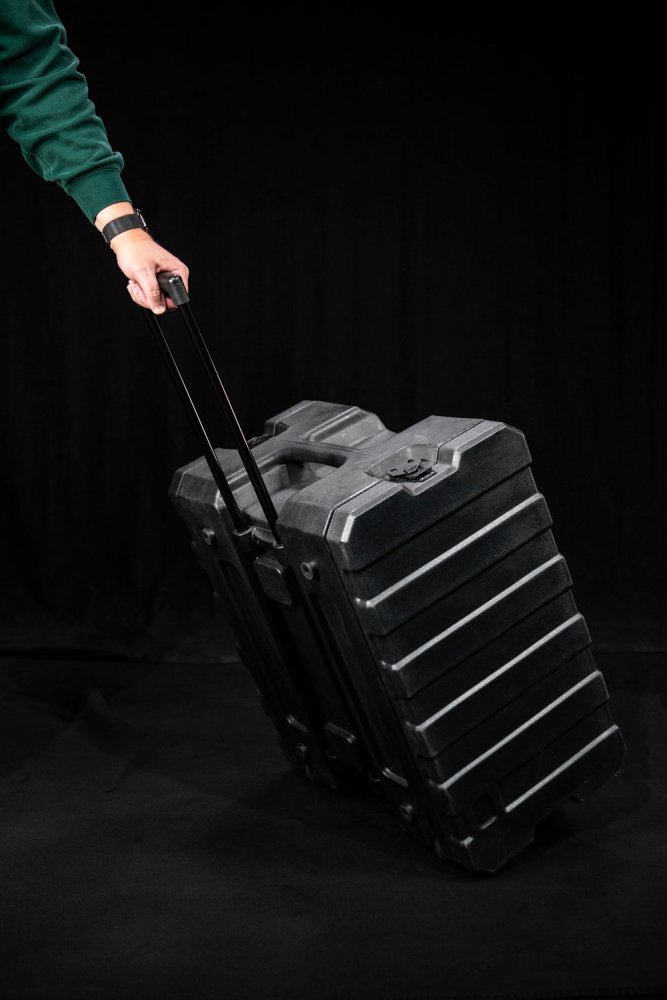
For this system, we were looking for something that could be easily built using off-the-shelf components and still be mobile. The solution is to use 19″ components in a 19″ case with an integrated trolley.
Modular Design
This approach also allows you to choose the components you need for how you want to use the system and what cameras/video sources you plan to use.
Core Components
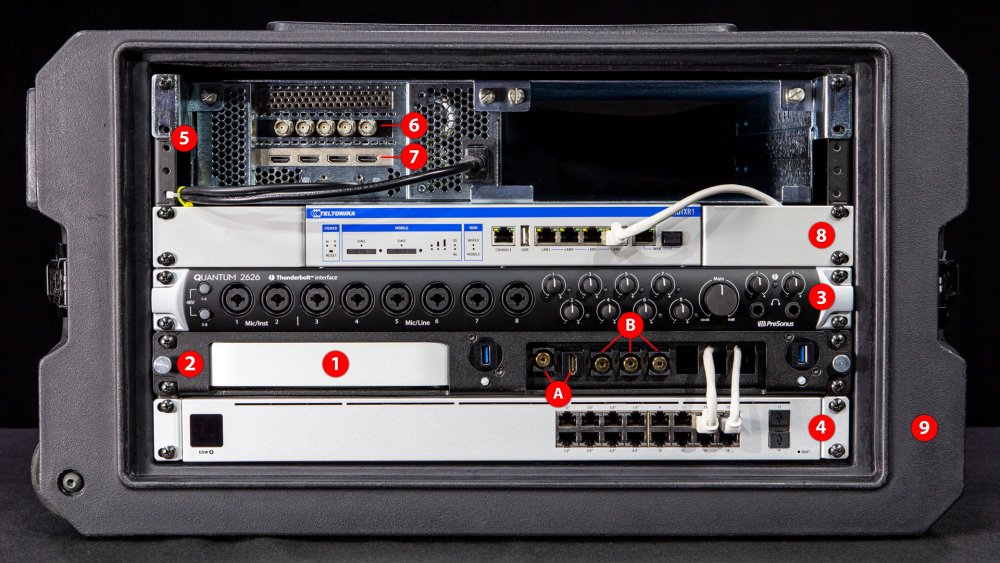
The Core Components of the system are the Mac mini running mimoLive and the audio interface.
Upgrades
Instead of the Mac Mini M2 8-Core, you can also use the Mac Mini M2 Pro if budget permits.
An upgrade to a Mac Studio requires just a few configuration changes.
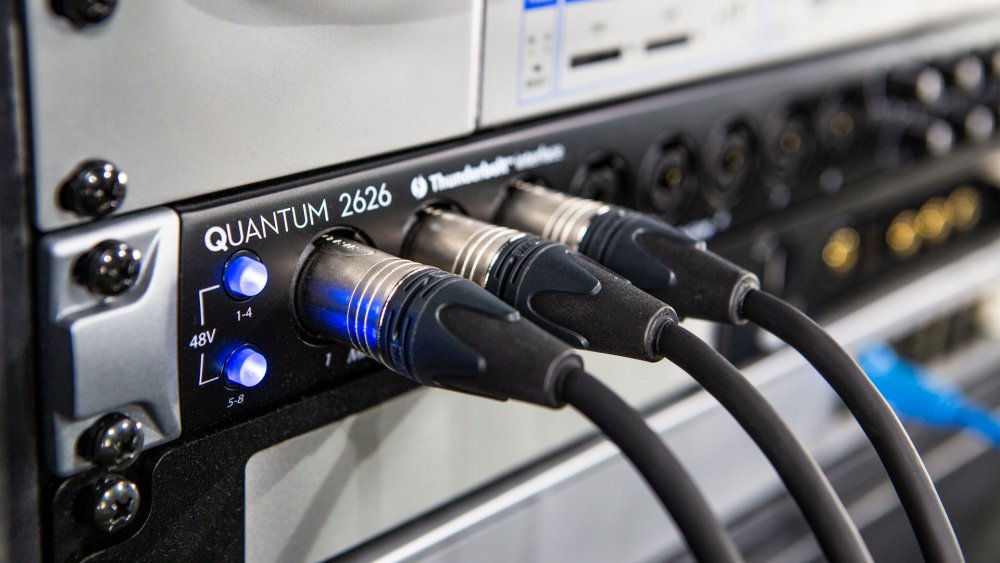
To mount the Mac Mini in the 19” frame, we found an interesting solution that also allows us to route 2 USB 3 ports, the HDMI port to connect the display and the audio jack to the front of the box:
- My Electronics Mac Mini Rack Mount (2)
- My Electronics HDMI Connector (to connect the external display.) (A)
- My Electronics Mini Jack Audio Cable (Note: we use one for the Mac Mini audio jack and 3 for the output from the Presonus to be able to have aux audio outputs. The cable only provides audio output from the Mac.) (A) and (B)
If the My Electronics solution isn’t available in your country or region, there are other solutions for mounting a Mac Mini in a 19” rack that you can use alternatively. A good trick to access the ports is to mount the Mac Mini back to front so you have easy access to the ports at the back.
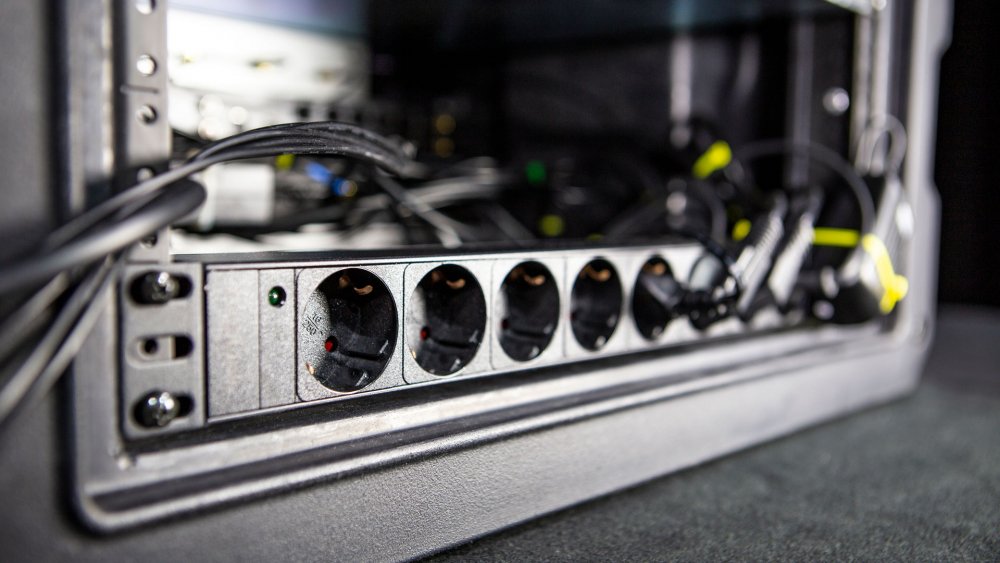
To manage power supply, we mounted a 19” power strip to the back of the case. You’ll have to get one that’s matching your local power plugs, but this is an example of what it looks like: 19 Inch Power Strip
Add-on NDI®
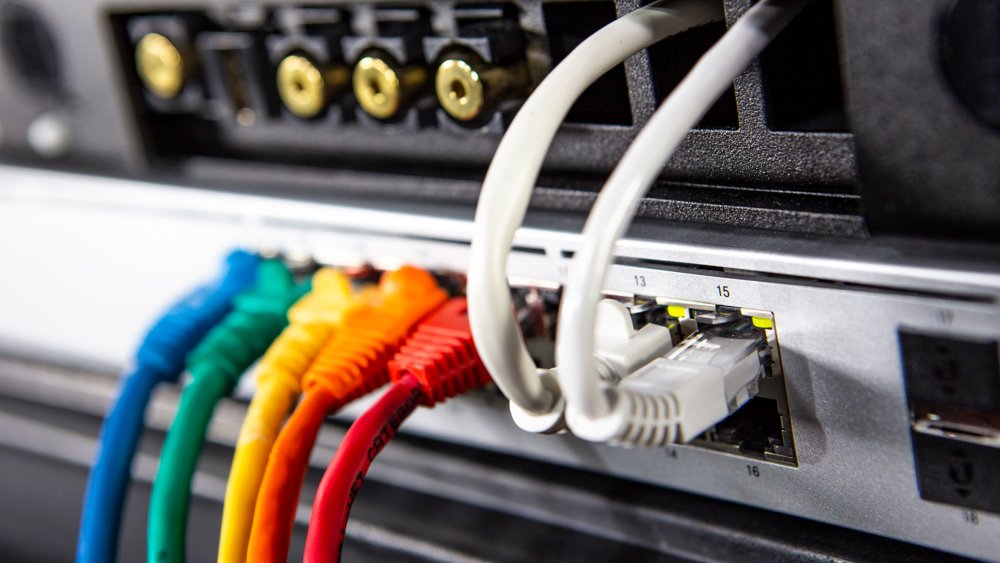
NDI is a great way to connect video sources like cameras to the mimoLive Pro Live Broadcasting Box. Because you need only a single ethernet cable which can be 300ft (100m) to the camera which supplies power, video and audio, your streaming system can be set up very quickly at the event site. The mimoLive Pro Live Broadcasting Box supplies everything needed to run an NDI network. The PoE switch provides enough power for 4 or 5 NDI cameras or converters that lets you attach older HDMI or SDI cameras. A DHCP server for zero configuration can either be provided by the LTE router, the host network or the Mac Mini. The Mac Mini can handle at least 6 NDI|HX sources.
Add-on SDI/HDMI
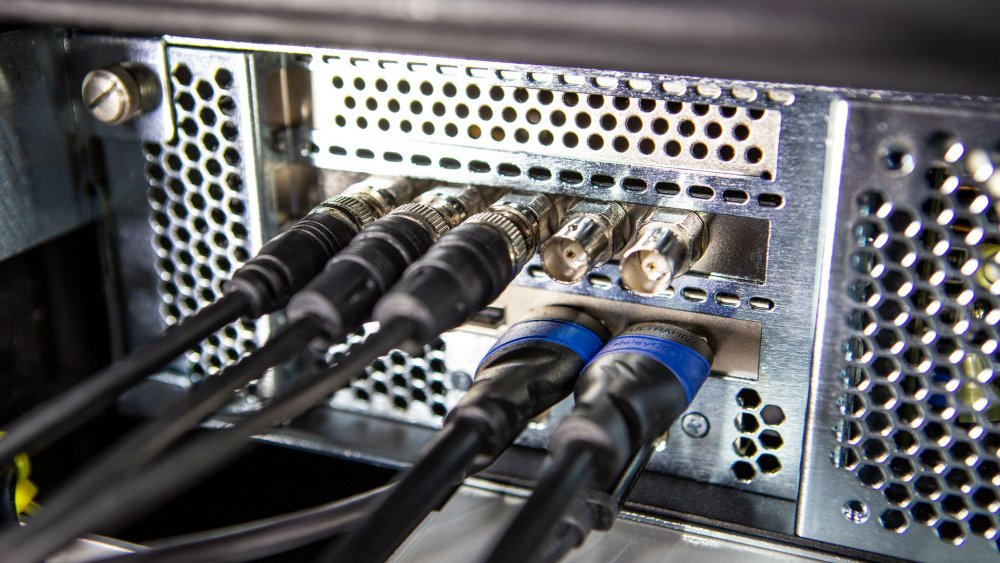
Of course, the mimoLive Pro Live Broadcasting Box can also be outfitted with a combination of HDMI and SDI inputs if you have existing infrastructure and equipment you want to use. For this, we add a PCIe extension box and some PCIe cards to the system depending on how many SDI/HDMI ports you need.
- Sonnet Echo III Rackmount TB3, PCIe, 3 Slots (5)
- Blackmagic DeckLink Duo 2 (Note: If you want more than 4 ports, use 2 cards. The Decklink Quad 2 is also supported, but the mini SDI connectors require adaptors) (6)
- Blackmagic DeckLink HDMI Quad Recorder (Note: These are HDMI inputs only!) (7)
For easy access, we mounted the Sonnet Echo III back to front
Add-on LTE Router and Wifi Access point
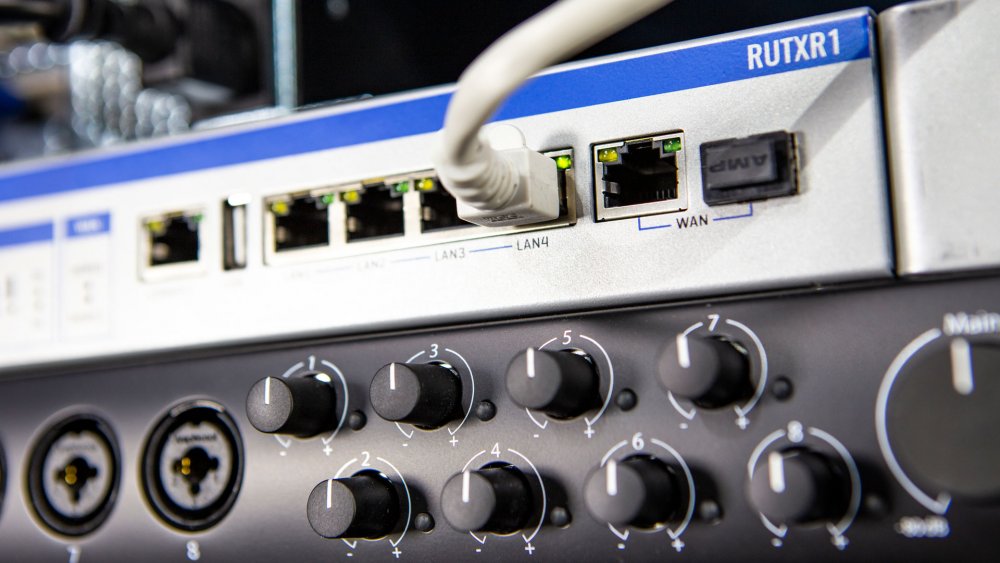
In order to be fully independent, you might want to add an LTE router to your setup. This also provides a private Wifi network for your other devices. The Teltonika router comes with antennas but they are a pain to set up each individually, so we’ve opted for a combination antenna.
- Teltonika RUTXR1 (Note: Please check if you need a local model!) (8)
- Teltonika LTE/GPS/GLONASS/Wi-Fi Combo 3m Antenna
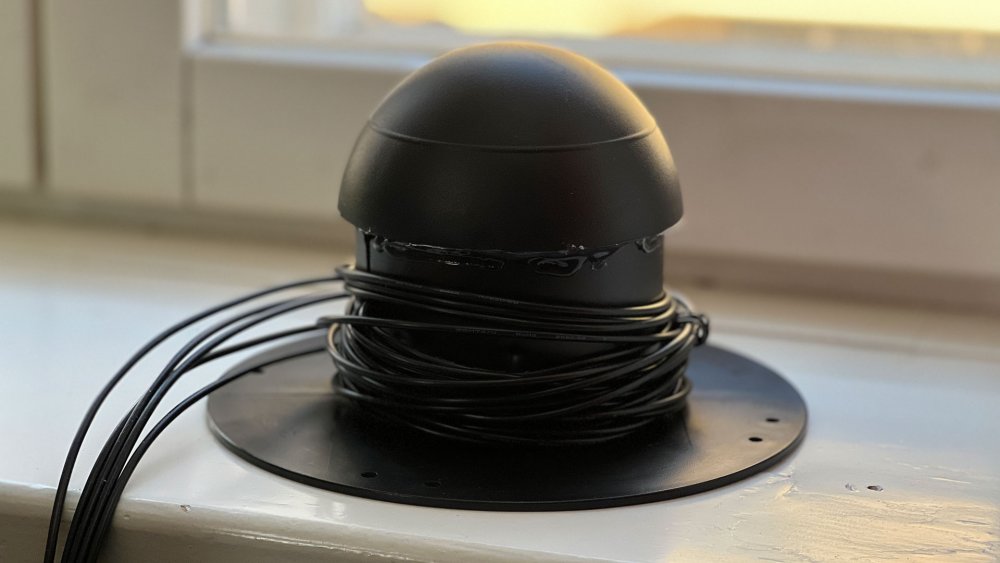
Antenna Mod
We cut off one rail of a cable drum and mounted the dome antenna on it so that the cable can be easily stowed by wrapping it around the antenna assembly. This also gives the antenna a nice stand.
Case
After you’ve selected the components to make up your mimoLive Pro Streaming Box, you need to count how many height units your case needs to be. If you have selected all components, you need a 6U case. If you don’t use the Switch and LTE router, you can use a 4U case. There are many 19 inch cases on offer, so select the one you like best. Keep in mind that you need enough depth to mount the biggest device and you also need some space to accommodate the plugged in cables connecting the devices.
We originally used the Gator GPro 6U case (9), but it is no longer available in Germany and maybe other regions.
4U Cases
- SKB R4UW Roto Rolling Rack
- Gator GRR-4L (check to make sure it is deep enough!)
6U Cases
- SKB R6UW Roto Rolling Rack
- Gator GRR-6L (check to make sure it is deep enough!)
Additional Video Output Options
The HDMI output of the Mac Mini is used to connect the display that is used to control mimoLive. If you want to connect the mimoLive Pro Live Broadcasting Box to additional video outputs, for example a projector or a broadcast switcher, there are several options:
- Connect a USB-C to HDMI cable to the Thunderbolt 3 throughput connector on the Sonnet PCIe box.
- Connect a USB-C to HDMI cable to the back of the Mac Mini.
- Install a Blackmagic DeckLink Duo 2 card and use SDI connectors for output.
The Mac Mini M1 supports only one additional display connected via USB-C but you can use multiple SDI outputs with the Blackmagic Decklink card.
Building the mimoLive Pro Live Broadcasting Box™
It is pretty straight-forward to assemble the box by mounting the components in the 19 inch case. For clean cable management, we use zip locks to tie the cables to the struts in the case. Make sure to secure the cables in a way so that they don’t fall out easily when you pull at them or knock on the box.
- Customers from the EU can order a completely assembled mimoLive Pro Live Streaming Box™ directly from Boinx: Get a quote.
- Customers from outside the EU: We’re looking for resellers who are able to source the components locally, assemble the box and train customers. Apply to become a reseller.
Showcases
To make sure that the mimoLive Pro Live Broadcasting Box™ meets the requirements of various use cases, we’ve done some testing in the real world:
- Pushing the Limits of Semi-Professional Sports Live Broadcasting
- mimoLive on M1 Real World Test (American Football game, including drone footage!)

