
Add filters to video sources
Filters can be applied to any video source and change the appearance of the source before it is processed by the Layer stack. mimoLive comes with a rich set of filters that are useful in video productions.
Access filter dropdown menu
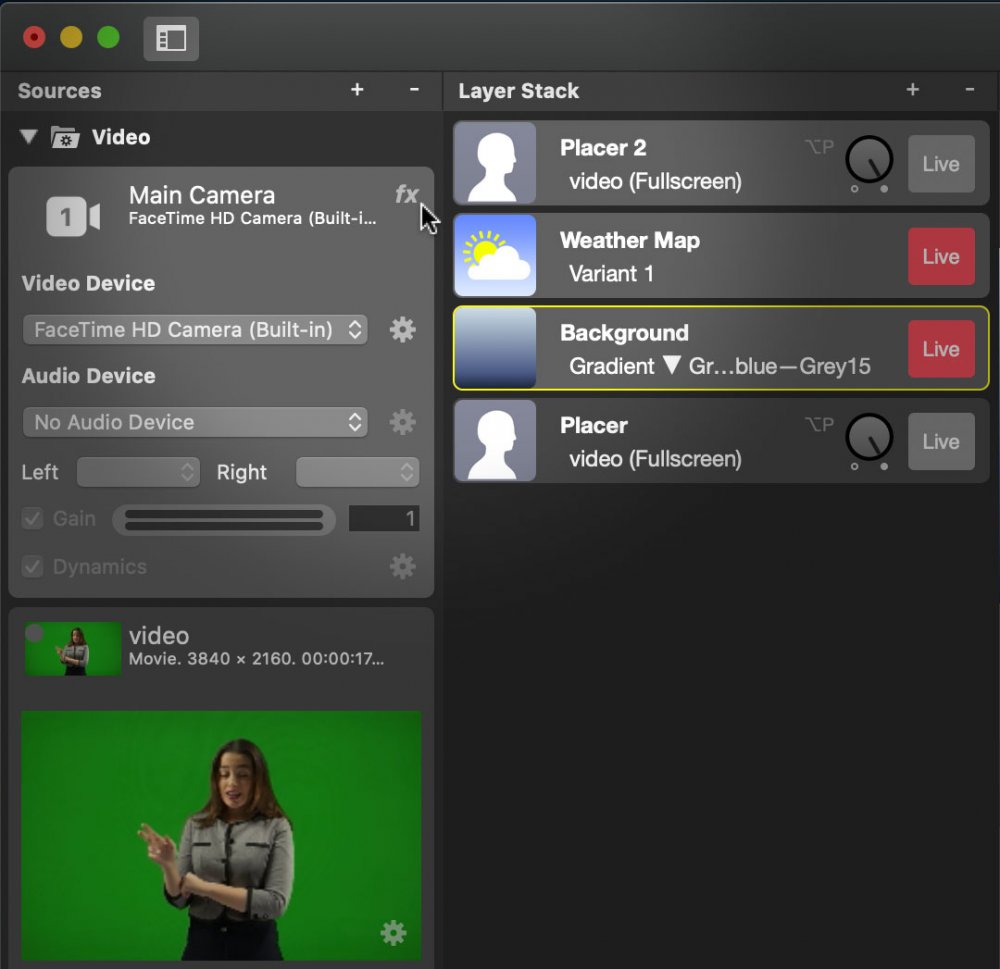
To access the filter dropdown menu, navigate your mouse cursor into the sources section of mimoLive on the left side of the window. While moving your mouse cursor over a certain source, the fx icon appears which opens the dropdown menu.
Choose the filter for the source
mimoLive comes with a variety of real-time video filters. Many filters will be self explained but refer to this page to learn more about filters.
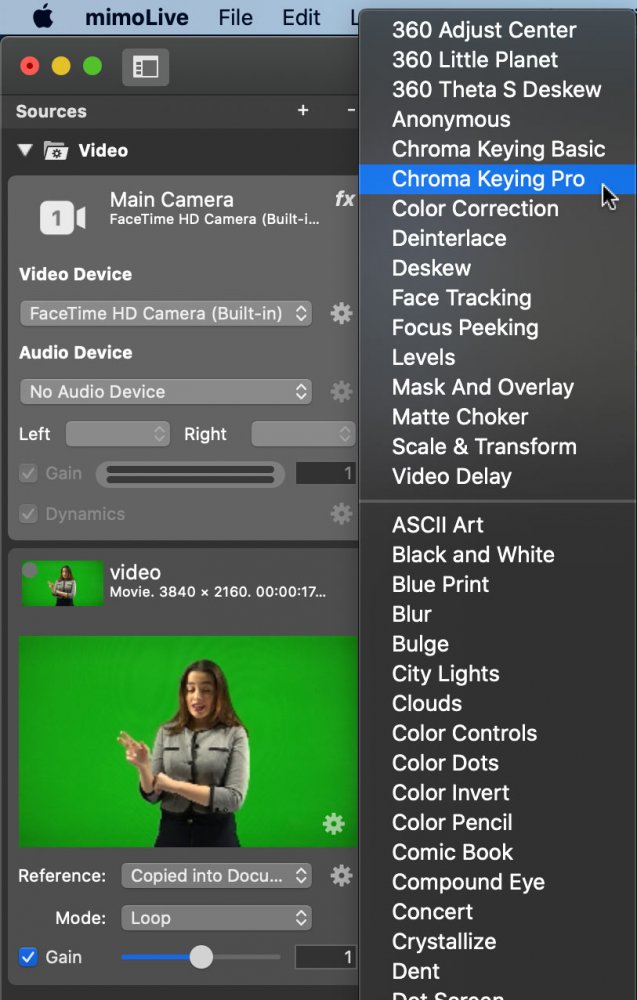
Here is a list of all filters which are available in mimoLive.
| Video Filter Name | Description |
|---|---|
| 360 Adjust Center | This filter is able to readjust the center of a equirectangular video frame used in 360° video productions. |
| 360 Little Planet | “Little Planets “ are the results of a special distortion of equirectangular video frames. Its for the fun of it! 🙂 |
| 360 Theta S Deskew | If you use a Theta S 360° camera by Ricoh you can use this filter to stitch the two half dome video images produced by this camera together. |
| Chroma Keying Basic | The Chroma Keying Basic is able to make a backdrop transparent, even if its not lit perfectly. |
| Chroma Keying Pro | This Chroma Keying Pro filter gives a professional result if you have a even lit backdrop. |
| Color Correction | Use this filter to correct colors if you can’t do it at the video hardware |
| Deinterlace | Some video sources still produce a deinterlaced video signal. Because mimoLive is running in progressive mode you need to deinterlace those video signals. |
| Deskew | If you capturing a shot clock in a gym but you can’t place the camera right in the front of the clock to avoid perspective fails you can deskew the clock to straight lines with this filter. |
| Face Tracking | This filter is very useful in combination with mimoCall: If your remote guest isn’t sitting still on their chair always moving out of your portrait capture area you can let mimoLive follow their face automatically. |
| Focus Peeking | To perfectly adjust the focus point for a video device you can enable this filter. It marks the sharp areas with a certain color. |
| Mask and Overlay | If your video needs to be made transparent in a certain areas you can use this filter. Additionally this filter can add an overlay image. The default setting is meant for a Kiss Cam! 😉 |
| Video Delay | BIf your audio is not in sync with your video you may need to delay your video. To learn more about it read the detailed description of the Audio Sync Meter layer |
Video Filters provided by macOS may not work
There are many other Core Image Filters that comes with macOS. Those video filters are not guaranteed to work in mimoLive correctly. Use on your own Risk!
Applying a Filter
To apply a filter to a video source in mimoLive follow the steps below:
- Select the video source in the Sources Repository on the left in your mimoLive document window. The Source Inspector Panel will expand.
- Click on the “fx” button at the top right corner of the Source Inspector Panel. A list of all available video filters will be shown. If there is no “fx” button then you most likely didn’t select a source that has visual content to filter.
- Click on the Video Filter of your choice. It will be added to the Filters List of the selected video source.
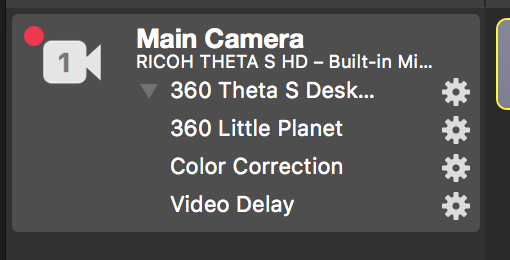
- Most video filters has some parameter to adjust. By clicking on the Settings Wheel next to the video filter a configuration popover will be opened.
Applying Multiple Filters
In some cases it may be necessary to add multiple filters to a video source to achiev the desired result. You can add additional video filters if you click on the “fx” button again. New video filters will be added to the Filters List at the bottom. See Ordering Filters .
Changing a Filter’s Settings
Each filter comes with it’s own settings. Once you’ve applied a filter to a source, you can click the Settings Wheel to access a popover which contains the filter’s settings.
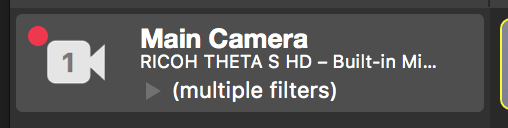
Compact And Expanded View
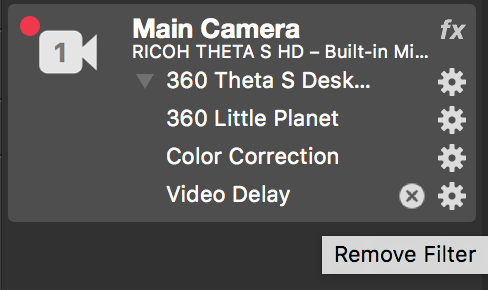
If you have multiple filters applied to your video source they can get in your way if you don’t need to adjust them anymore. You can switch to a more compact view by clicking on the little triangle at the top left of the filters list:
Removing a Filter
- To remove a filter, move the mouse over the name of the filter. An “x” appears next to the settings gear.
- Click the x to remove the filter.
Ordering Filters
- The order in which filters are applied is very important for what the output looks like.
- To change the order of filters, simply grab the filter and drag it to the position you want.
- The top most filter is applied first, the bottom most is applied last.
Creating Custom Filters
There is a certain effect you don’t find in the long list of available video filters? You can create and use your own custom video filters in mimoLive! Please read Custom Layers to learn more about how you can extend mimoLive.