If you are using mimoLive to drive a LED board you may want to test your LED board before the big show if it is working correctly and don’t have broken pixels.
he LED Board Testing layer is a free mimoLive add-on.
Please visit mimoLive Store to download this add-on for free
There are two interesting test cases which you can perform:
Pixel Resolution Test
A LED board usually has fewer pixels than a computer display and if you want to render the exact pixel dimensions as your LED board there is a way to test the video pipeline all the way to the LED board:
- Find out the native pixel dimensions of your LED board and set your rendering size to this in the mimoLive document settings.
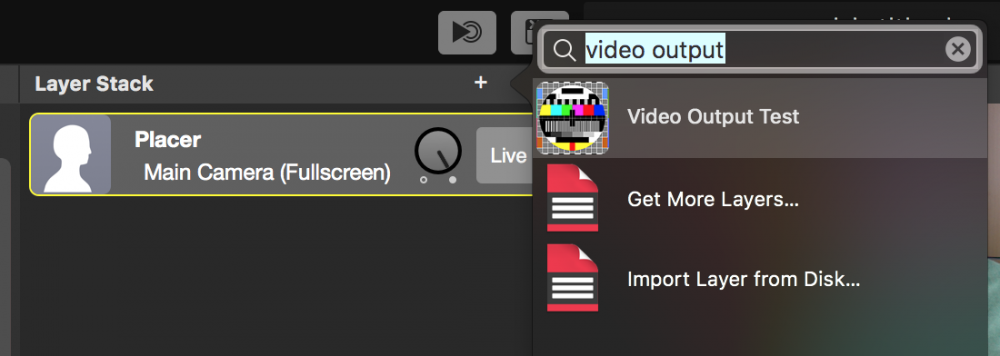
- Add the Video Output Test Layer from the Layer Library to your document and switch it live:

There are two interesting options for the test image in this layer: “Phillips PM5544” and “Screen Dimensions”
First, switch the option to “Screen Dimensions”. Now the pixel dimension is displayed and a one-pixel border is drawn in green. With this, you can check that the rendering dimensions in mimoLive match the pixel dimension of your LED board. The thin green line around will show on your LED Board if any border pixels get cut off.
As a second test select the “Phillips PM5544” option. The big circle will let you see immediately if the aspect ratio is correct: If it’s not a circle then the aspect ratio does not match. The vertical stripes in the middle will show if there is any pixel subsampling happening. Especially look at the square at the far right.
Peak Amps Test
Because a LED board power consumption is depending on the content it’s showing it is important to test what happens if the amperage is peaking from a minimum to a maximum. You can use the LED Board Test layer to test this:
- Switch off the “Show Labels” and “Highlight Tile” options. Now the screen should either be completely dark or have a single solid color.
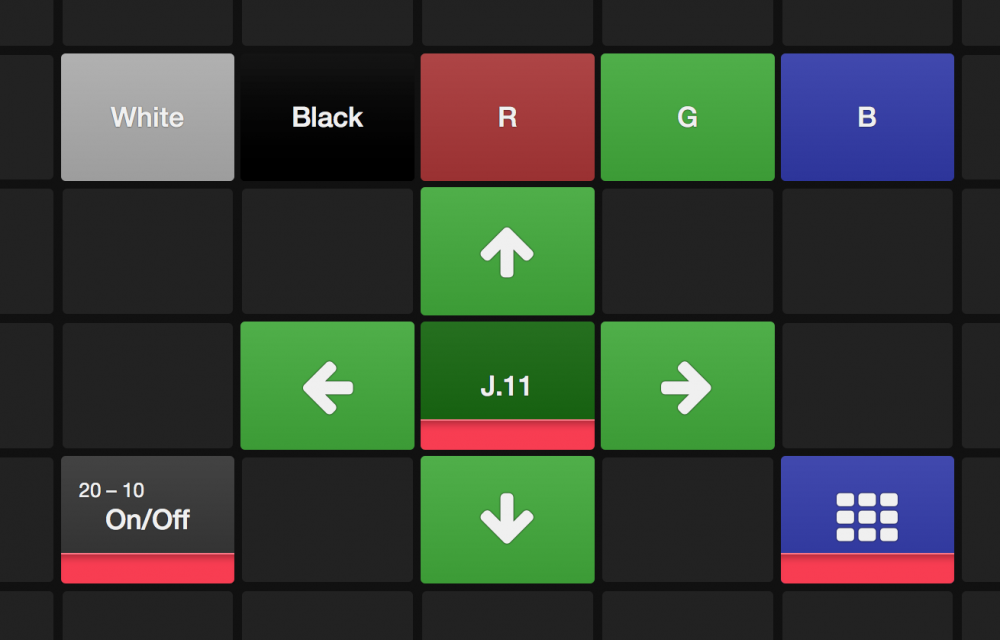
- Use the “White” and “Black” buttons to switch back and forth between complete white and complete black on your LED board. (Note: The buttons are also available on the special Remote Control Surface for this layer)
While this happens you may observe the amps on your LED board power supply to see if everything is in the normal range.
Broken Pixels Test
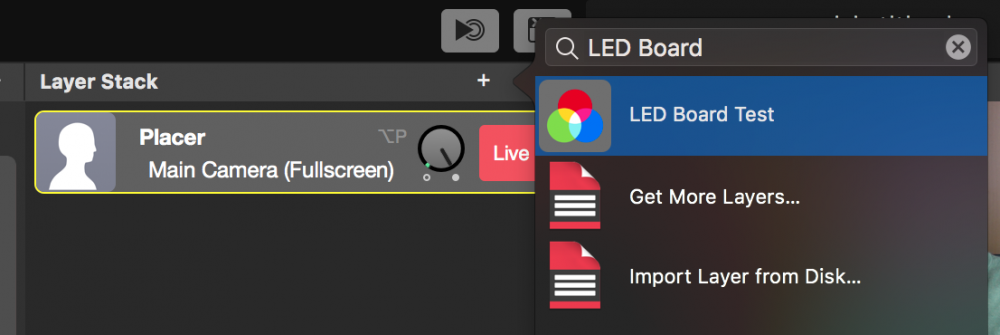
If you want to make sure all the pixels on your LED board are correct then you can use the LED Board Test layer. Add the LED Board Test Layer from the Layer Library to your document and switch it live:

First of all, you need to set up the columns and rows count of the LED board segments in the Content section of the parameters of the layer.

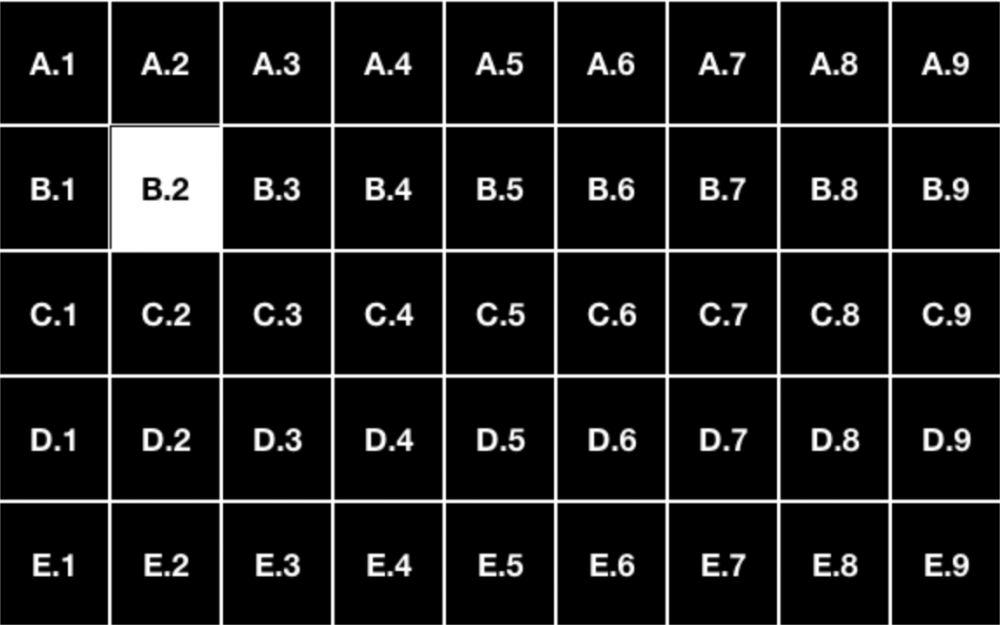
In the Labels section of the layers parameter, you can specify how the labels for each LED board segment are calculated. Set this up that way that it matches the labels on the segment of your LED board for easier reference.

To perform the pixel test click on the buttons with the color names one by one. You will notice that defect pixels are easily visible if the corresponding color channel is illuminated only. If you found a broken pixel you can switch on the labels to determine which segment needs to be changed. You also can highlight a single LED board segment if you need to make detailed tests by either entering the column and row for it in the layers parameter or by clicking on the corresponding label in the Layer Preview or Program Out.
Remote Control Surface
There is a special Remote Control Surface for this LED Board Test layer that allows you to step in front of your LED board and perform the pixel test remotely.


