
Starting with mimoLive 6.6, mimoLive comes with a new Virtual Camera Extension. This new extension works with MacOS Sonoma 14.1 (and newer) without changing the security settings and can be installed without a separate download. It also works in more apps than the legacy Virtual Camera Plugin, including FaceTime, Microsoft Teams, Whatsapp and many more.
Installing the Virtual Camera Extension
Move mimoLive to the Applications folder prior to installing the Virtual Camera Extension.
Apple now requires the apps that install extensions to be in the Applications folder (“/Applications”). If mimoLive isn’t in that folder, an error message appears when you try to install the Virtual Camera Extension.
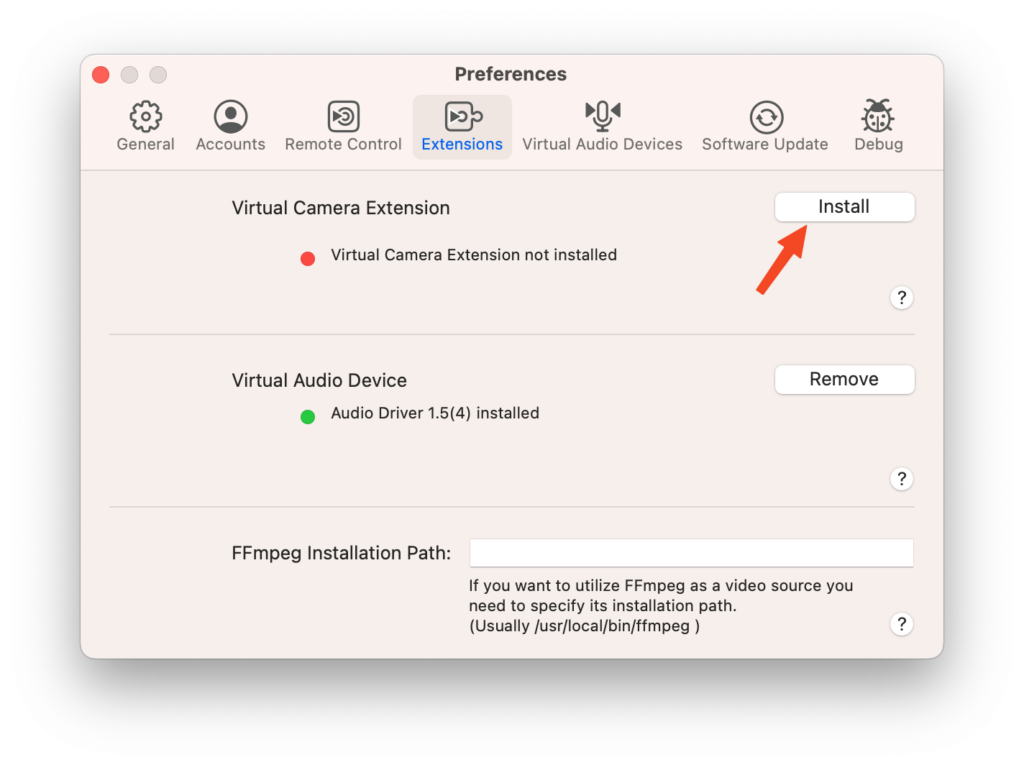
Step 1: Go to mimoLive -> Settings… -> Extensions and click on “Install”.
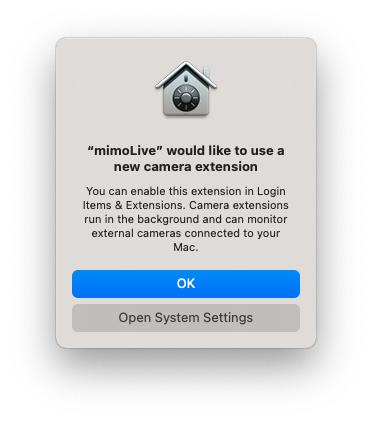
Step 2: The Virtual Camera Extension will be installed. MacOS will block the Extension from loading until you give it permission to load the extension:
In macOS 15 Sequoia or later:
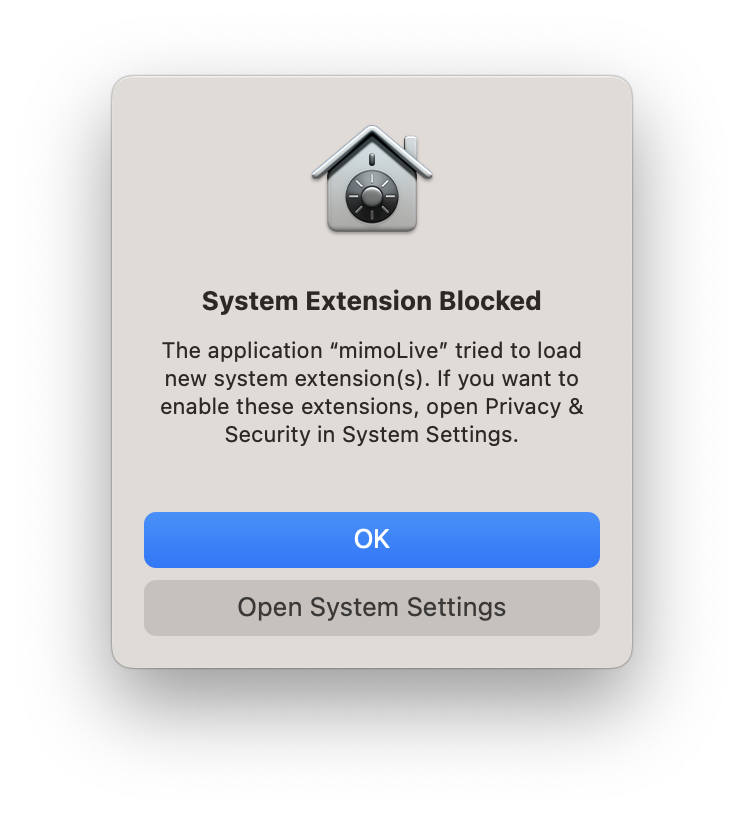
Prior macOS 15 Sequoia:
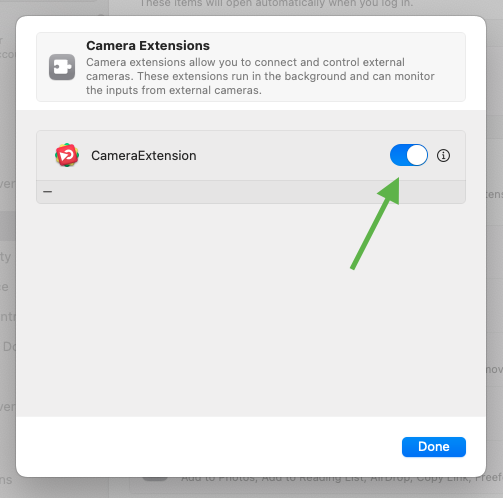
Step 3: In macOS 15 Sequoia or later: Go to “System Settings” -> “General” -> “Login Items & Extensions”:
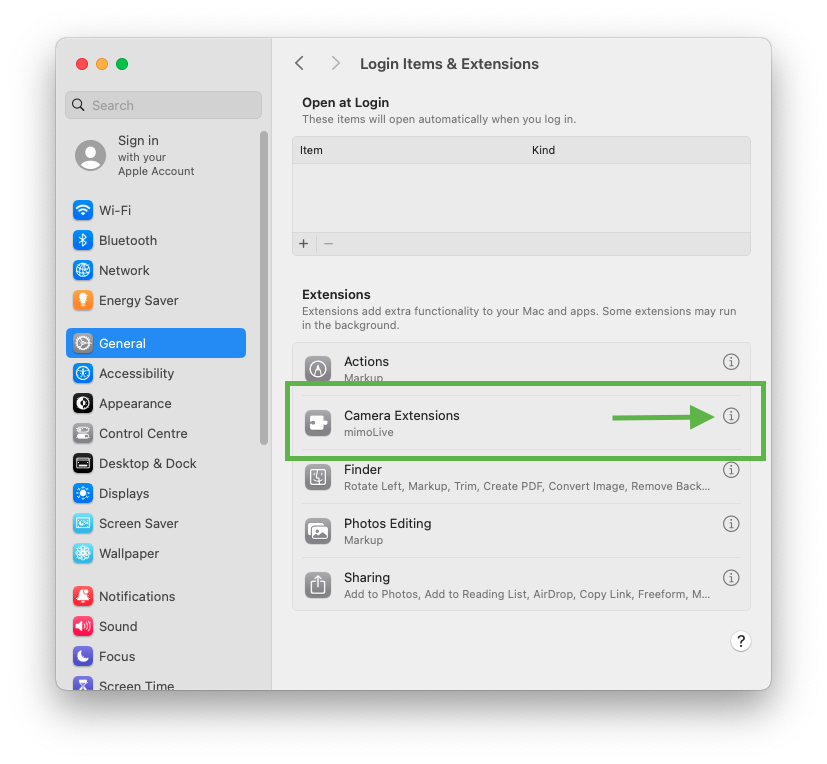
Allow the use of the Virtual Camera Extension for other applications by switching it on:
Prior macOS 15 Sequoia: Go to “System Settings” -> “Privacy & Security” and scroll down until you find the following section:
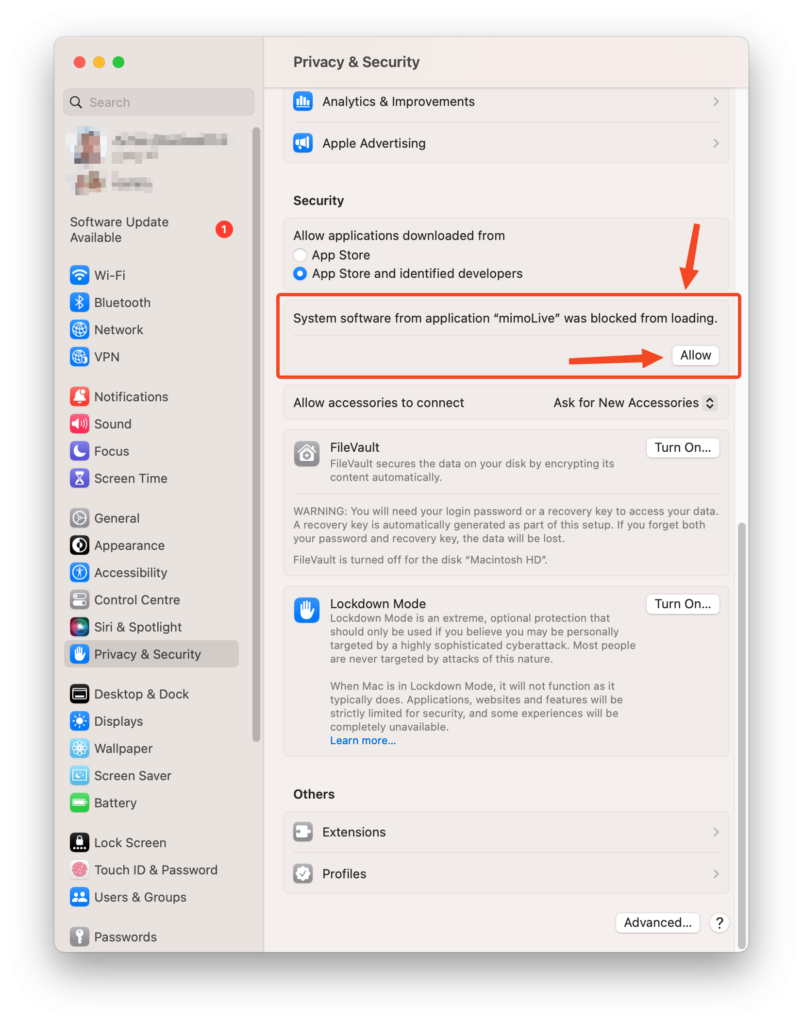
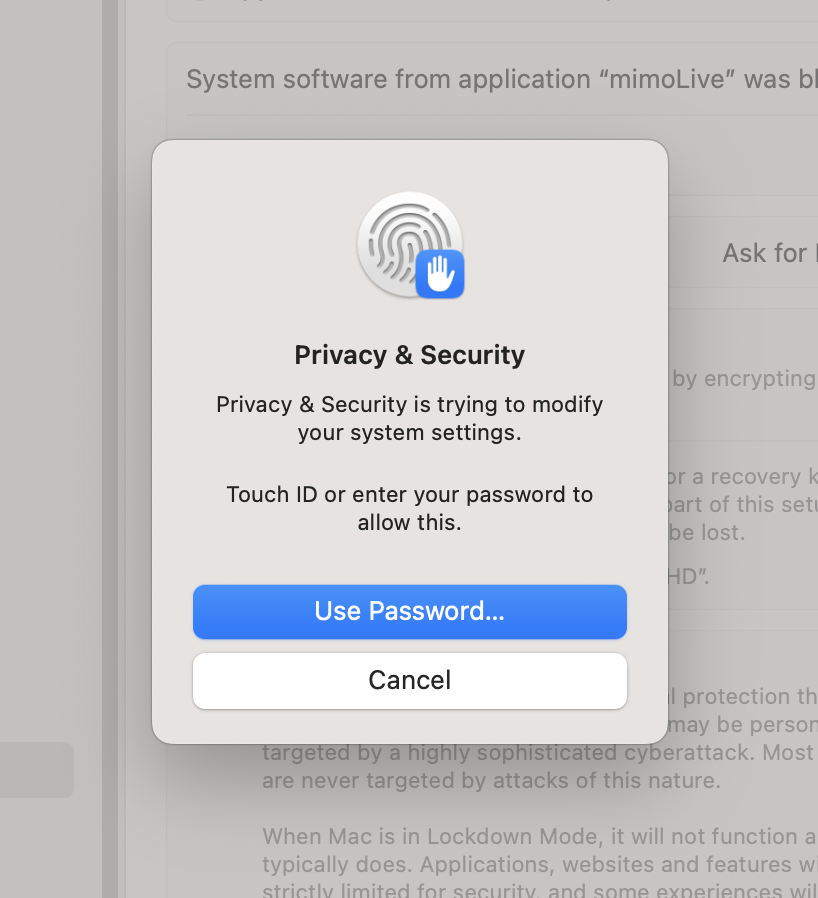
Step 4: Click on “Allow” and authorize the changes to the system settings to enable the Virtual Camera Extension:
Step 5: Relaunch mimoLive to make the new Virtual Camera Extension available to the other apps.
Further Reading
To get audio from mimoLive into Zoom, MS Teams and others, install the Virtual Audio Device as well.
To make use of the Virtual Camera Extension you need to add a Virtual Camera Output Destination to your mimoLive document.