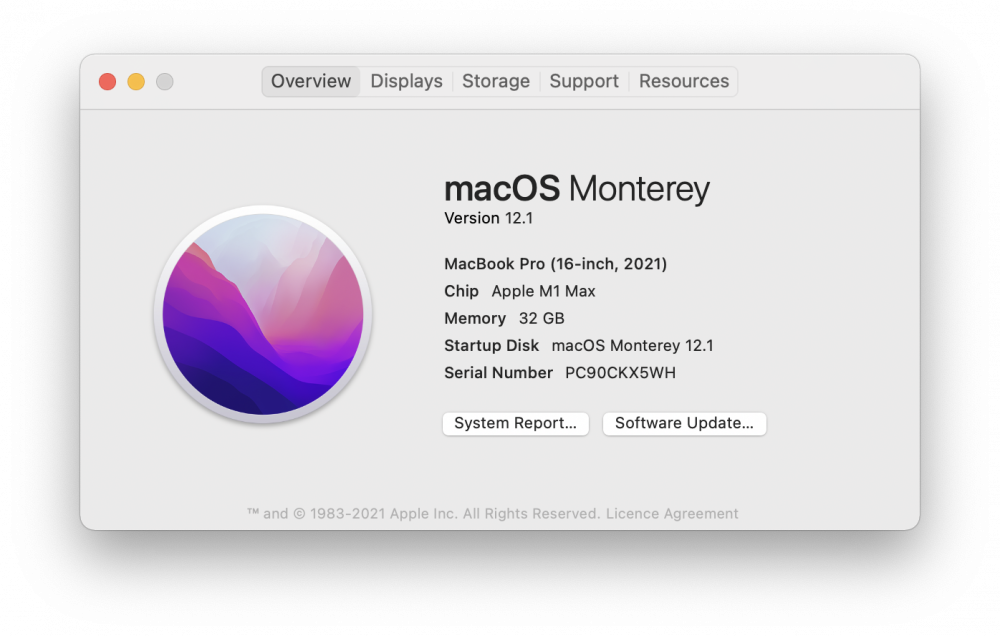
With the update from MacOS Monterey 12.1 to 12.2, a bug was introduced into MacOS that causes mimoLive on MacBook Pro M1 Max 64GB (and only that model) to be unable to display video from video sources in the Layer Preview and Program Out. While we have alerted users through the in-app news feed, it’s just too easy to install the update and some users may have done so. This document describes a temporary workaround to revert to version 12.1 by installing a fresh copy of MacOS Monterey 12.1 on an external hard drive. This procedure should work for any version of MacOS Big Sur or later.
While this procedure should work on all M1 Macs, we only tested it on a MacBook Pro M1 Max.
It’s possible that this also works with SD cards.
How to install macOS Monterey 12.1 on an external USB drive
Preparing the external disk
- Get a USB 3, USB-C or Thunderbolt 3 external drive. (BTW, this should also work with SD cards!). The best and fastest option is a Thunderbolt 3 SSD drive. This drive will be erased completely, so make sure there is no valuable data on it.
- Your computer should run macOS Monterey.
- Open the “Disk Utility” app in the “Utilities” folder inside your “Applications” folder.
- Connect the external drive to your computer and wait for it to show up in the Disk Utilities window.
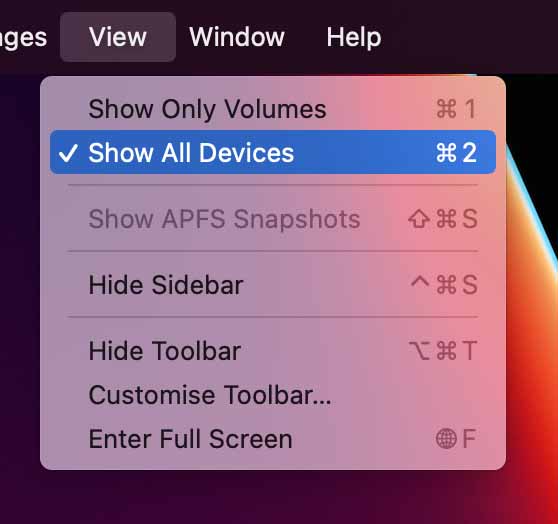
- Select “Show all Devices” in the “View” menu in “Disk Utilities” so that the device itself shows up in the Disk Utility window:
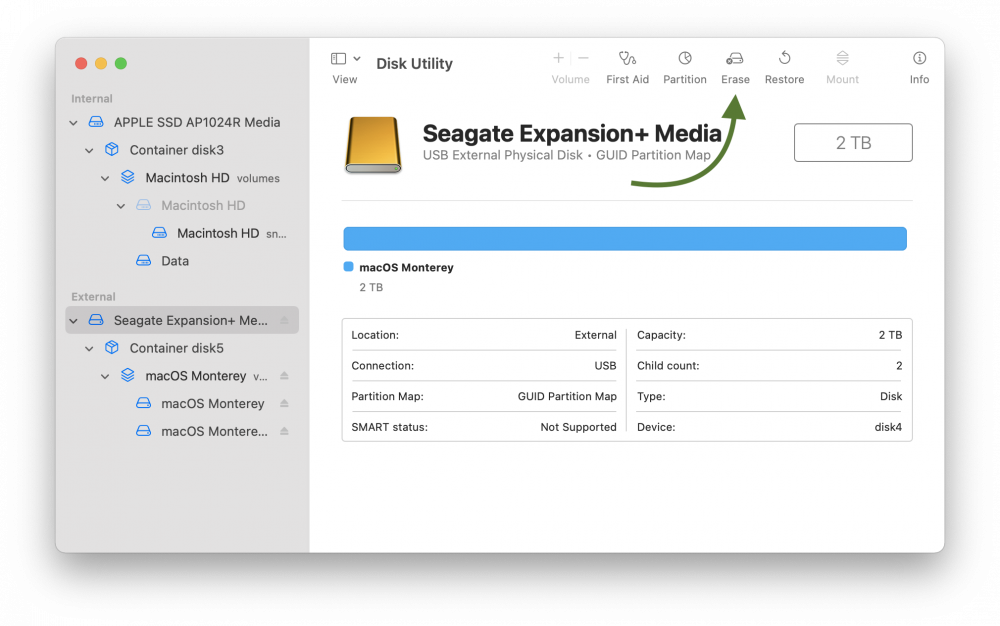
- Select the root device for your external disk in the left column of the window. The right side of the window will show detailed information about the disk.
- Double-check that the disk you want to erase is selected, then click on “Erase”:
- Disk Utility will ask you for a new name for the disk, what format you want to use and what partition scheme. Use “APFS” as the format and “GUID Partition Map” as the scheme or it will not work:
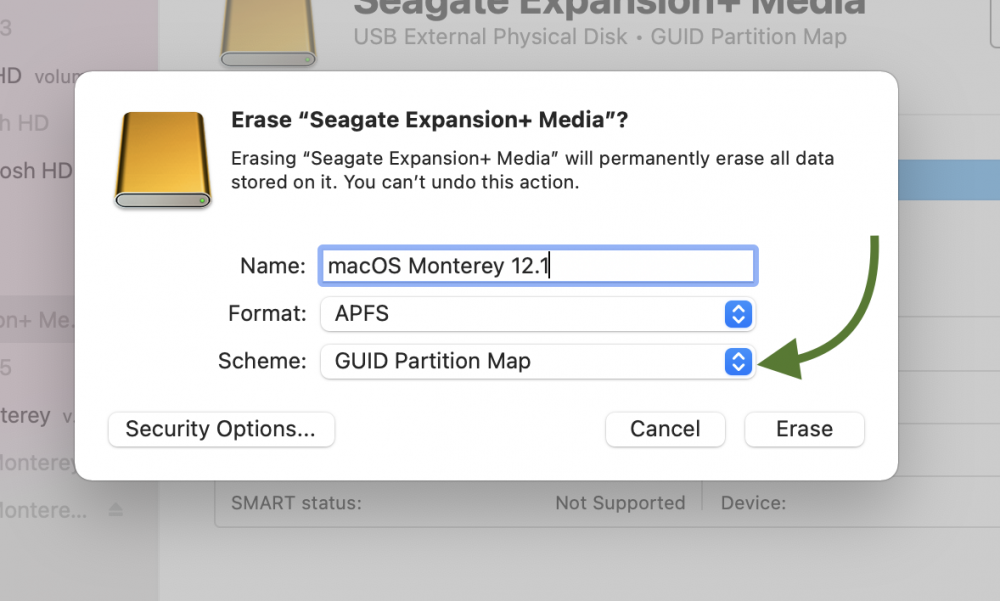
- Click on “Erase” to perform full formatting of the external drive. This will take a couple of seconds.
Getting the installer for macOS Monterey 12.1
Getting Installers
Apple has made installing a new version of macOS very consumer-oriented, hiding away all the details. This makes it difficult to find installer images for macOS. Thankfully, Armin Briegel of scriptingosx.com has created a helpful app to get full installers: Get “Download Full Installer” from Github.
- Get “Download Full Installer” from Github (link above). Start the app. You will get a window with a list of available downloads of different macOS versions.
- Find macOS Monterey 12.1 and click the arrow button to download it. The download will take some time:
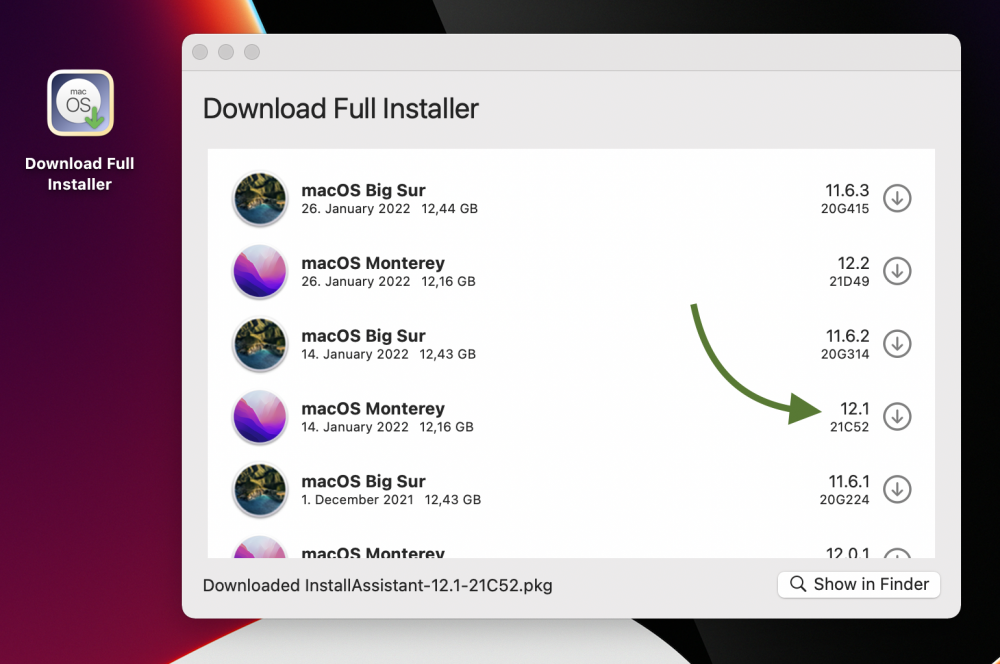
- The downloaded “Install Assistant” will end up in your Downloads folder. Clicking on the magnifying glass icon will take you there.
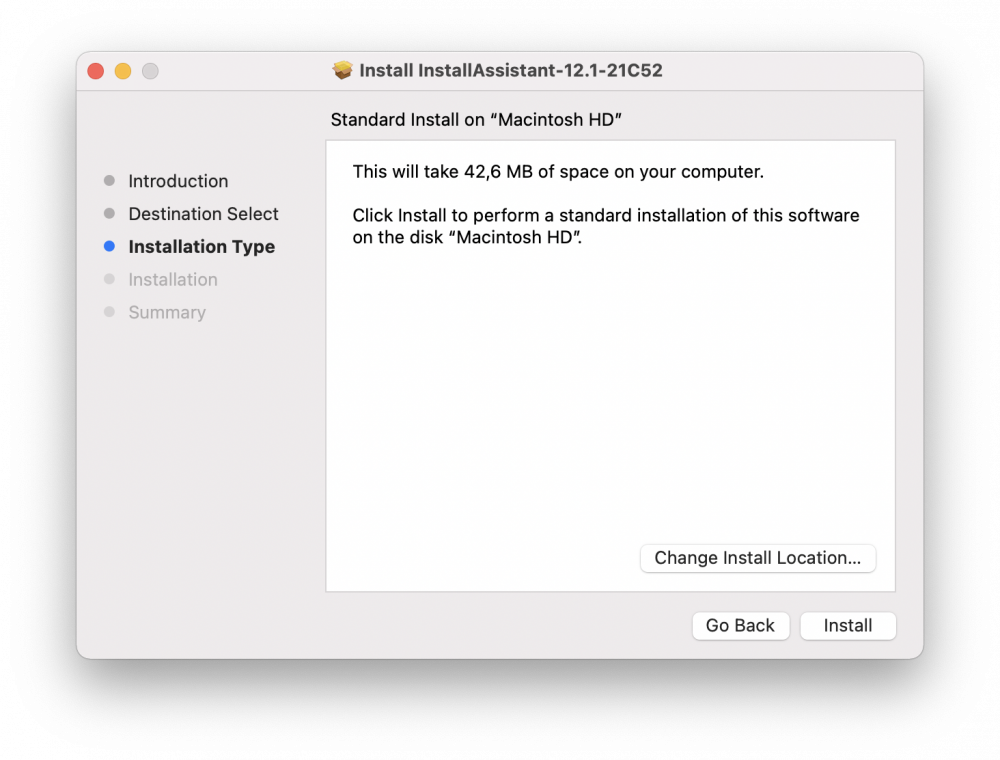
- Start the “Install Assistant” and click through the standard settings:
This is not the macOS installer but an installer for the macOS installer. It will install the macOS installer into the Application folder
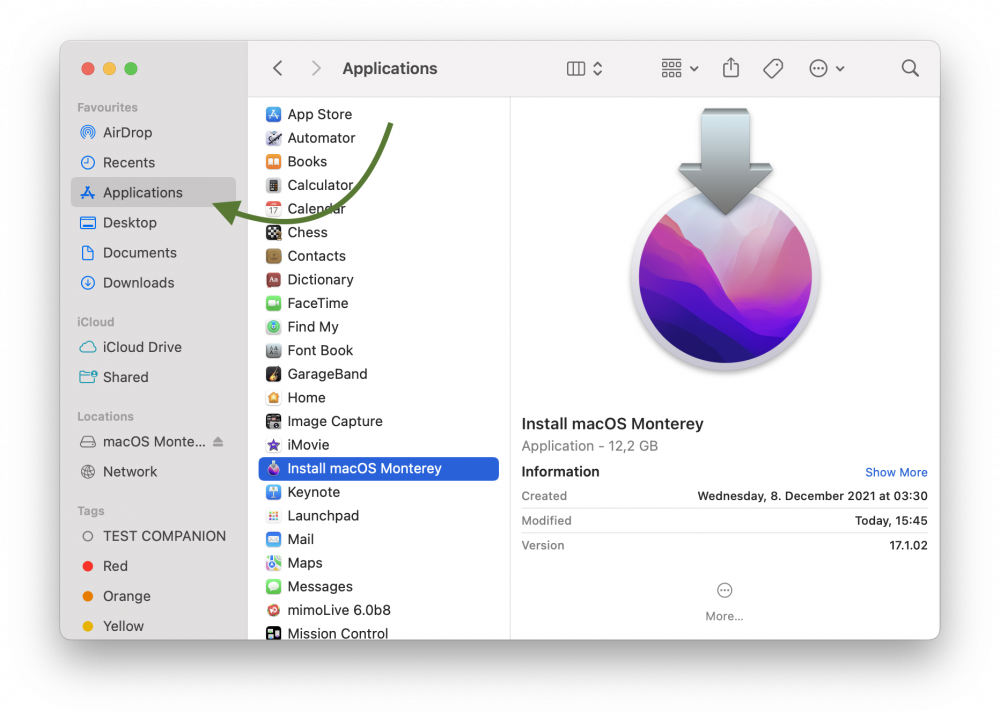
- After the Install Assistant has finished, a new app called “Install macOS Monterey” should have appeared in your Applications folder:
Installing macOS Monterey on the external drive
- Start the “Install macOS Monterey” app. The familiar macOS installer window will open and guide you through the installation process.
- Select your prepared external disk as the destination to install macOS on to:
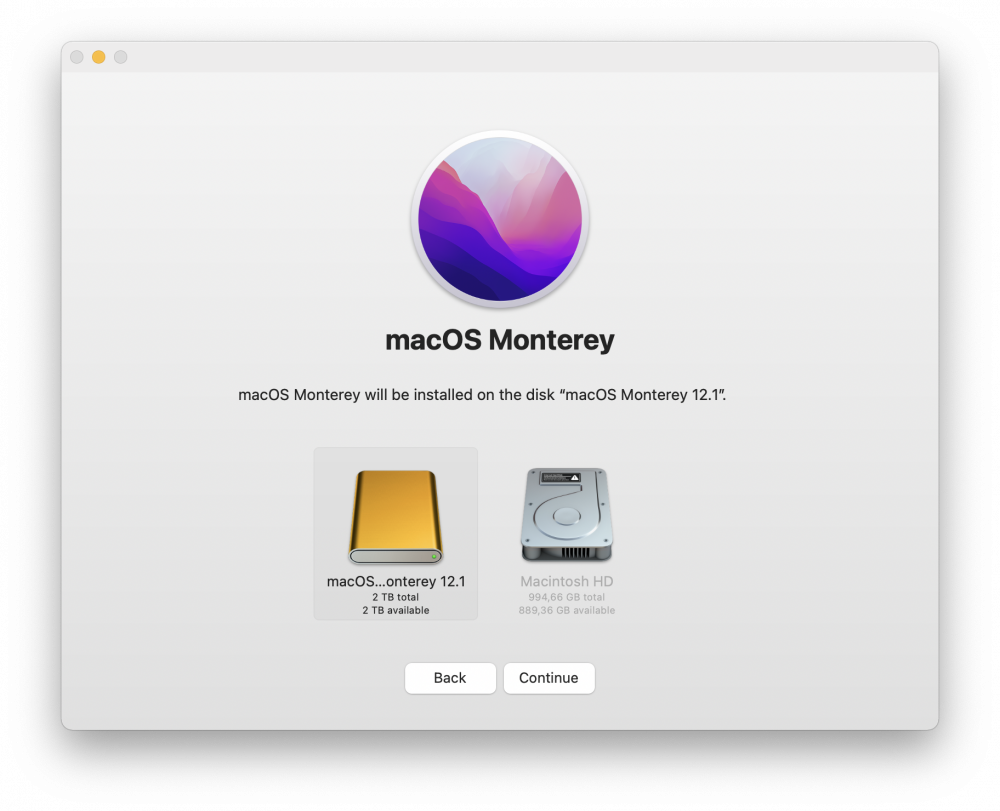
- Click on “Continue” to install macOS Monterey on the external Disk. There will be some additional screens to walk through before the actual installation starts.
- Once the installation is finished, the Installer will ask you to restart your machine to complete the installation. Please note that the machine may restart multiple times.
- At the end of the installation process, your Mac will have booted from the external disk. The macOS Setup Assistant will come up and ask you for some settings.
- Once you finished the Setup Assistant you have a clean installation of macOS Monterey on the external drive: