
Follow these simple steps to install mimoLive and activate it with your license key.
System Requirements
mimoLive requires a Mac (Intel or Apple Silicon) running macOS 10.14 or higher. We highly recommend using macOS 15 Squoia or newer.
Installing mimoLive
Step 1: Download mimoLive
- Visit the mimoLive download page at https://mimolive.com/download
- Click on the “Download” button to start downloading the latest version of mimoLive.
Use the Boinx Software Download Server!
Please download mimoLive from mimolive.com/download only!
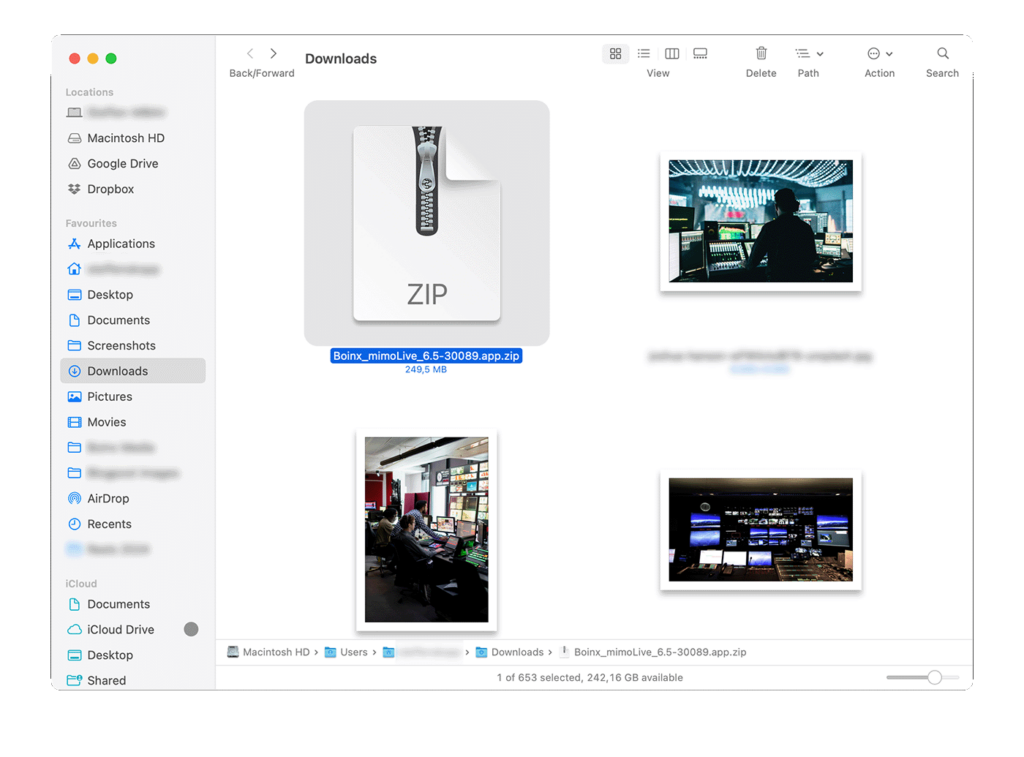
Step 2: Unzip the Downloaded File
- Once the download is complete, locate the downloaded app file in your Downloads folder.
- If the app isn’t automatically unzipped, simply double-click the
.zipfile to extract the mimoLive application.
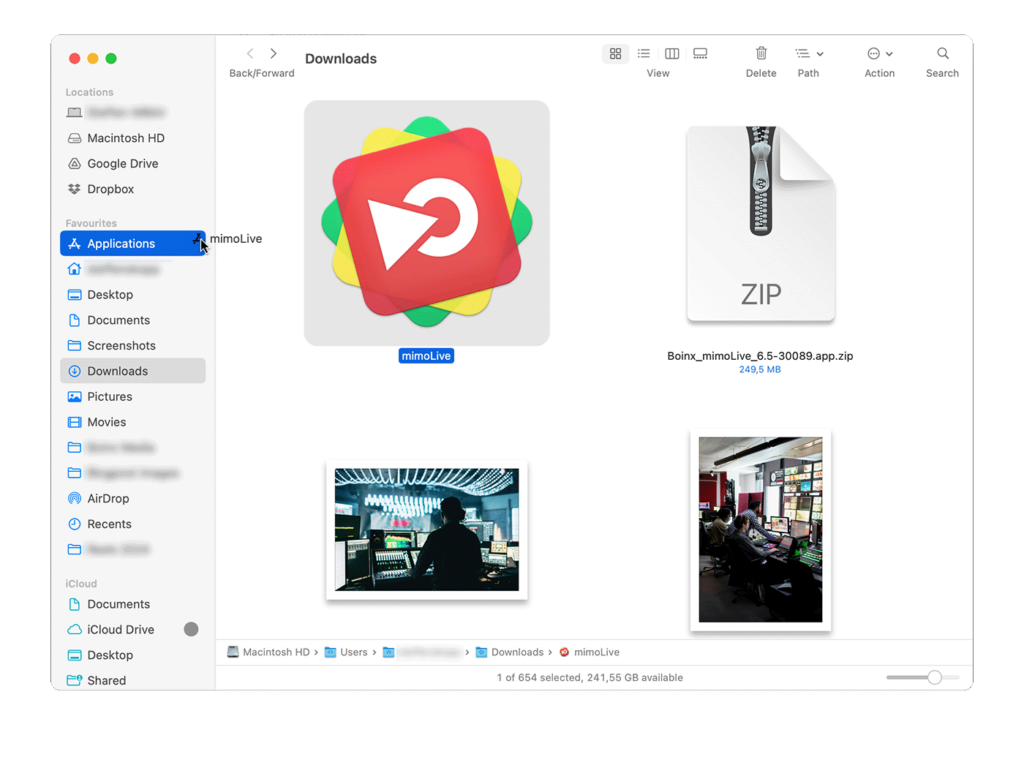
Step 3: Install mimoLive
- Drag the mimoLive application icon to your Applications folder to install it.
- Navigate to your Applications folder and double-click on the mimoLive icon to launch the app.
Using different versions at the same time
It is possible and sometimes useful, for example for testing new releases, to have multiple versions of mimoLive installed. Just rename the application before dragging it to the Applications folder in order to avoid overwriting the already installed version.
For best performance, make sure that only one copy is running at the same time.
Step 4: Activate Your License
- Click the provided License Installation Link in your purchase confirmation email.
- The link will open a web page containing a button to install the license in the mimoLive app.
- Once you clicked the button your browser will ask you to confirm the launch of mimoLive.
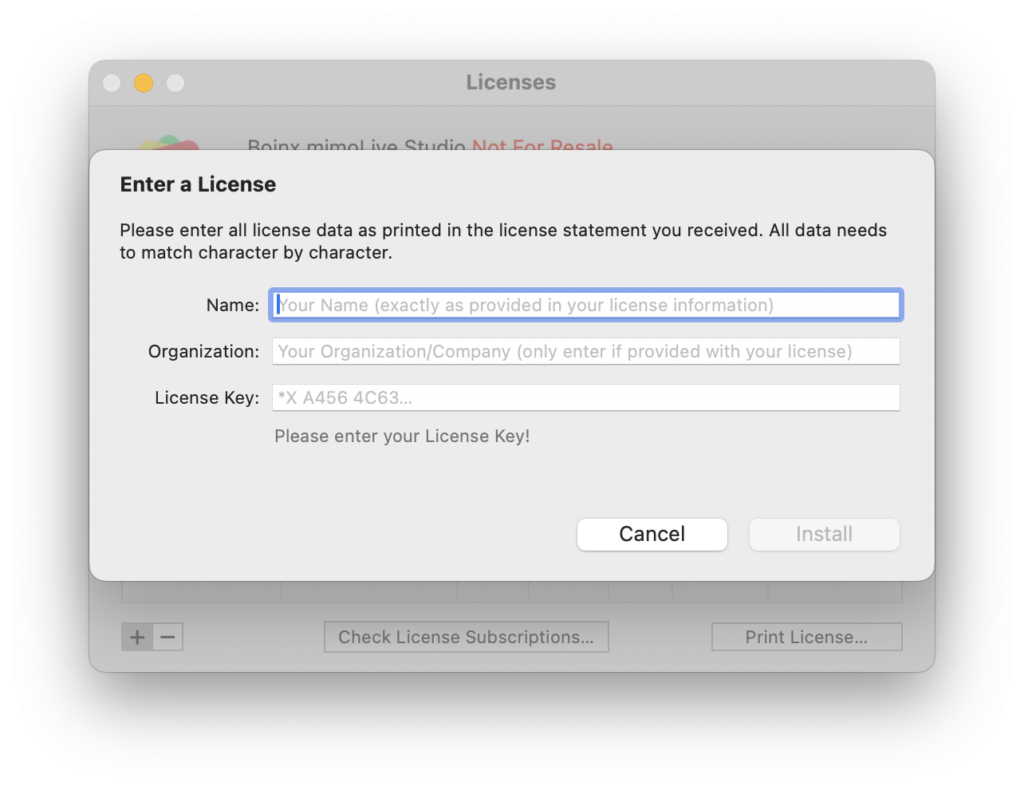
Alternative activation method: If you prefer, you can manually enter your license information:
- Open mimoLive and select mimoLive > Licenses… from the menu bar. The licenses window will open.
- Click on the “+” button in the lower left corner to enter your licenses key manually.
- Because the license key contains many random characters, you can simply copy and paste the entire license email into the form. mimoLive will automatically parse the clipboard content and extract the necessary information.
Step 5: Connect additional Accounts
mimoLive seamlessly integrates with various platforms and services for broadcasting, streaming, and social media engagement. To connect your accounts, please check out the Accounts page in this manual.
Add your free Boinx Connect account in the mimoLive settings!
In order to use the integrated video call feature mimoCall, you must add a free Boinx Connect Account to mimoLive.
Step 6: Explore mimoLive
Congratulations, you’re all set! Best start with watching the Tutorials.
Need Help?
If you encounter any issues or have questions, the support team is ready to assist you. Visit the support website for details.