

Supported X-keys Devices
mimoLive has a very rich Remote Control Surface Editor which is used to create the actions for remote hardware controllers. mimoLive supports programmable X-keys keyboard by P.I. Engineering .
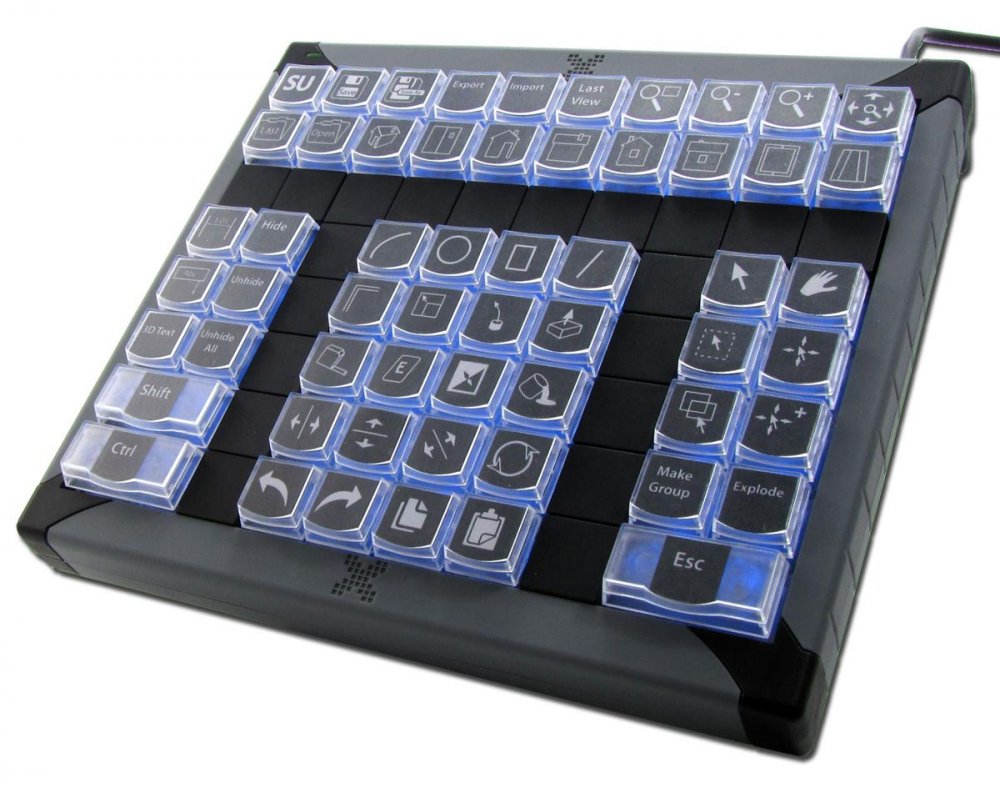
The following devices are tested successfully (others should work too but aren’t tested yet):
– X-keys XKE-128
– X-keys XK-80
– X-keys XK-24
– X-keys HD-15 (Please see special layout conditions for the remote control surface below)
– X-keys XK-16 Stick (The layout of the Remote Control Surface will be 4×4)
– X-keys XK-8 Stick (The layout of the Remote Control Surface will be 4×2)
– X-keys XK-4 Stick
– X-keys XK-3 USB Switch Interface (The layout of the Remote Control Surface will be 2×1)
Setting up an X-keys Keyboard to be used for mimoLive
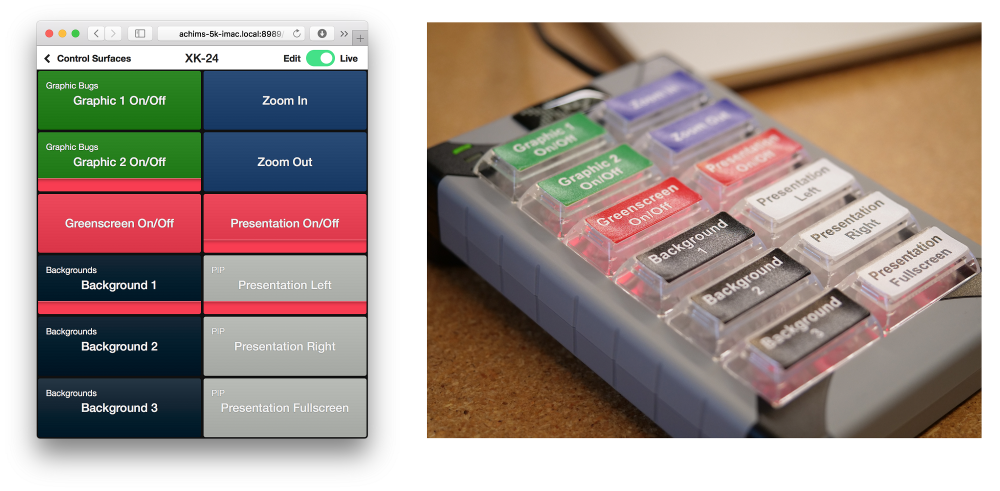
To begin, create a create a Remote Control Surface in mimoLive that matches the grid layout of your X-keys keyboard. Choose a descriptive name for this surface—this will help you easily identify it later as the control mapping for your X-keys device.
Use Different Button Sizes
X-keys keyboards support various button sizes, such as 2×1 or 2×2 keycaps. For critical functions, consider assigning them to larger buttons to make them easier to find and press. When designing your Remote Control Surface in mimoLive, make sure to adjust the button size settings to match your physical layout.
Next, connect your X-keys keyboard to your Mac. When plugged in for the first time, all the buttons will light up red. After a few seconds, the lights should turn off—this indicates that mimoLive has successfully recognized the device.
To verify the connection, click the Remote Device Setups button located in the mimoLive document toolbar. This will open a list showing all X-keys devices currently connected to your Mac.
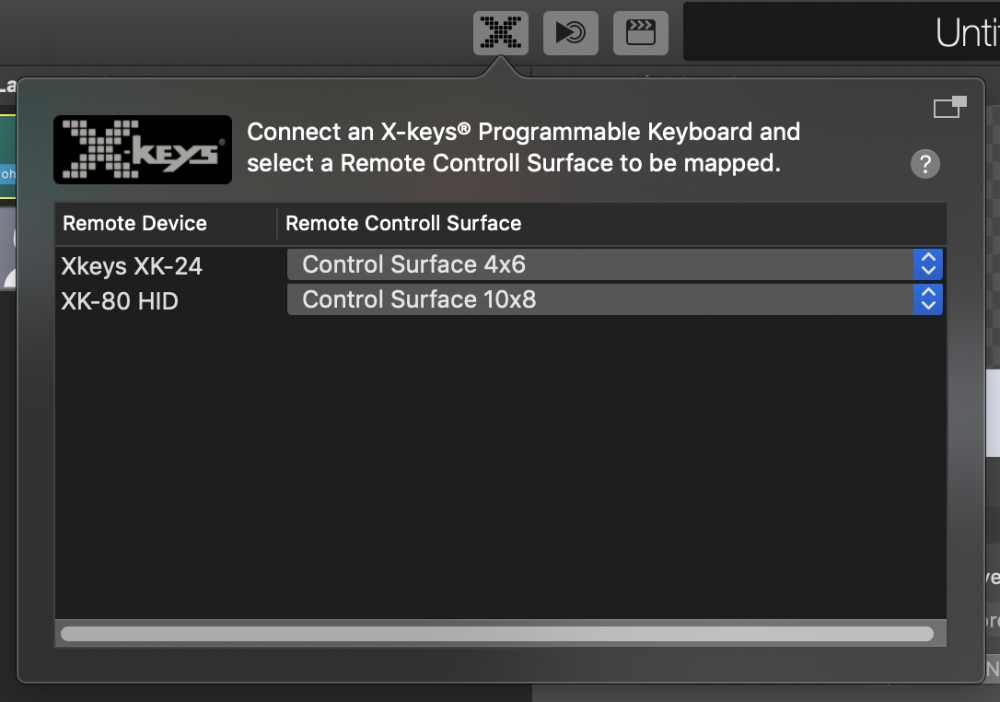
In the popup, located next to the name of your X-keys model, select the appropriate Remote Control Surface that you created earlier.
Your X-keys keyboard should now mirror the live state of your Remote Control Surface and is ready for use.
Special Layout Conditions for X-keys Sticks
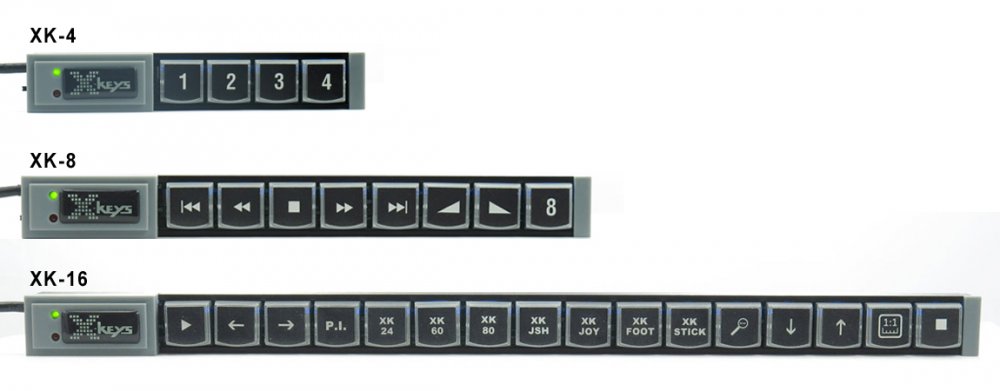
Since X-keys Sticks are long and narrow, representing them as-is would result in an inconveniently wide Remote Control Surface. To make configuration easier, mimoLive divides them into blocks of four buttons and stacks them vertically. As a result:
- The X-keys XK-4 Stick appears as a 4×1 grid
- The X-keys XK-8 Stick appears as a 4×2 grid
- The X-keys XK-16 Stick appears as a 4×4 grid
This layout makes it much easier to assign and manage actions on your computer screen.
Special Layout Conditions for X-keys HD-15
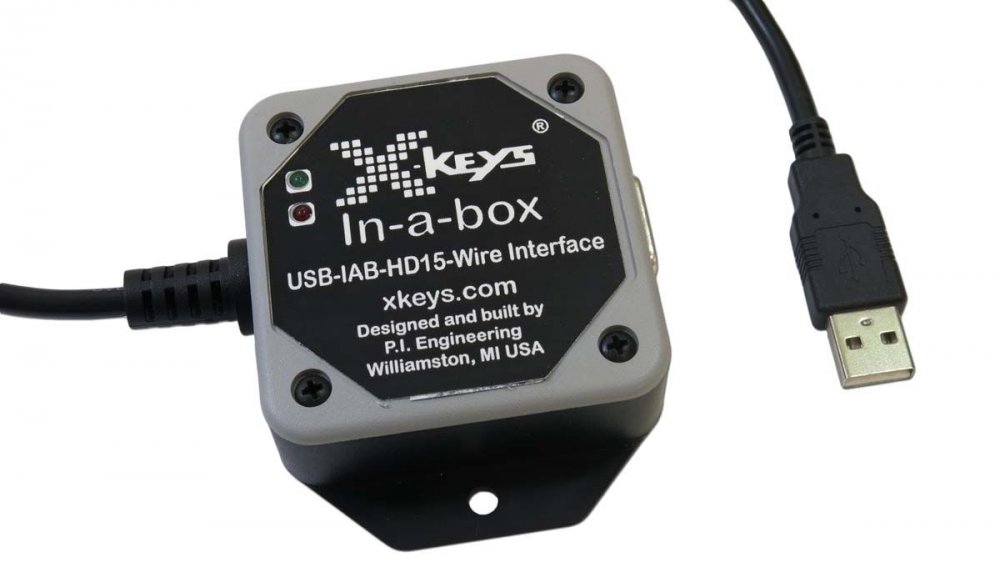
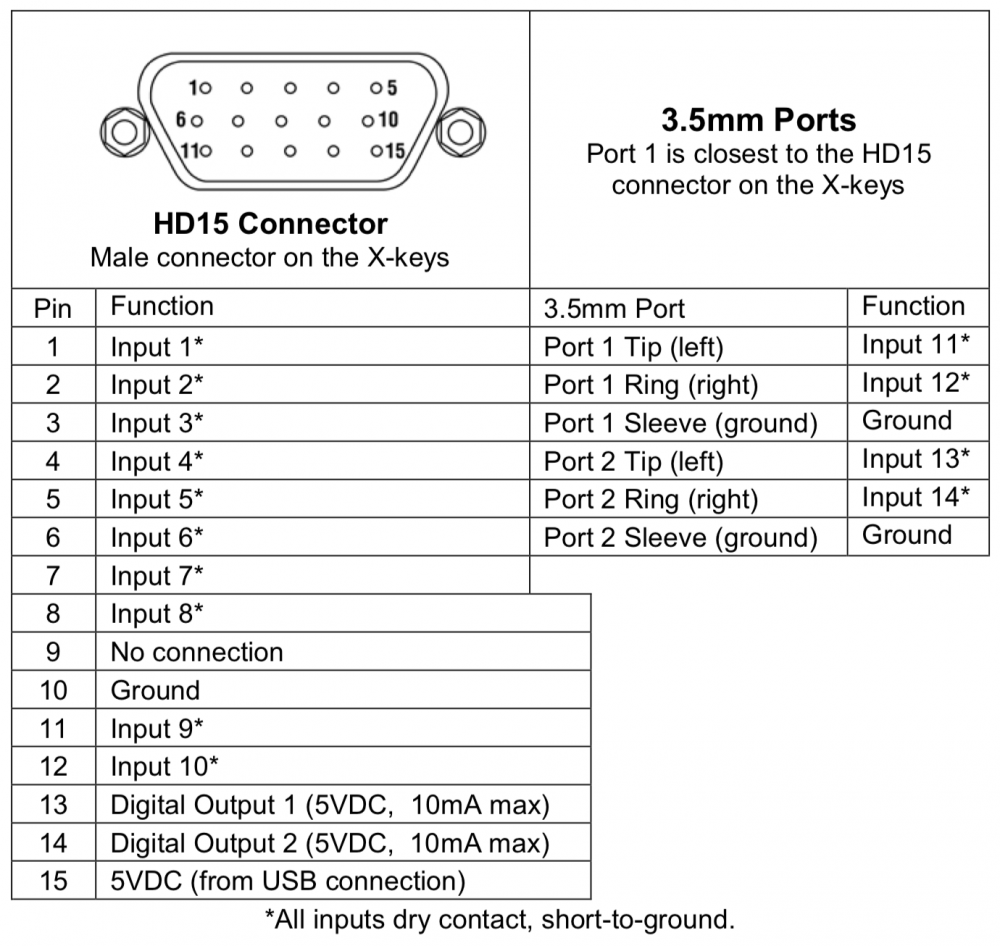
The X-keys HD-15 does not have a fixed keyboard layout, as it allows you to connect a variety of custom switches through its 15-pin connector. To simplify configuration, mimoLive maps the HD-15’s input ports to a 4×4 Remote Control Surface grid as follows:
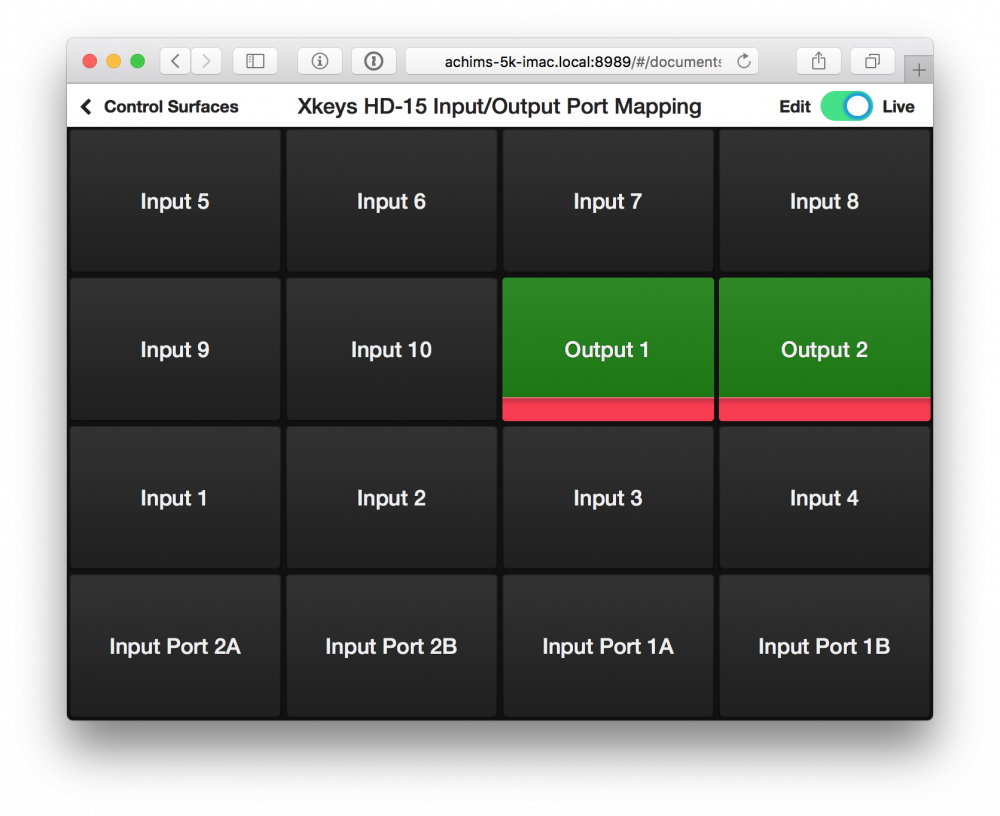
Output Ports Are Controlled by Remote Button Live States
Both output ports on the X-keys HD-15 can be controlled by the live indicator of buttons on the Remote Control Surface. When a button is in the “red” (active) state, the corresponding output port on the HD-15 is switched on.