What is a Color LUT?
With the use of LUTs (Lookup Tables), adding an invert effect to your images or videos has never been easier. A LUT is a small file that contains a set of color grading instructions, which can be applied to your media in a matter of seconds. By using a LUT, you can achieve professional-grade color grading results with just a few clicks of a button.
LUTs are the quickest way to grade your video footage. They can be understood as complex color filters or color grading effects. A LUT is a way to manipulate the entire color spectrum of the video footage. A LUT can be used to combine multiple color modifications in one step.
Color LUT Filter in mimoLive
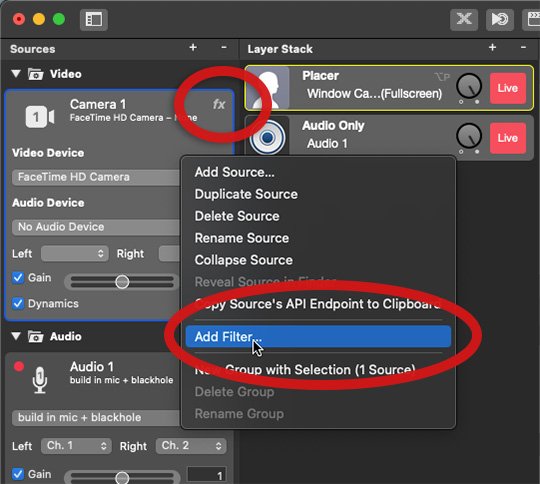
In mimoLive® Color LUT is a video filter effect and be accessed via the fx button or via right-click on a video source.
There are several LUTs already included in mimoLive to give direct access to some great looks. You can apply several LUTs to the same video/image source.
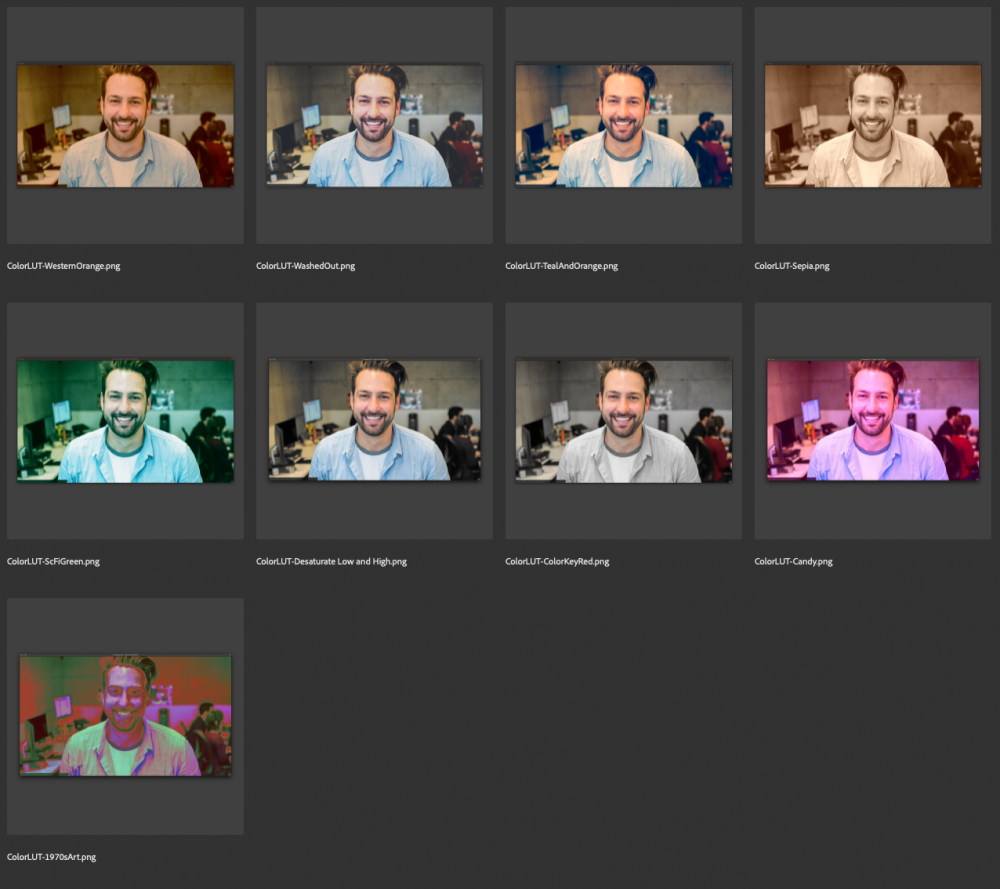
LUTs included in mimoLive
- 1970s Art
- Candy
- Color Key Red
- Desaturate Low and High
- Sci-Fi Green
- Sepia
- Teal and Orange
- Washed Out
- Western Orange
Using custom LUTs in mimoLive
Import your LUT PNG into your mimoLive document first. Navigate to the source which should get the LUT applied. Access the options menu with a right-click on the source and choose “Add filter…” and Color LUT.
Set the Color LUT dropdown menu to “Custom LUT” and choose your LUT PNG. The LUT should now be applied to your image/video source.
h3.Custom Color LUT Filter
mimoLive uses a 512 × 512 pixel-sized PNG file that represents the color lookup table. This is a common standard in some software applications.
mimoLive does not support the direct import of CUBE or 3DL files but follow these few steps to create a LUT PNG for your CUBE or 3DL files.
Create your custom LUT PNG for mimoLive
- Download this Neutral LUT PNG image. neutral-color-lut.png.zip
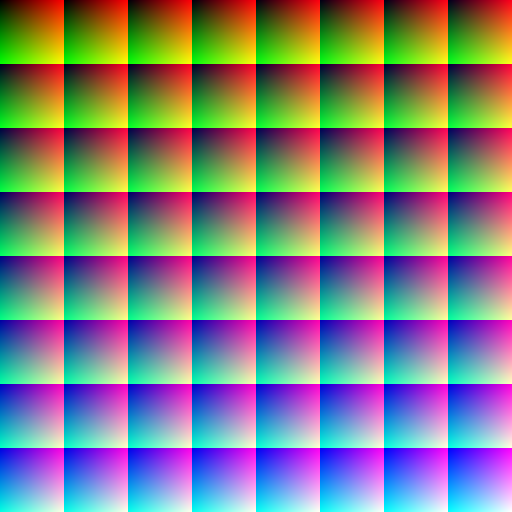
- Open the Neutral LUT PNG image in an editor app.
- Do the color manipulation as you like.
- Save the file as an ordinary PNG file.
- Load this LUT PNG file into the mimoLive document
- Open the Color LUT filter settings and make sure to switch the Color LUT option to “Custom”
- Select the newly imported PNG file as the Custom LUT image below the popup.
Create your custom LUT PNG from CUBE or 3DL files with Adobe® Photoshop®
- Download this Neutral LUT PNG image. neutral-color-lut.png.zip
- Open the Neutral LUT PNG image in Photoshop®.
- First select ‘Layer’ from the top menu, then ‘New Adjustment Layer’, and then finally select ‘Color Lookup…’. This should create a new layer above the neutral LUT layer.
- Select the color lookup layer and go to properties. In the dropdown select ‘Load 3D LUT…”. Browse for the CUBE/3DL LUT file you wish to convert.
- The neutral layer should now look different. The next step is to save the image as an uncompressed PNG. Save the file as if you were saving a standard Photoshop file, but instead of saving it as a PSD save it as a PNG.
- You have now converted your CUBE/3DL LUT file to a PNG image. Follow our guide here to learn how to use the image LUT in mimoLive.
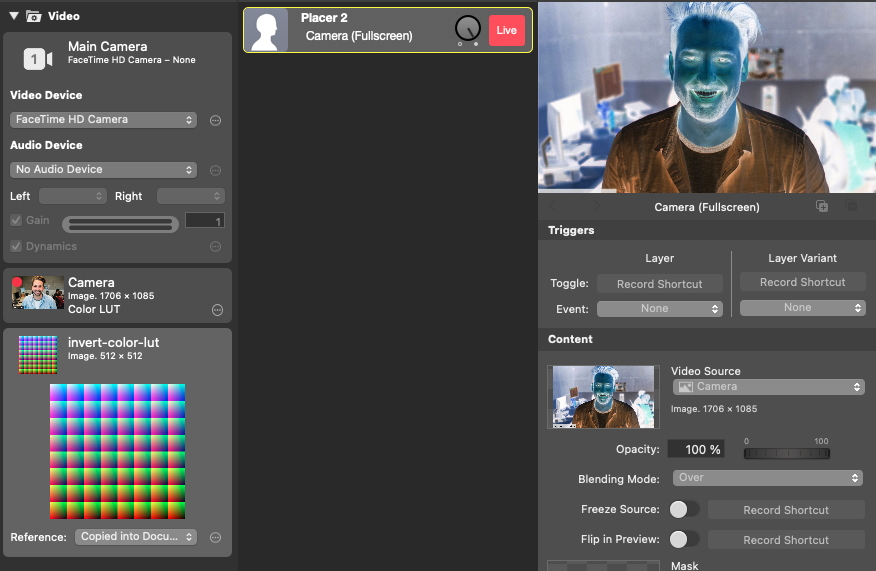
Example: Inverted Colours
An invert effect is a popular image or video effect that can help to create a unique and eye-catching look. It works by flipping the colors of an image or video, essentially turning all of the light colors into dark colors, and all of the dark colors into light colors. This effect can be used in a variety of ways, from creating a dramatic and edgy look for a music video, to giving a retro and nostalgic feel to a photograph.
Example of an invert effect with a LUT
To illustrate this point, let’s take a look at an example of an invert effect with a LUT. In this example, we will use a LUT that is designed to create an edgy and dramatic look. First, we will apply the LUT to our video footage, and then we will adjust the brightness and contrast to create a more stylized look.
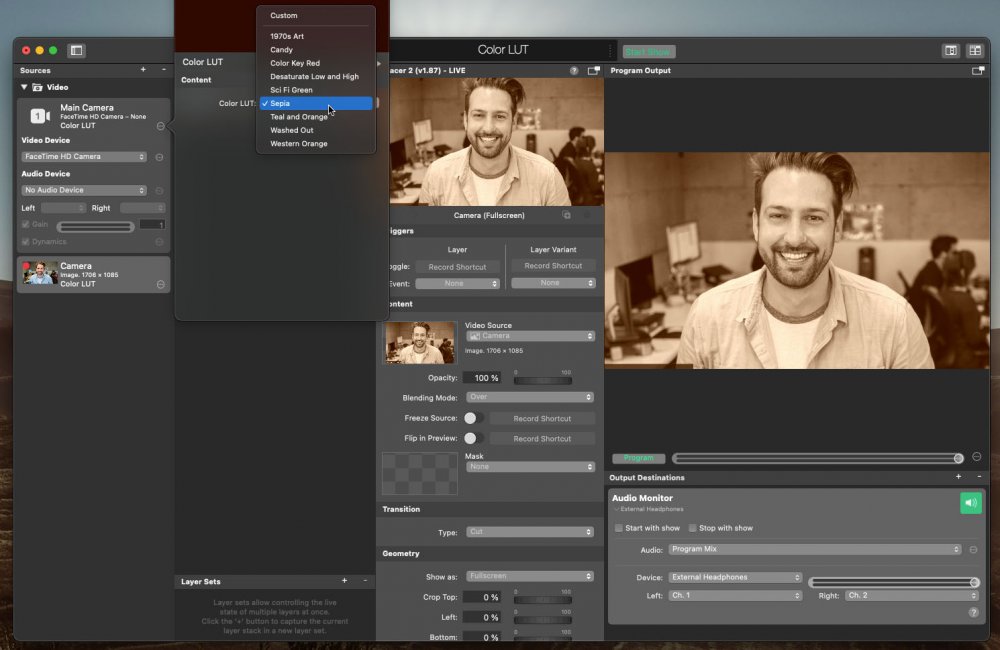
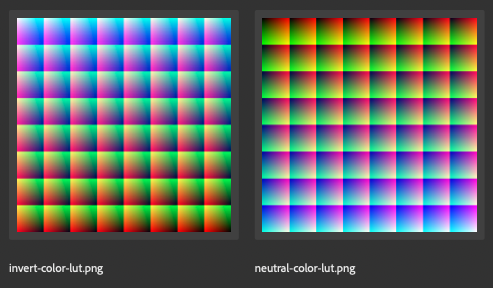
LUT Comparison
On the left-hand side, you can see the image with an inverted LUT applied, which has flipped the colors and created a dramatic and edgy look. On the right-hand side, you can see the same image with a standard LUT applied, which has a more traditional color grading and a natural look. The difference between the two images highlights the power of LUTs in achieving unique and striking looks in your media.
As you can see, the final result is a striking and dramatic look that is sure to grab the viewer’s attention. With the use of LUTs, adding an invert effect to your images or videos has never been easier, allowing you to achieve professional-grade results in no time at all. Whether you’re creating a music video, a short film, or a series of photographs, an invert effect with a LUT can help you to create a unique and eye-catching look that will stand out from the crowd.