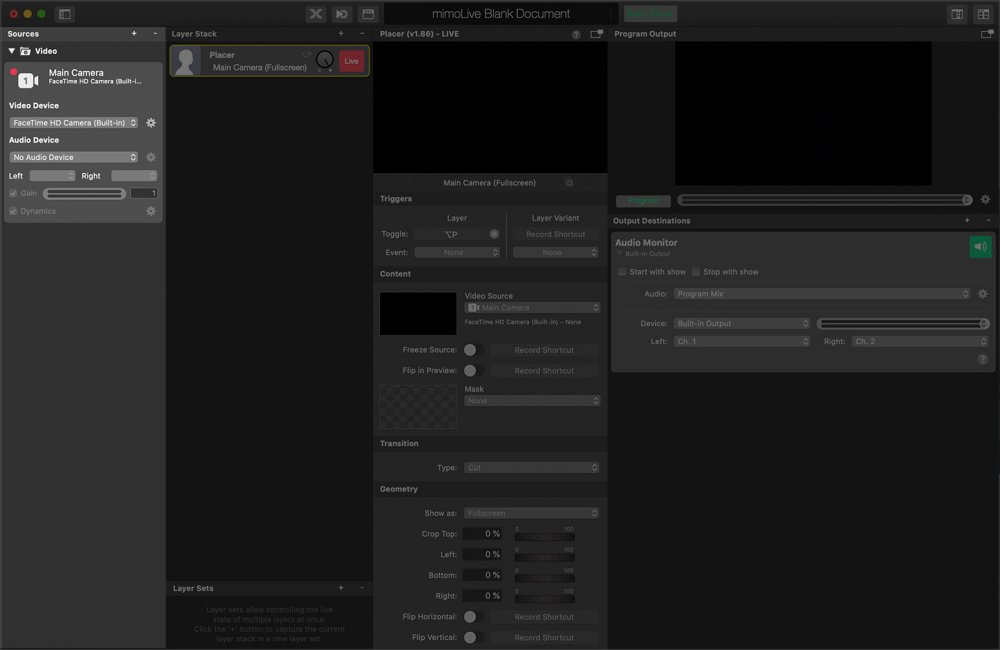
The Source Repository in the mimoLive document window
mimoLive organizes sources like video input, audio input, static images, multimedia files, animation and others in the first column of your mimoLive document window.
Adding Sources to the Source Repository
Adding Media Files to the Source Repository
If you want to add an image or a movie to your sources repository you can drag and drop the file right from the Finder or select “Source > Add Media File…” from the menu bar.
When dragging a media file from your Desktop into the Source Repository you may notice the green “+” next to the mouse cursor. This means that you will copy the file to the mimoLive document bundle.
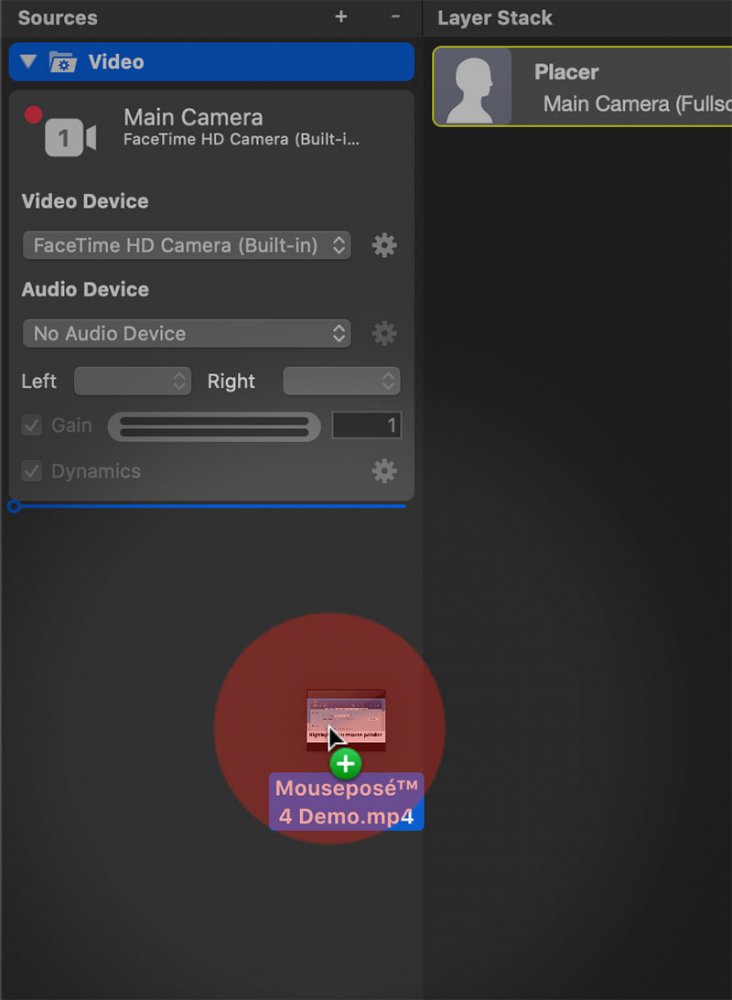
Media files are stored in the mimoLive document bundle by default
To ensure all media files are always available for a mimoLive project, they are stored within the document bundle.
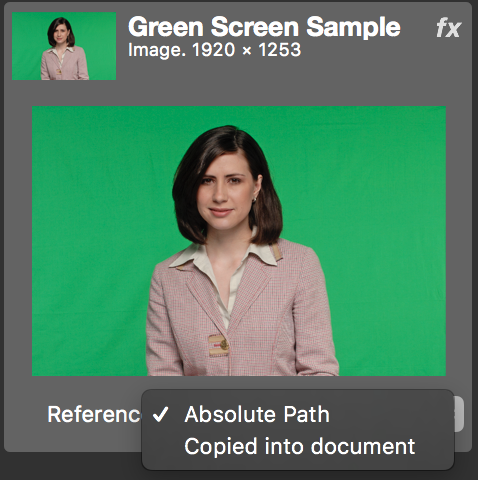
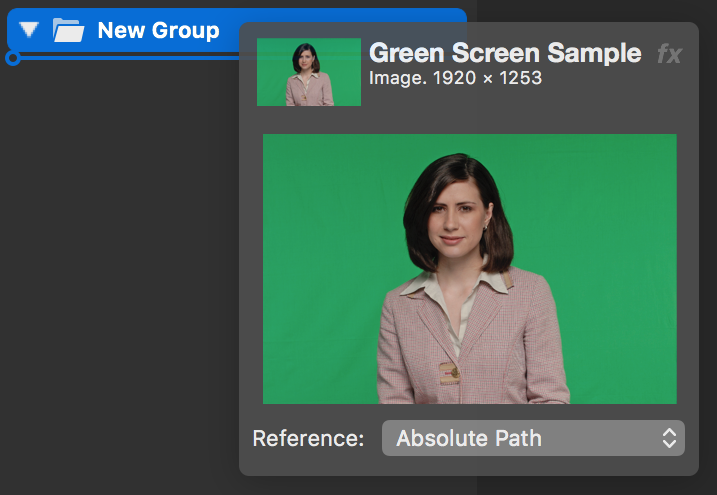
You can hold down the Option (⌥) key on your keyboard to switch to “Path Reference” mode, indicated by an arrow icon next to the mouse cursor. This saves the absolute path to the file instead of embedding the file itself.

Linked files may break if moved in Finder
Please be aware that mimoLive won’t be able to open the file if you move it to a different location in the Finder.
You can switch between the storage options at any time using the Reference popup menu in the Source Settings panel:
Adding built-in and live Sources to the Source Repository
In addition to media files, mimoLive offers many other types of sources you can use in your projects, such as live inputs, system sources, and other dynamic data feeds. Each source type has its own dedicated documentation. Please refer to the Sources documentation page to learn more about the available source types.
To add one of these sources to the Sources Repository, follow these steps:
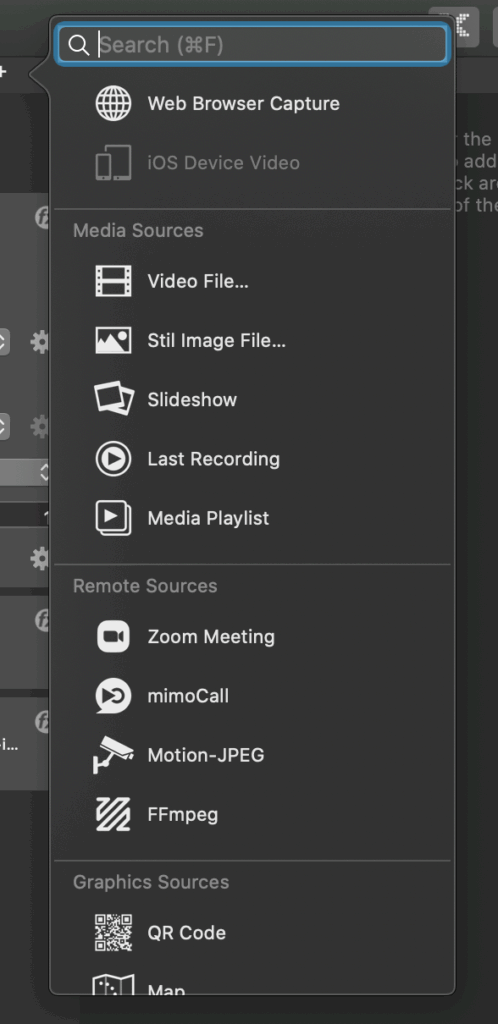
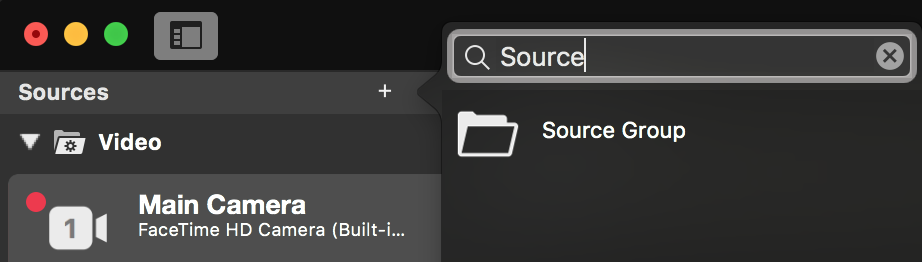
- Click the “+” button in the top-right corner of the Sources Repository. A popover window will appear, showing a list of available source types.
- Use the search field to quickly find a specific source, or scroll through the list to browse available options.
- Double-click a source in the list to create an instance, or drag and drop it into the Source Repository.
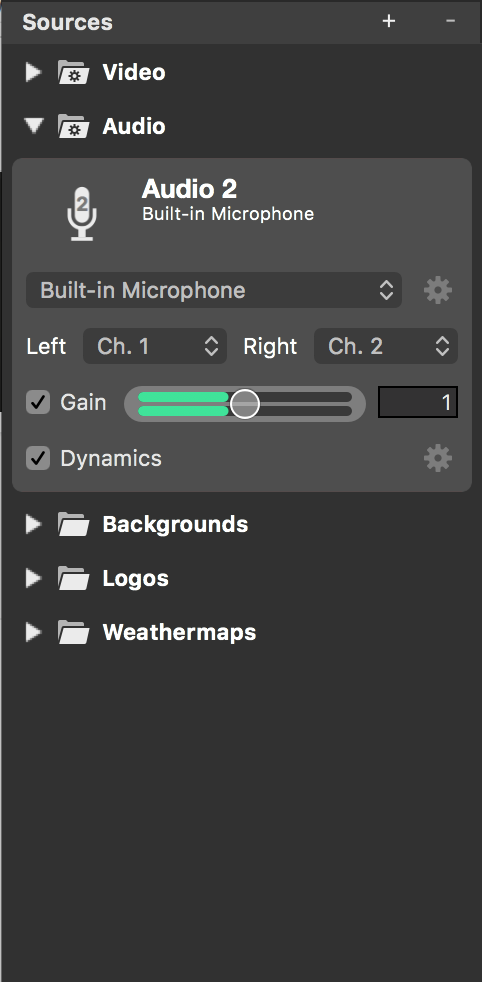
Configuring a source
Each source type in mimoLive provides its own specific configuration options. However, there are some settings and behaviors that are shared across all sources.
Renaming a source
By default, mimoLive automatically generates a name for each source to help you distinguish between them. However, giving sources custom names can make your project easier to manage — especially when working with many similar sources.
To rename a source:
- Select the source you want to rename from the Source Repository (left column). The source will be highlighted
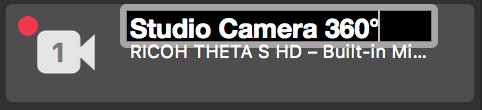
- Double-click the source name at the top of the Source Info panel. A text entry field will appear.
- Type the new name and press Enter to confirm the change.
Adding Filters and Effects
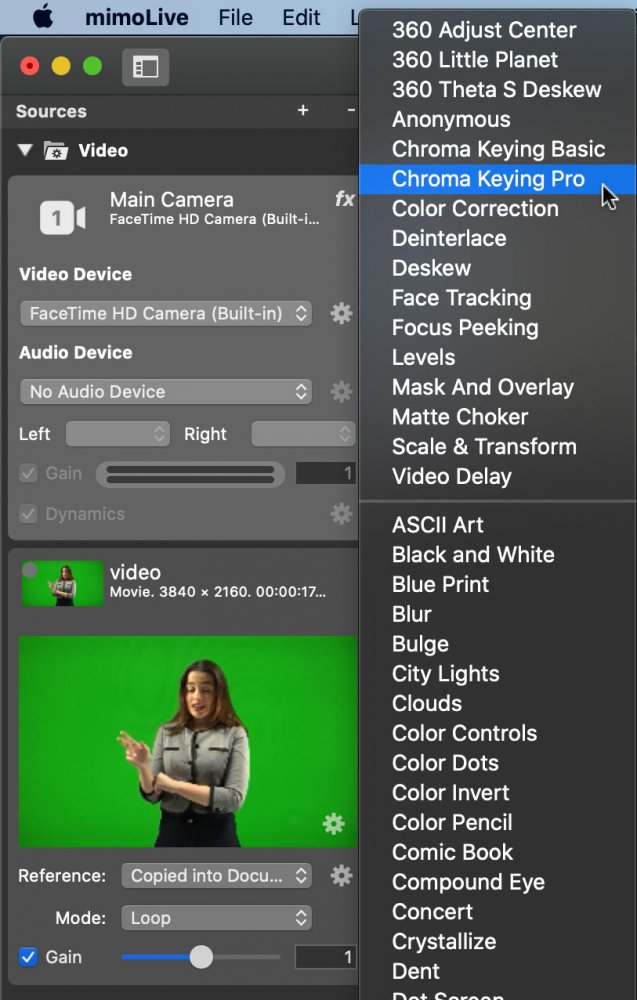
Every image-providing source in mimoLive can be enhanced or modified using filters and effects. This allows you to adjust the visual appearance of a source directly within the Source Info panel, without needing to preprocess media externally.
To learn more about the built-in video filters available in mimoLive, visit the Filters documentation page.
Collapsing or expanding a source
Each source listed in the Sources Repository also has a small triangle icon to the left of its name.
Clicking this triangle will collapse the source, hiding its detailed settings in the Source Info panel. This helps reduce clutter when working with multiple sources.
To view the configuration options again, simply click the triangle icon to expand the source.
Alternatively, you can double-click the background of the source entry to quickly collapse or expand it
Organizing sources in the Sources Repository using groups
When working with multiple sources, the Sources Repository can become cluttered quickly. To help you keep things organized, mimoLive allows you to arrange sources into groups and customize their order.
Creating a new source group
To create a new source group in the Sources Repository:
- Click the “+” button at the top of the Sources Repository. A popover window will appear showing all available source types.
- At the top of the list, locate Source Group
- Drag the Source Group item into the Sources Repository and drop it at the position where you want to organize related sources.
You can now drag existing sources into this group to keep your workspace tidy and better structured.
Rearranging sources in groups
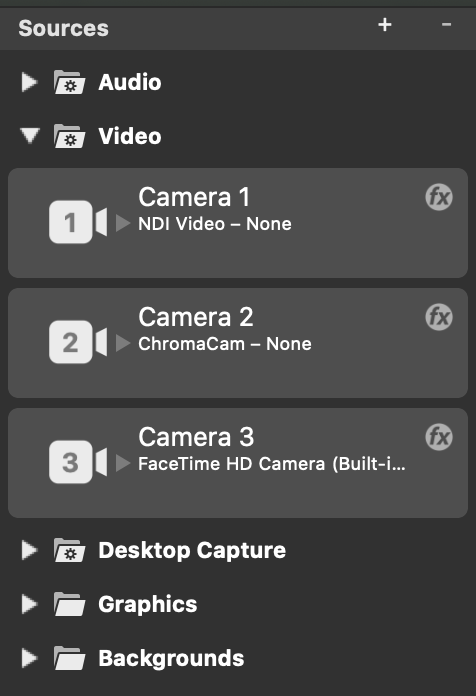
By default, new sources are automatically sorted into smart groups such as Video, Audio, Media, or Data. However, you can manually rearrange your sources within the Sources Repository.
- Drag and drop sources to change their order within a group.
- Move sources between groups by dragging them into a different category.
This flexibility allows you to structure your project workspace in a way that best suits your workflow.
Renaming a source group
To rename a source group in the Sources Repository:
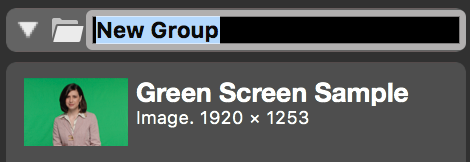
- Double-click the group’s title. A text entry field will appear.
- Enter the new name for the group.
- Press Enter to confirm the change.
Collapsing or expanding a source group
Each source group in the Sources Repository has a small triangle icon to the left of its title. Clicking this icon collapses the group, hiding all its contained sources. To expand it again, click the triangle once more. Alternatively, you can double-click the background of the source group to toggle its collapsed state.