ATEM Controller Support – Addon for mimoLive
This mimoLive Add-on brings support for the ATEM Controller – Blackmagic Design.
Watch these Videos to get a quick overview on this topic!
You are currently viewing a placeholder content from YouTube. To access the actual content, click the button below. Please note that doing so will share data with third-party providers.
More Information
You are currently viewing a placeholder content from YouTube. To access the actual content, click the button below. Please note that doing so will share data with third-party providers.
More InformationSystem Requirements:
- mimoLive 2.0 or newer
- Blackmagic Design ATEM Switcher hardware
- Software Blackmagic Design “ATEM Switchers” which is available here.
- Optional: Blackmagic Design UltraStudio Mini Recorder and Mini Monitor
Installation
To purchase the mimolive ATEM Controller, please go to the mimoLive Store and purchase the ATEM Controller Support – Addon for mimoLive. You will receive an email containing a clickable link with your license key. This will unlock the mimoLive ATEM Controller layer.
*License required
Please visit mimoLive Store to purchase the required license for this addon.
Using the ATEM Controller
Here is a quick recipe for getting started with the ATEM Controller layer:
- Make sure the ATEM Switchers software from Blackmagic Design is installed and the following file is on your system: /Library/Application Support/Blackmagic Design/Switchers/BMDSwitcherAPI.bundle
- Add the ATEM Switcher layer to your document.
- Find the ATEM IP Adress field in the Layer Settings column under Connection and enter the IP address of your ATEM Switcher and press Enter
- Switch the layer to “Live”
You should now be able to switch by clicking on the Cam 1 … Cam 8 buttons in the Layer Setting column in the Control section.
The following video explains how to set up and use the ATEM controller.
BoinxTV vs. mimoLive
The video was originally made for BoinxTV. The functionality of the ATEM Controller is the same in mimoLive.
Adding The ATEM Controller Layer To A Remote Control Surface
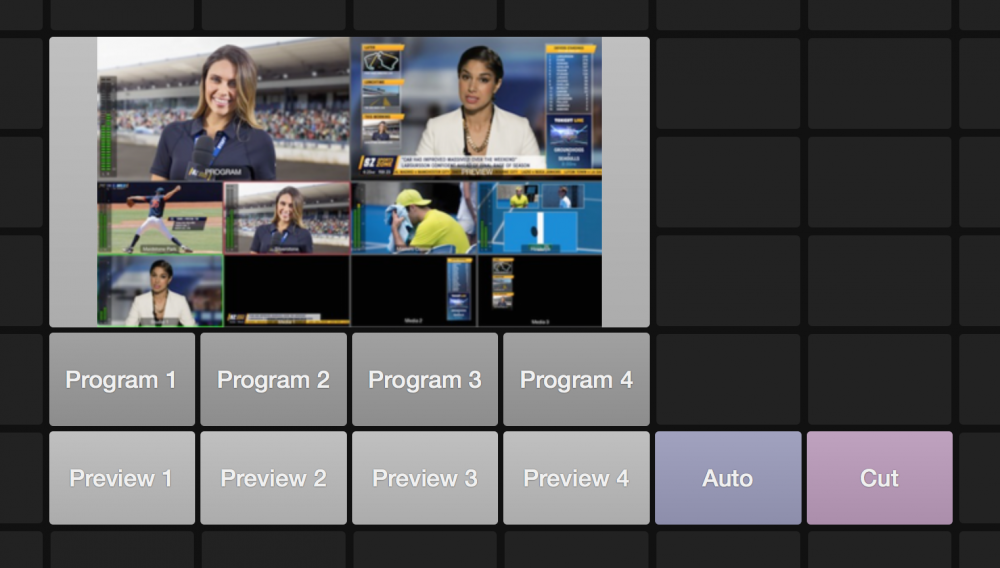
The ATEM Controller Layer brings a couple of Remote Control Representations with it. To use one of them in a Remote Control Surfaces
you need to configure it completely in mimoLive. Once you finished the configuration in the mimoLive document you can open the Remote Control Surface with a button in the toolbar. (Please read Remote Control Surfaces to learn more about how to create and design a Remote Control Surface for mimoLive).
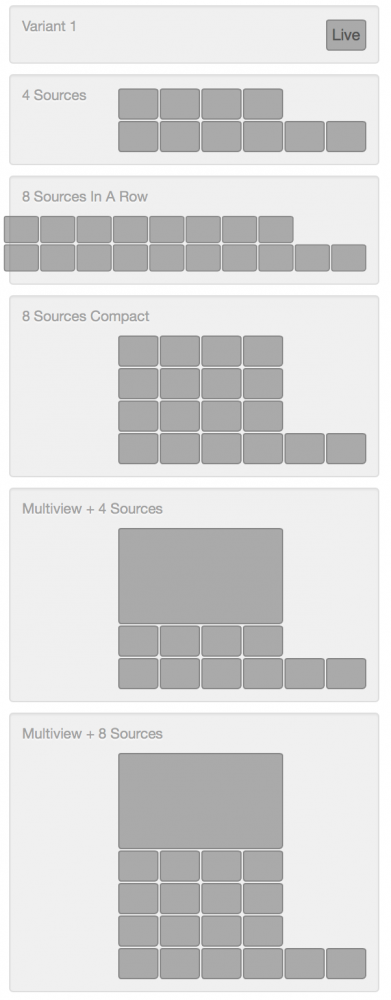
On that Remote Control Surface, you click on the + Add Button button. Look for the ATEM Controller layer in the left column and click on it. This will change the left column to the layer representations of this layer. There are several different layouts to choose from:
- 4 Sources
- 8 Sources In A Row
- 8 Sources Compact
- Mutiview + 4 Sources
- Multiview + 8 So

Because some layouts need a lot of space you may need to adjust the Remote Surface grid size before adding the layout to it.
!Please take into account that the live video preview is CPU intensive and costs render performance in mimoLive.


