The PTZOptics Controller layer can be used to remotely control PTZ cameras by PTZOptics.

Setting Up The PTZOptics Controller Layer
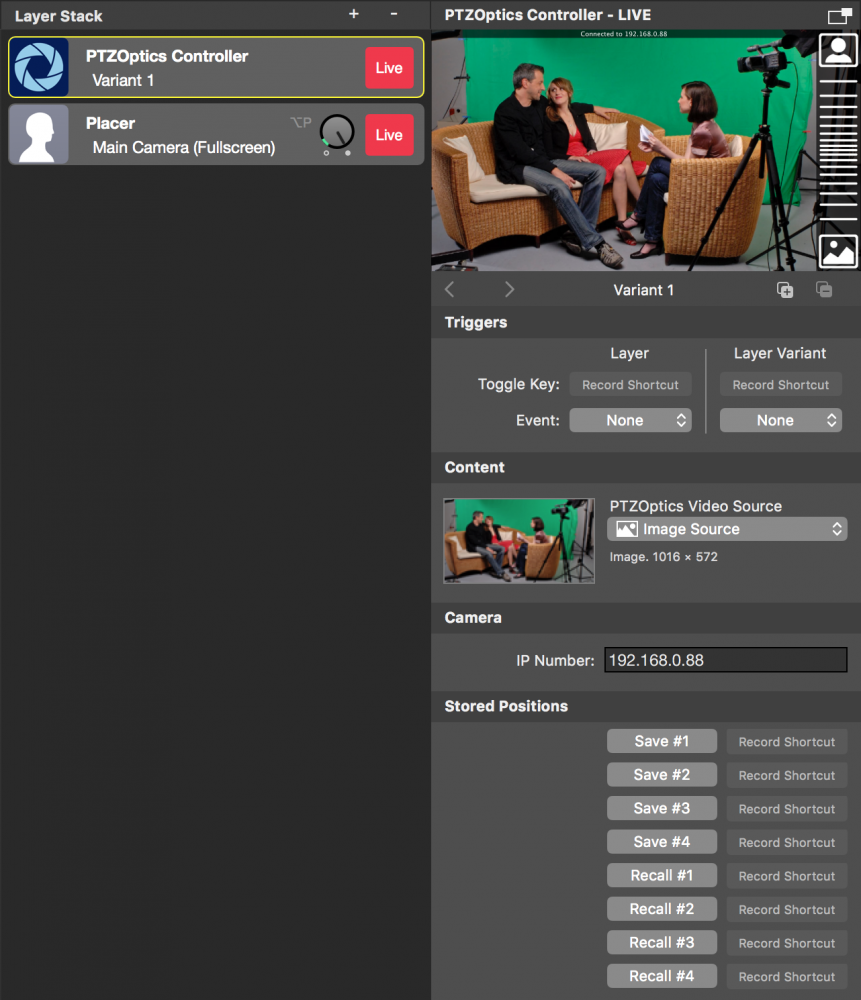
In order to be able to control an PTZOptics IP camera you need to establish a TCP connection to it. Make sure that your mimoLive computer is connected to the internet (or the same LAN as you IP Camera) and the camera is reachable by a fixed IP number. You need to enter the IP number of your camera into the IP Number field in the Camera section in layer settings.
Once you switched the layer live the connection status will be displayed in the upper left corner of the layer preview.
There are two ways of controlling the camera configurable with the “Drag to Move” option:
- Drag to move the content: In this mode, the mouse cursor will guide the content
- Drag to move the camera: When this mode is selected the camera will follow the mouse cursor movements.
To gain fine control over the movement you can switch on the “Fine Control” option.
For your convenience, you can assign a video source to the layer. This video source will be displayed in the layer’s preview and is for reference use only.
The PTZOptics Controller layer doesn’t display the image of the camera in the program out!
Because the PTZOptics Controller layer is only for controlling the PTZ features of the camera, it doesn’t display the image in the program output. Add another layer (e.g. a Placer layer) in order to show the video image of the PTZOptics camera in your video production.
Controlling Pan-Tilt-Zoom
If you switched live the layer and a connection to the PTZOptics camera could be established you are able to control the camera in the layer preview with your mouse cursor. You need to click and hold down the mouse button to drag the PTZOptics camera to a new position. Please take in account that there may be a delay and you won’t see the movement of the camera in real-time.
The Zoom can be controlled with the bar on the right side of the preview.
Save And Recall Camera Positions
If you need to come back to a certain camera position often you can save this position in the camera. Eight positions can be saved with the “Save” buttons in the “Stored Positions” section of the layer settings. The eight “Recall” buttons let the camera come back to the stored positions.
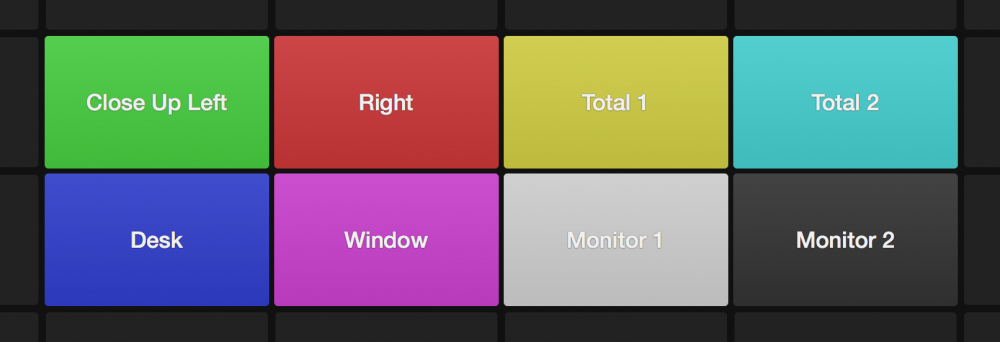
Each position can be named with the text field above the Recall button. This name will be reflected in the Remote Control surface too:

The camera positions are stored in the camera itself and not in the mimoLive document.
Here is a great tutorial by Jason Jenkins from DVEStore:
You are currently viewing a placeholder content from YouTube. To access the actual content, click the button below. Please note that doing so will share data with third-party providers.
More Information
