Screen Capture Source / Screen Recordings / Screencast
The Screen Capture source lets you record the entire screen or a part of it and provide what’s displayed there as video for use in any layer that supports a video source.
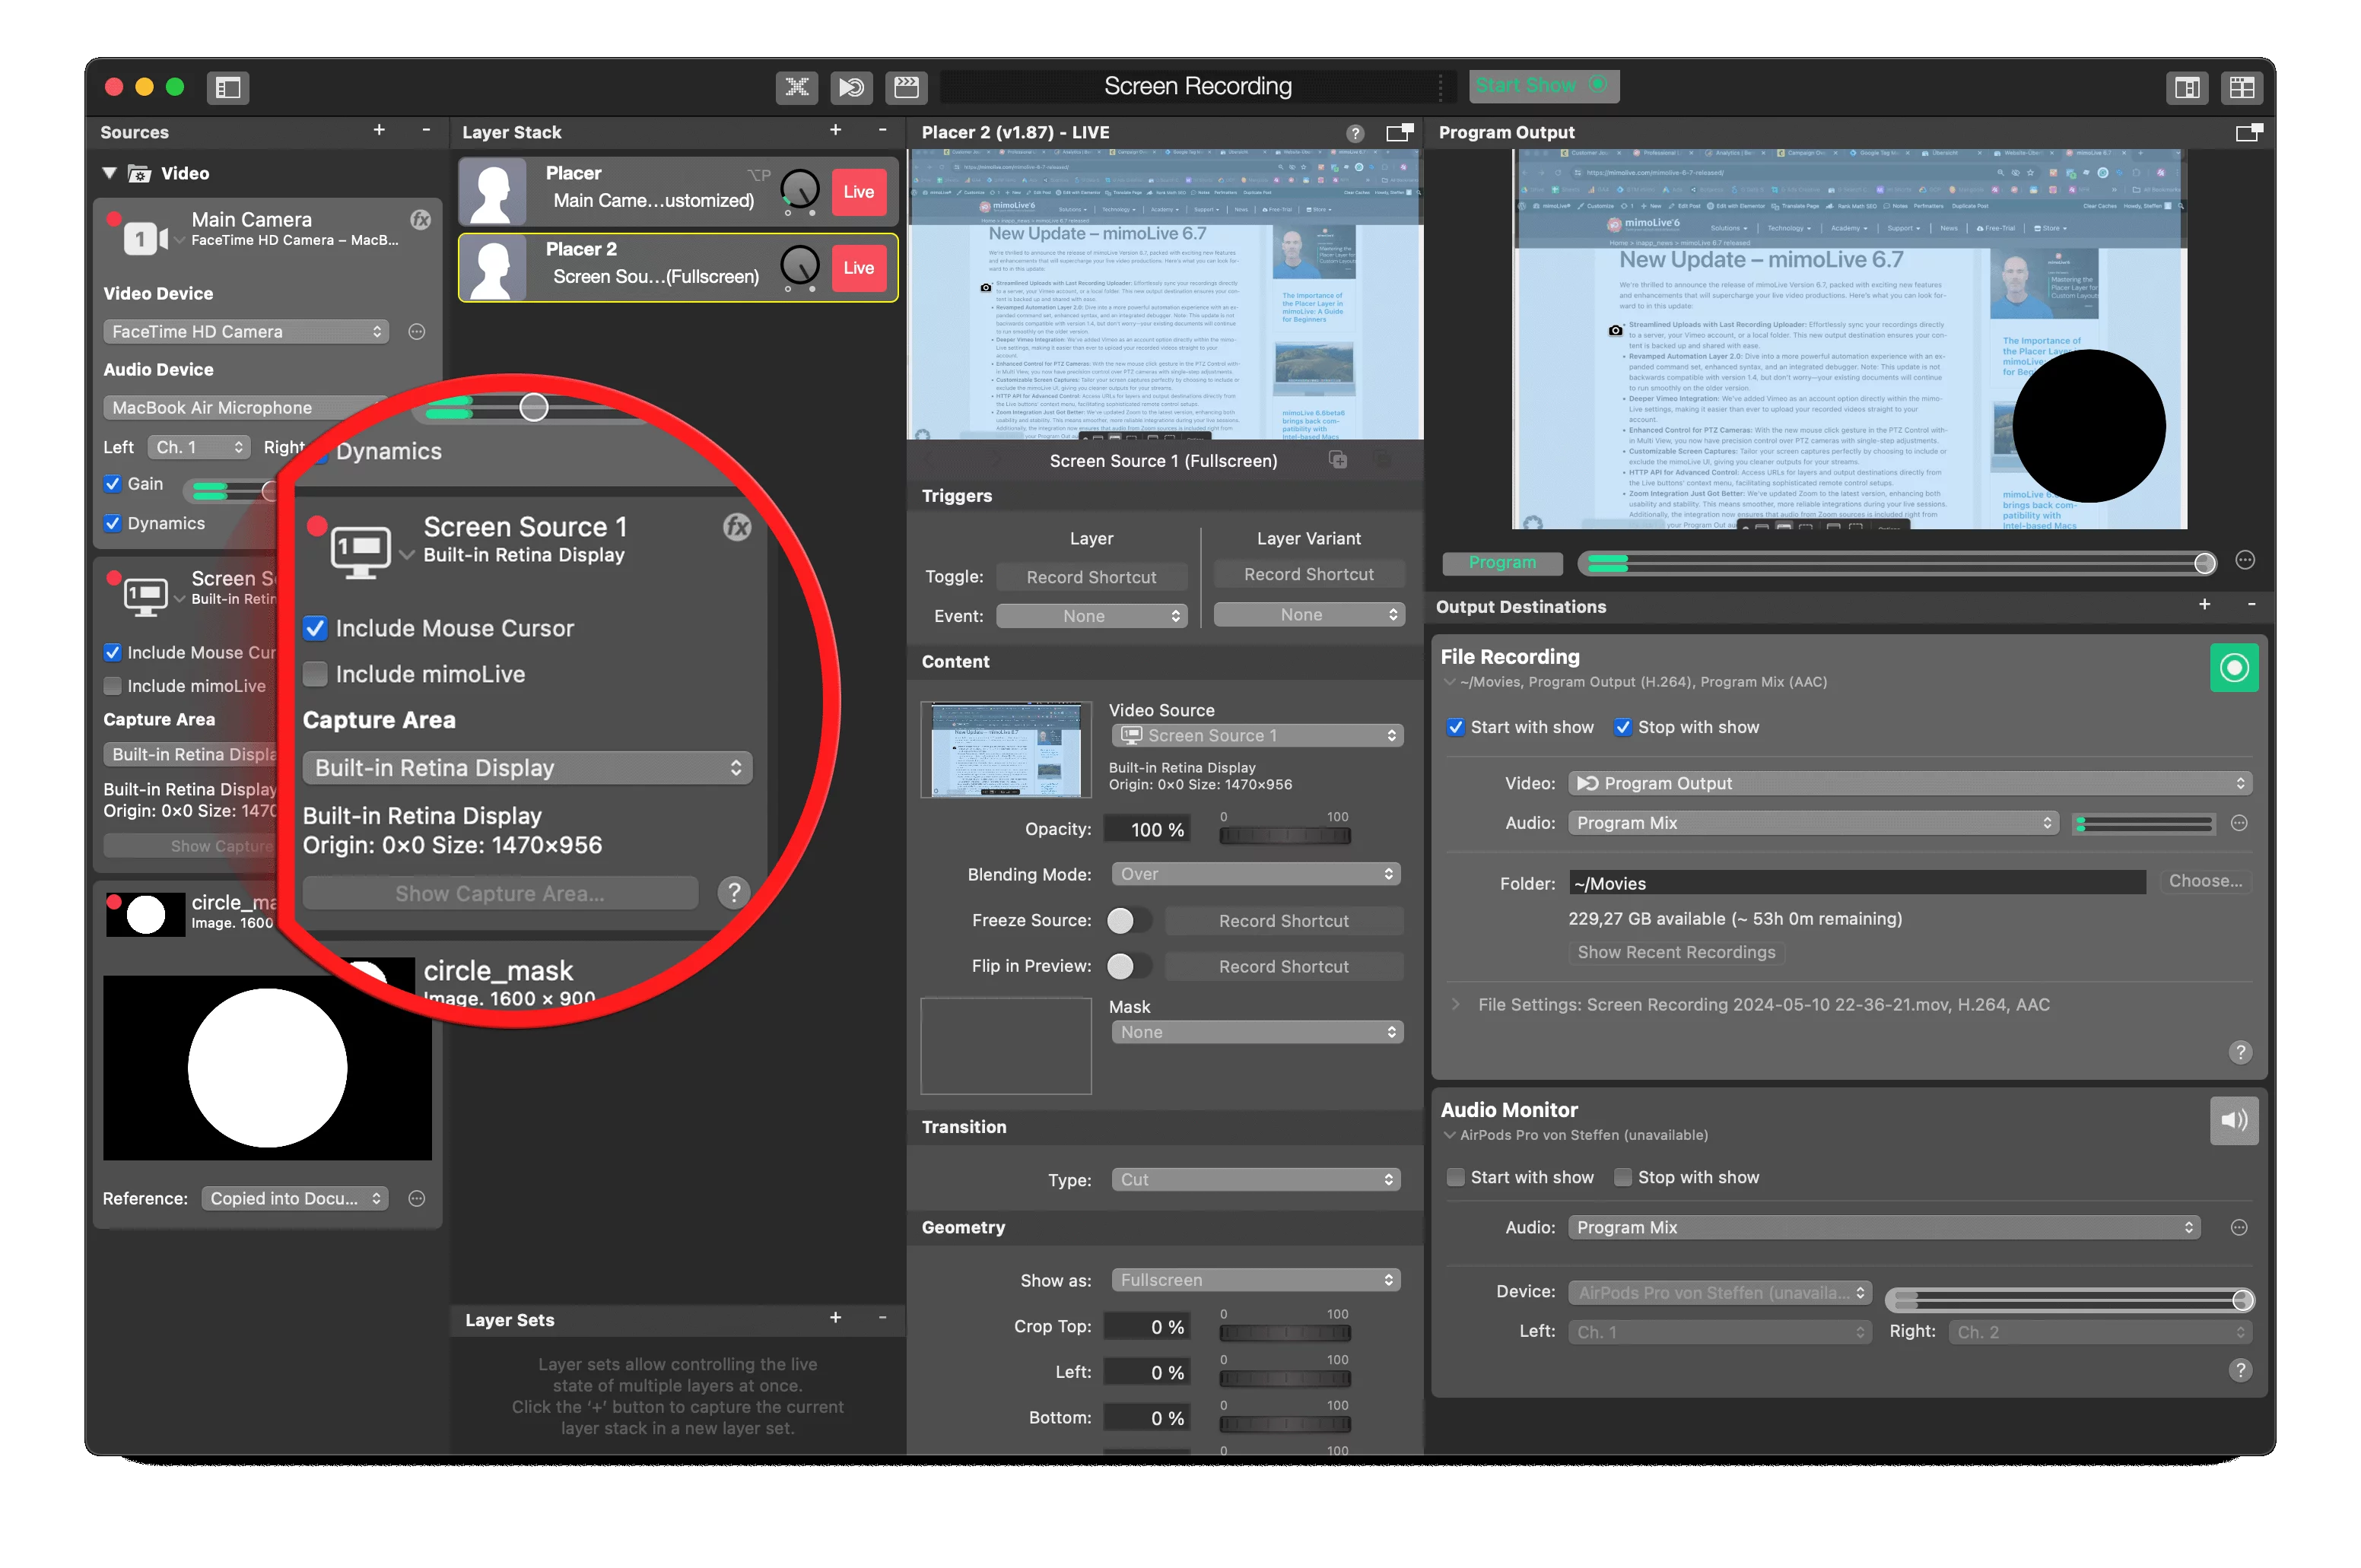
Adding The Screen Capture Source
To add the Screen Capture source to your mimoLive document click on the “+” button on top of the Sources Repository to show a list of available source types. Find the Screen Capture source and drag it to the Source Repository.

Include Mouse Cursor

Depending on your needs you can show or hide the mouse cursor. For a screencast, e.G. a video that explains software, it is helpful to record the cursor to demonstrate clicks and actions. However, capturing a Google Hangout or Skype call you might not want to record the mouse cursor at all.
Include mimoLive
You now have the option to include or exclude the mimoLive window from the recording (program output) based on your specific requirements. This feature proves especially useful for screen casts and similar productions where you may want to control the visibility of the mimoLive interface.
Selecting The Capture Area
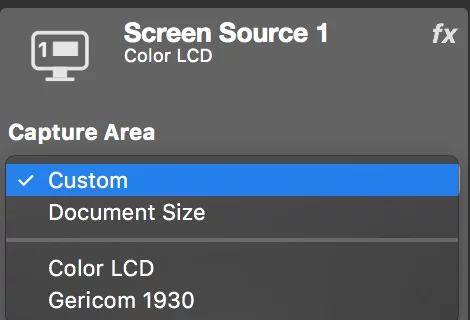
The Screen Capture source can either capture a complete screen or a certain part. The available screens are listed in the lower section of the popup menu. If you select a certain display it will flash twice to indicate which one you selected. If you select “Custom” as the capture area you can show and modify this area with the “Shop Capture Area…” button below the popup. A black frame appears and the inner bounds define the capture area. You can drag it around and resize it at its corners.
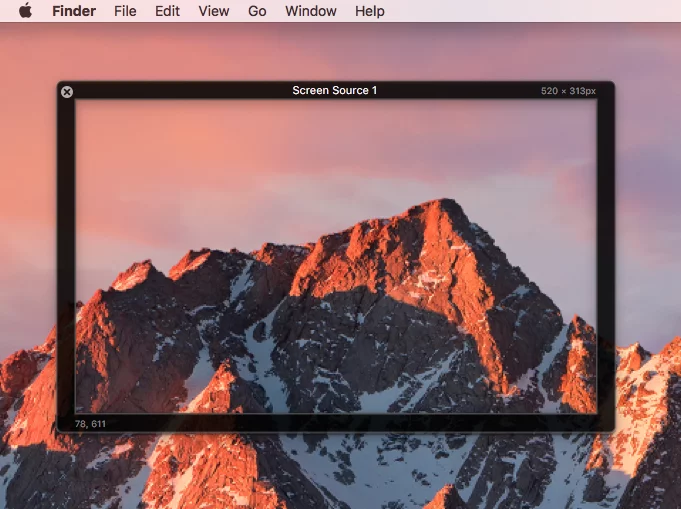
To make sure that the custom capture area is precisely the same pixel size as the mimoLive document you can select “Document Size” in the Capture Area popup. Then the black frame can only be dragged around but not resized anymore.
Capturing Computer Audio
In Screen Recordings, recording Mac’s audio is not as easy as video. The problem occurs from the audio driver and internal processes of how the computer processes audio. mimoLive is natively able to record any audio signal which comes into the Mac, the input audio. This includes any microphones, internal or external, as well as mimoCalls. Pre-recorded audio can be recorded if played by mimoLive itself. If you play a music song through a 3rd party software on your speakers or play a youtube video in a browser – it might be impossible to record that natively with minoLive.
The solution is to run an audio routing software that allows sharing of audio between applications.
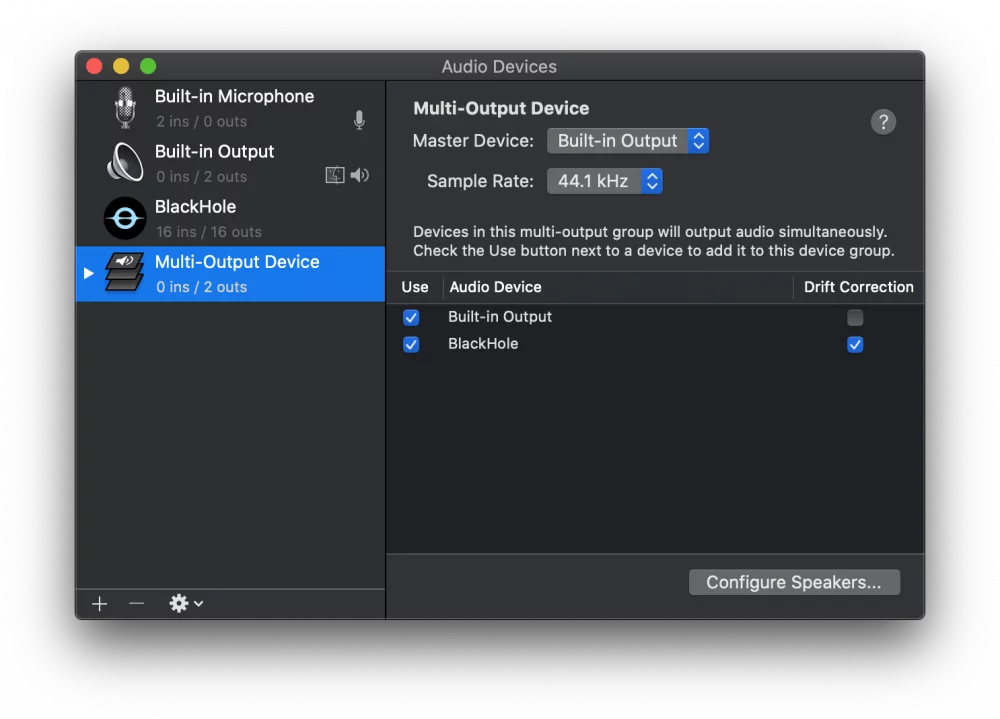
In order to record audio from another application, you need to use a tool that redirects the audio output from the app you want to capture and provides it as an audio source to mimoLive.
The following applications are Virtual Audio Driver which does exactly that:
Loopback
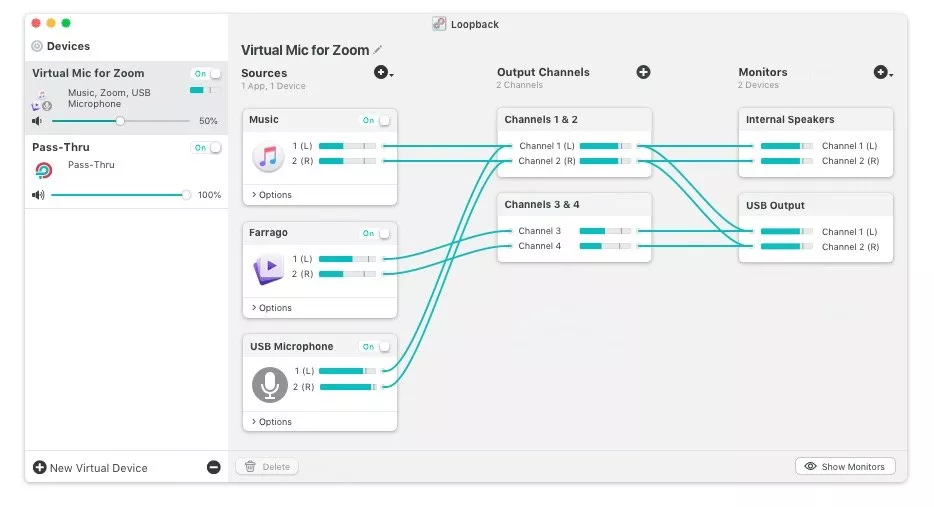
With the power of Loopback, it’s easy to pass audio from one application to another. Loopback can combine audio from both application sources and audio input devices, then make it available anywhere on your Mac. With an easy-to-understand wire-based interface, Loopback gives you all the power of a high-end studio mixing board, right inside your computer.
Loopback is a paid software from Rogue Amoeba.
Link to Loopback
BlackHole
BlackHole is an open-source virtual audio driver that allows applications to pass audio to other applications with zero additional latency.
Link to BlackHole – Free Route Audio Between Apps
Soundflower
Link to https://github.com/mattingalls/Soundflower discontinued

