The Web Browser Capture Source
The Web Browser Capture source lets you capture an internet browser window or a part of it and provide what’s displayed there as video for use in any layer that supports a video source.
This can be useful if you want to show off a web page. Or you can create a transparent graphics overlay with live data updated via the internet using HTML and CSS for formatting.
Adding the Web Browser Capture Source
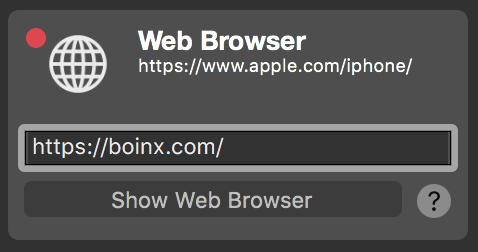
To add the Web Browser Capture source to your mimoLive document click on the “+” button on top of the Sources Repository to show a list of avaiable source types. Find the Web Browser Capture source and drag it to the Source Repository.

Entering An URL To Capture
Click in the URL field and enter the URL you want to capture.

You can also specify files from your local computer
If you want to capture an HTML document from your computer you need to specify the URL starting with “file:///” followed by the full path to this document. Please note the three “/” after “file:” ! E.g. file:///Users/mimolivestation/Desktop/MyHTMLpage.html
Controlling the Content
To control the content of your Web Browser Capture source you need to open the browser window by clicking the “Show Web Browser” button below the URL field. A new browser window will popup containing the content of your URL.

Several control elements are available:
Backward and Forward
The first two buttons let you jump through the browser history if you navigated via links on the web pages.
URL field
The text field in the middle lets you enter a new URL for the web content.
Reload
With the circular button you can force a reload of the current web page.
Cropping
If you only want to capture a certain part of the web browser content you can enable cropping with this button. A red border will show up which let you define the portion you want to capture by dragging the red handles. Numeric fields will appear at the bottom of the web browser window to let you enter exact parameters if needed.
Transparent Background
Sometimes you want to have only the textual content of a web page as an overlay for your video production but the web page content has got a background color defined. In this case you can try to remove the transparency by clicking on this button. Since this is manipulating the HTML document structure via injected JavaScript code this may not work for all web pages.
The following JavaScript code is executed to make the background transparent:
document.body.style = document.body.style.cssText + \“;background: transparent !important;\“;Use the Chromakey Filter if the background removal feature don’t work!
You still can apply Chroma Keying Basic to make the background transparent! Learn how to add a Filter to the Web Browser source.
Mouse Cursor
Especially if you want to show off web pages to your audience you may want to see them your mouse cursor so that they can follow along your narration. Use this button to switch on and off the mouse cursor.
Setting Up The Pixel Dimensions
It is important to know that the pixel dimensions of the captured web page is the same as the web browsers window. By default the window will have the dimensions of your video production. Once you resize the window also the pixel dimensions of the resulting captured image will be changed.
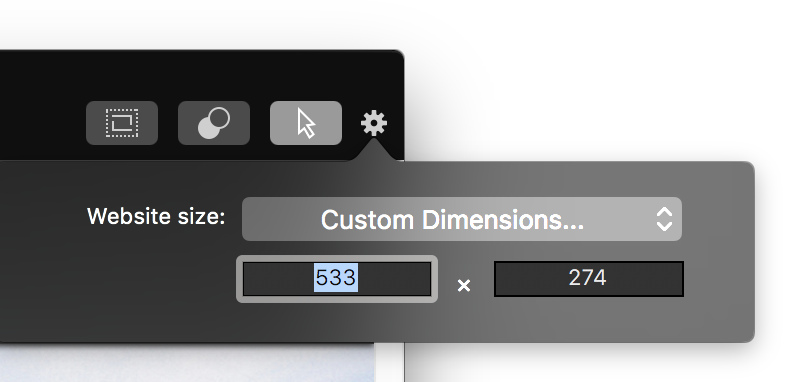
To specify a certain pixel dimension for your source you can click on the action wheel in the upper right corner to reveal a popup menu with predefined video formats or you can switch to a custom dimension.

Capturing Computer Audio
To learn about how to capture computer audio refer to Sources (Input) / Computer Audio

