The Social Media Source is used to retrieve metadata from a social media site that you’re streaming live to.
mimoLive supports these Social Media platforms:
- YouTube
Setting Up A Social Media Source
As the Social Media source is able to retrieve data from different social media services we choose Facebook Comments as a common use case for this example.
1. In order to make use of a Social Media Source in mimoLive you need to create the appropriate account first. Go to mimoLive Preferences and add it in the Accounts tab.
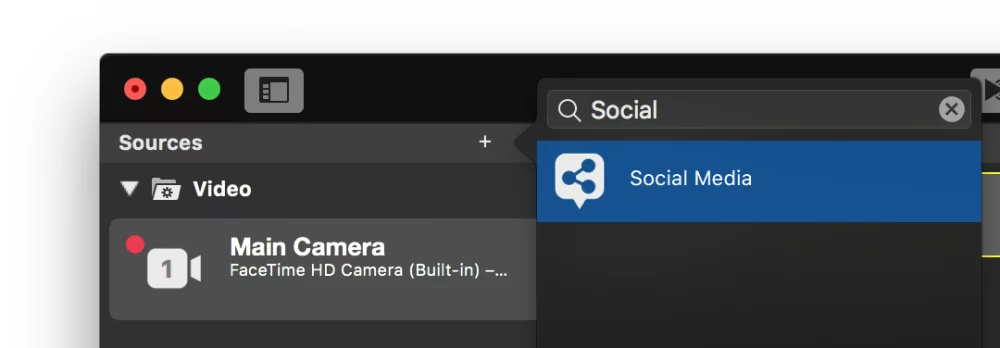
2. Click the + button on the top right of the Source Library on the far left in the mimoLive document window. A list of source types will pop up in a window.
3. Find the Social Media source template and drag it into the Source Library.

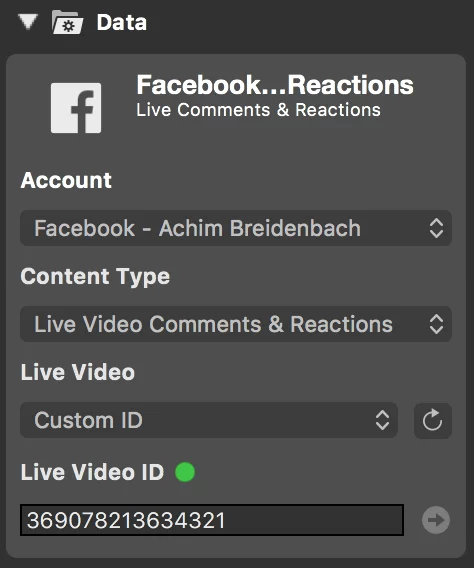
4. Now that you have the Social Media Source in your Source Repository you can specify what data this source should retrieve. In this example, we want to collect the comments from a live video on Facebook which we don’t steam by our selves. Select the Facebook Account you set up in step 1.
5. The options below the Account popup may change for different social media services. In case of Facebook you can select Live Video Comments & Reactions, Page Likes or Page Reactions for the Content-Type. For YouTube accounts you can select Live Chat, Live Broadcast Statistics or Channel Statistics. For our example please choose Live Video Comments & Reactions.
6. The Live Video selector could either be a stream that is currently accessible through your Facebook account or your can switch to Custom ID in order to grab the Comments & Reactions from a 3rd party stream.
7. Put in the Live Video ID of the stream your want to retrieve data from. Learn how to get the Facebook Post ID. The status indicator switches to green if the social media source is able to successfully connect to the streaming host and have to correct access rights.

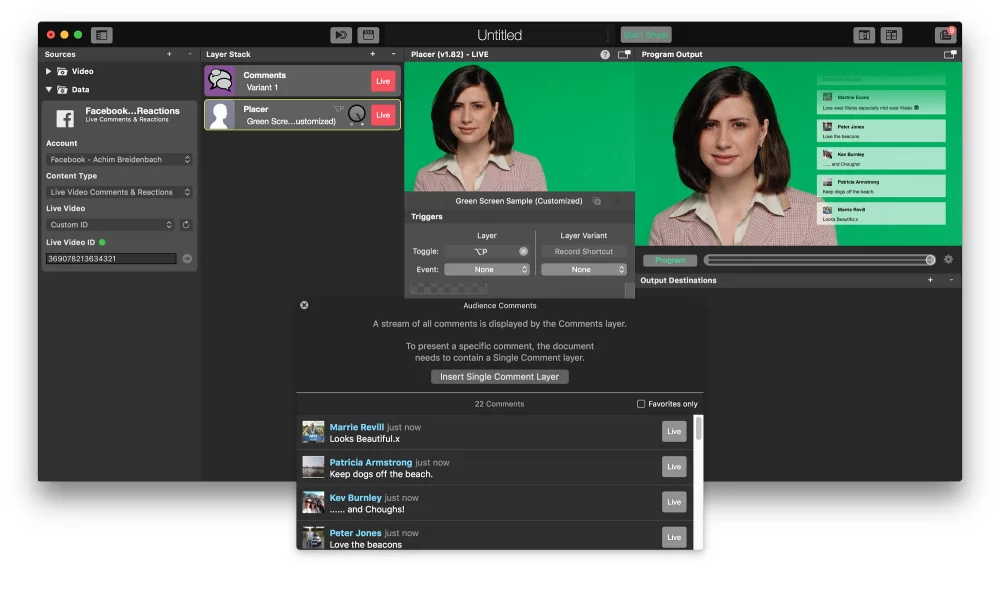
8. Add a Comments Layer to your layer stack and switch it live.
9. Open the Comments Window from the Windows menu and observe the comments that are floating in. Read Comments to learn what else can be done with comments in mimoLive.


