Text Source
The Text Source allows displaying text easily, changing it or even doing automated changes through the HTTP API.
Many other layers have got their own text input so that you can enter text conveniently directly into the layer. However, there are some situations where you want to put in the text where the layer is designed to present an image or video. Usually, you need to design an image with an externe graphics application to accomplish this. Changing this text is tedious because you always need to go the round trip through the external editor. With the Text Source, this isn’t necessary: You can change the text within mimoLive easily. If you need it automated you can change the text with the HTTP API.

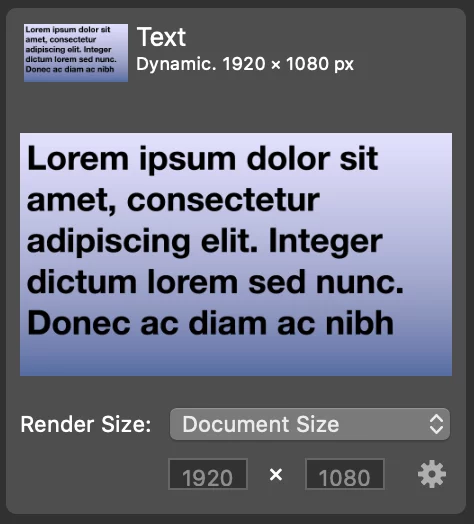
Define The Render Size
By default, the Text Source is rendered into the Document Size.
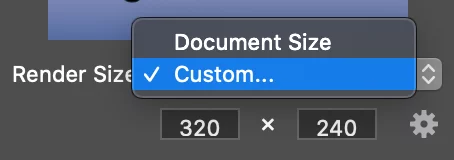
You can change this to a custom size by choosing “Custom…” from the “Render Size” popup and entering the desired dimensions in the text fields below.

Settings
Click on the cogwheel in the bottom right corner to bring up the Settings

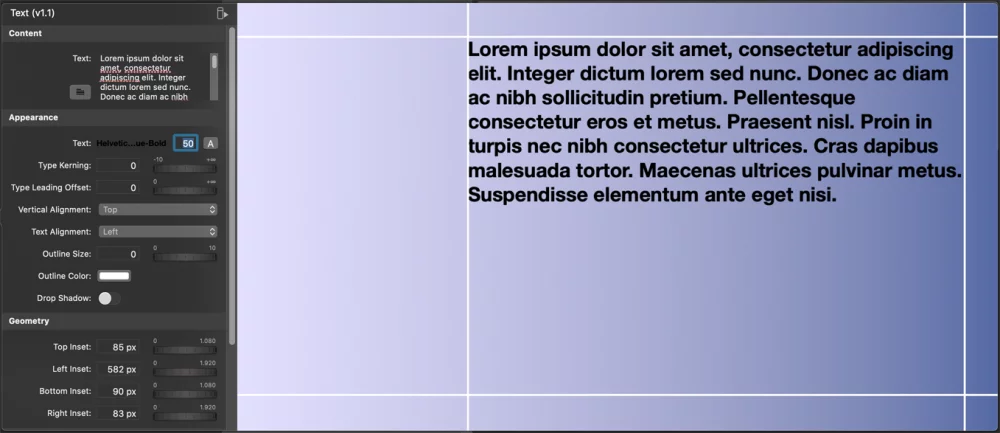
The Text Source has a lot of options to customize the look of the resulting image.
In the Appearance section, you can define the properties of the text like font, size, color, alignment, or a drop shadow. You even can add an outline border to the text.
In the Geometry section, you can specify the area where the text will be printed by insets from the edges.
The Background section lets you design the background of your text image. You can choose from gradients, solid colors or an image from your source repository.
If you want a transparent background you should select “Solid Color” as the background type and set the Opacity of the background color to 0%.

