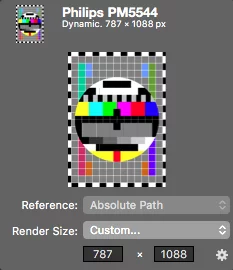
The Video Output Test source generates certain test patterns to test the render pipeline or the program output in mimoLive.
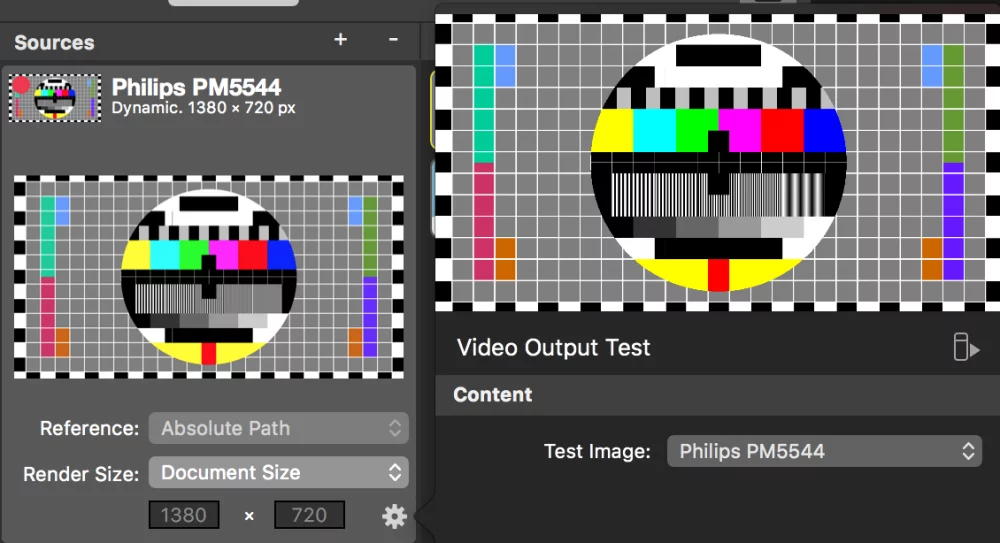
Choosing a Test Image
Depending on what you are going to test with this source you need to choose a certain test pattern. To select a pattern click on the configuration button in the lower right of the source. This will popup a source settings inspector.
Philips PM5544
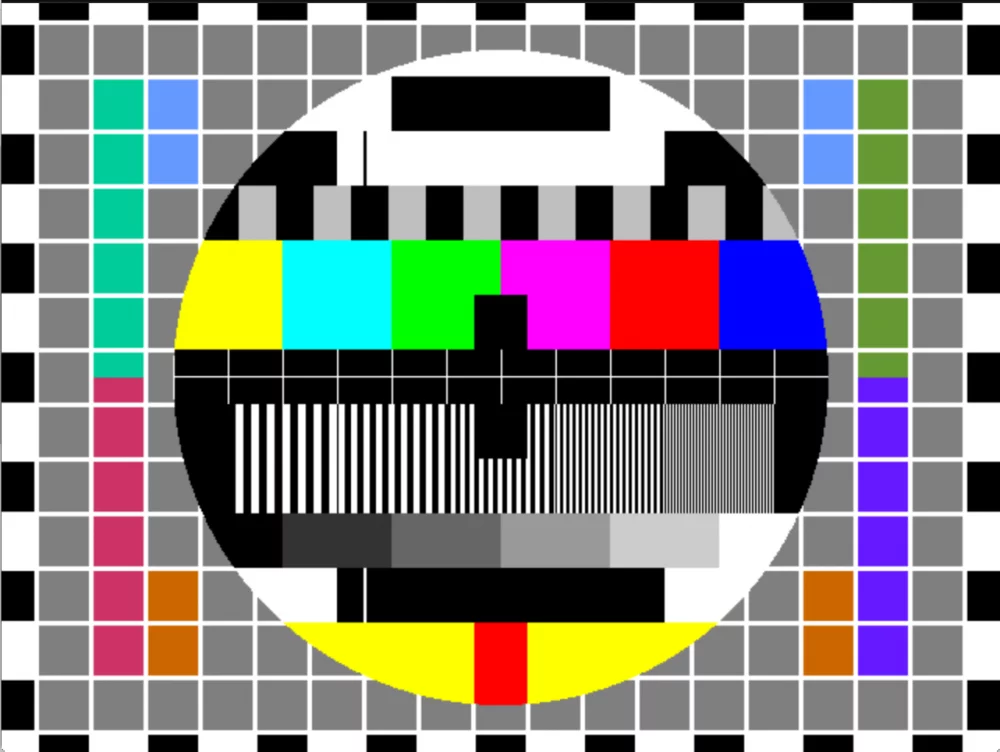
This image helps you to test the dimensions and pixel accuracy of you video pipeline: E.g. the big circle shows if the resulting video is in the correct aspect ratio. With the vertical stripes in the middle section you can see if all your pixels are coming through and what artefacts a video compression may cause. Please check this wikipedia page for detailed information on what area is good for.
SMPTE Color Bars
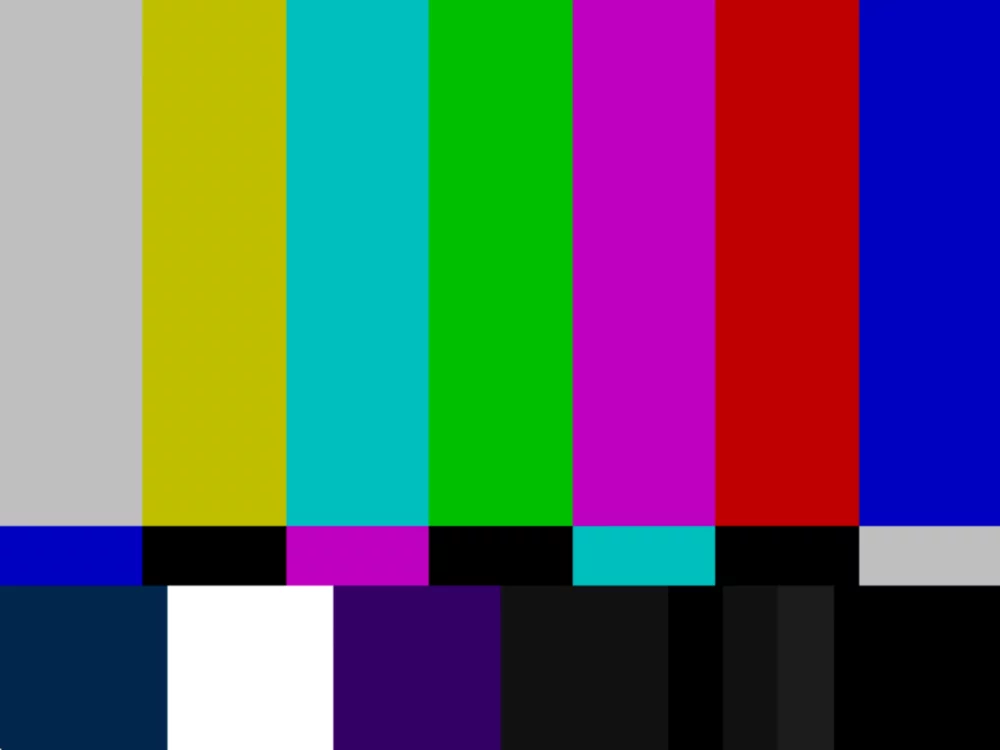
The color bars are standardised and you can use them to compare the color of the video pipeline to other video signals in your production environment. Please refer to this wikipedia page to learn more.
Screen Dimensions
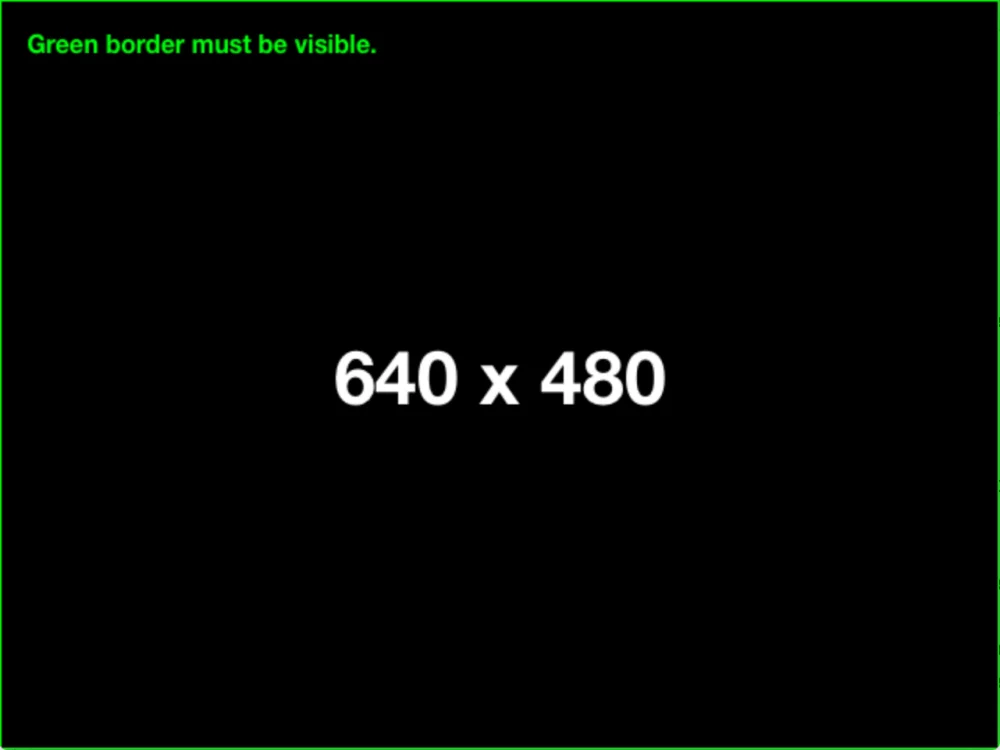
It carries a one pixel boundary of green as well as the total resolution of the source itself. This image should be used to test if any cropping is happening: The green boundary should always be visible when walking the video pipeline.
Alpha Channel Test
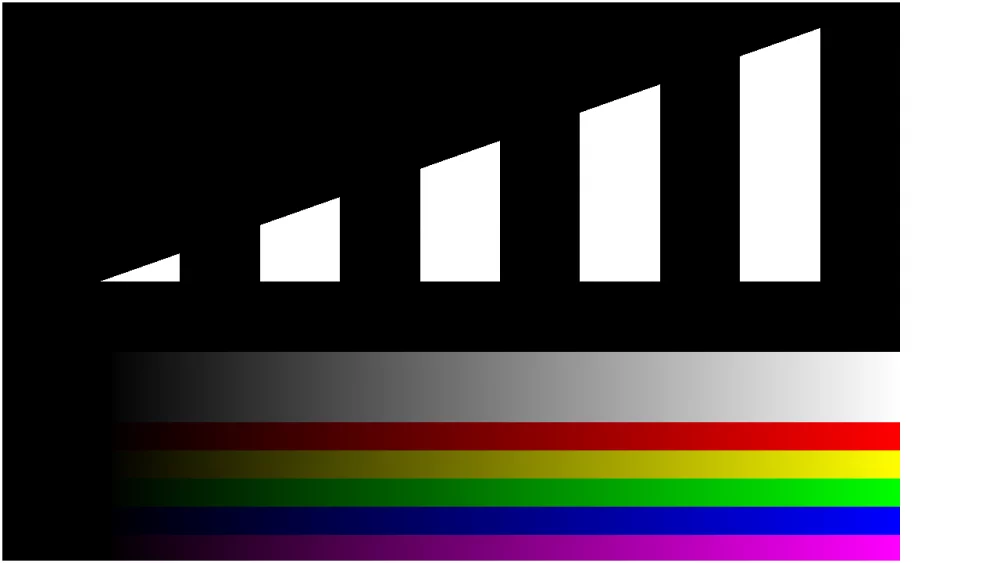
Use this test pattern for checking the alpha channel when playing out a key and fill signal via SDI. Some video mixers/switchers use a Clip and Gain setting to determine how the key will be applied. This test pattern is useful to calibrate the values. See SDI Playout documentation for more info.
Setting up the Render Size
By default the Video Output Test source generates an image that is the same size as the program output dimensions. If you need different pixel dimensions you can switch the Render Size option from “Document Size” to “Custom…”. The test pattern gets recalculated based on the width and height and stays pixel accurate.
