Overview
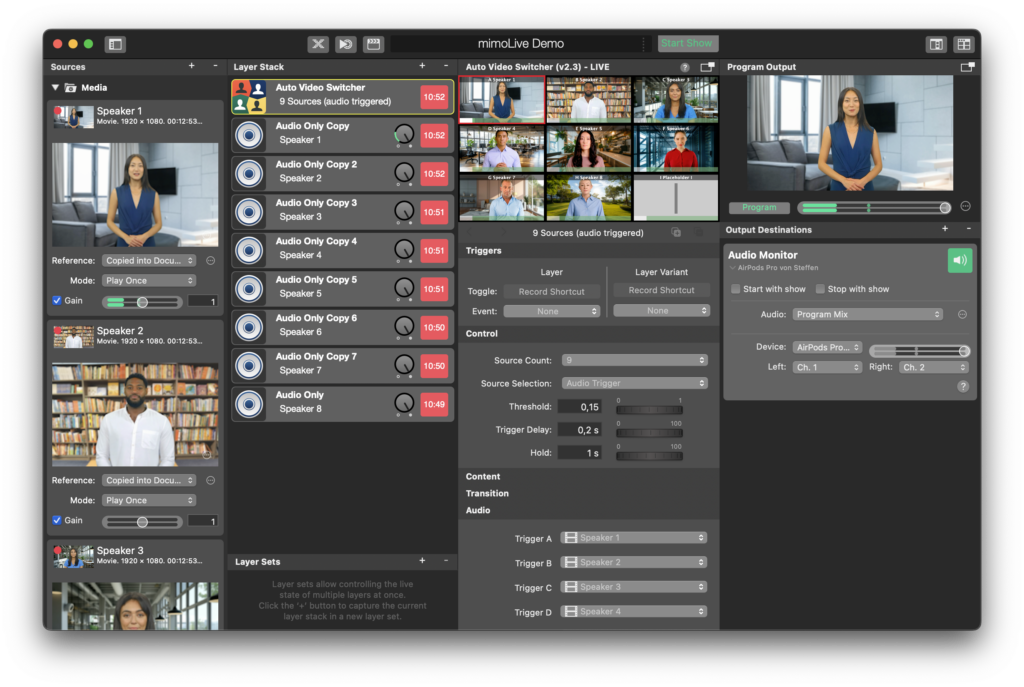
The Auto Video Switcher layer in mimoLive is a robust tool designed to automate the switching between various video sources, either in response to audio inputs or at specified time intervals. This functionality is particularly beneficial for live events and presentations that utilize multiple cameras to showcase diverse angles and perspectives. When configured to respond to audio signals, this layer becomes the ideal switcher for panel discussions and interviews, seamlessly transitioning between speakers based on audio cues. Additionally, the Auto Video Switcher can be integrated with other layers, enhancing the dynamic and engaging nature of video productions.
Key Features
The Auto Video Switcher can handle 2 – 9 video sources, e.g. live video feeds, prerecording videos, still images, screen captures or any other visual input. (Source Count)
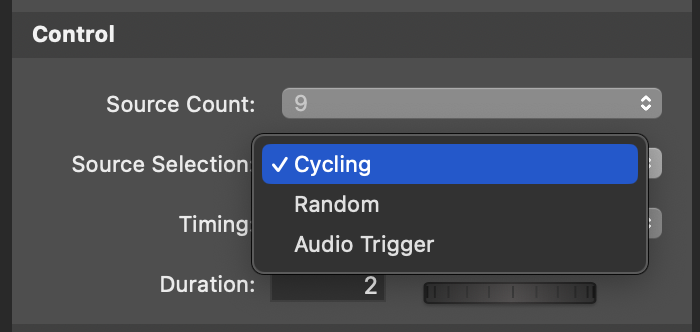
The source selection can be set to cycling, random or based on an audio trigger.
Source Selection
This setting controls how the Auto Video Switcher chooses which source to display.
Cycling
- Mode: Sequentially cycles through sources.
- Timing Options: Fixed or random intervals.
- Duration: Set in seconds for fixed timing or as a range (minimum and maximum duration) for random timing.
Random
- Mode: Randomly selects from available sources.
- Timing Options: Fixed or variable intervals.
- Duration: Defined in seconds for fixed timing or as min/max duration for random timing.
Audio Trigger
The switcher selects the source based on an audio trigger. The threshold controls the audio threshold for this trigger.
- Mode: Switches based on audio input from sources.
- Threshold Setting: Adjusts the audio threshold for source selection. The audio levels of each source are shown with a transparent white horizontal level, with the threshold overlaid in white.
- Trigger Delay: Adds a delay to the source selection.
- Hold Time: Sets the minimum duration a source is displayed after being selected.
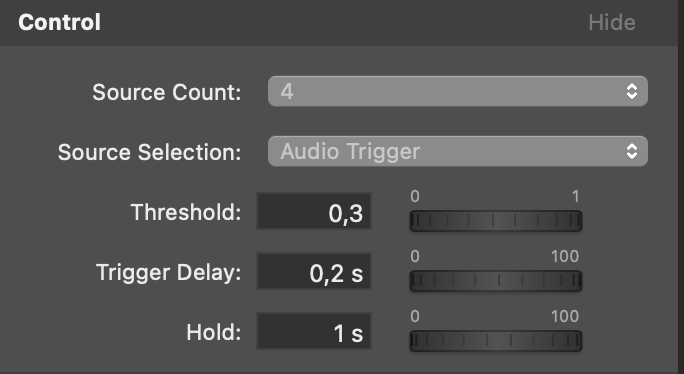
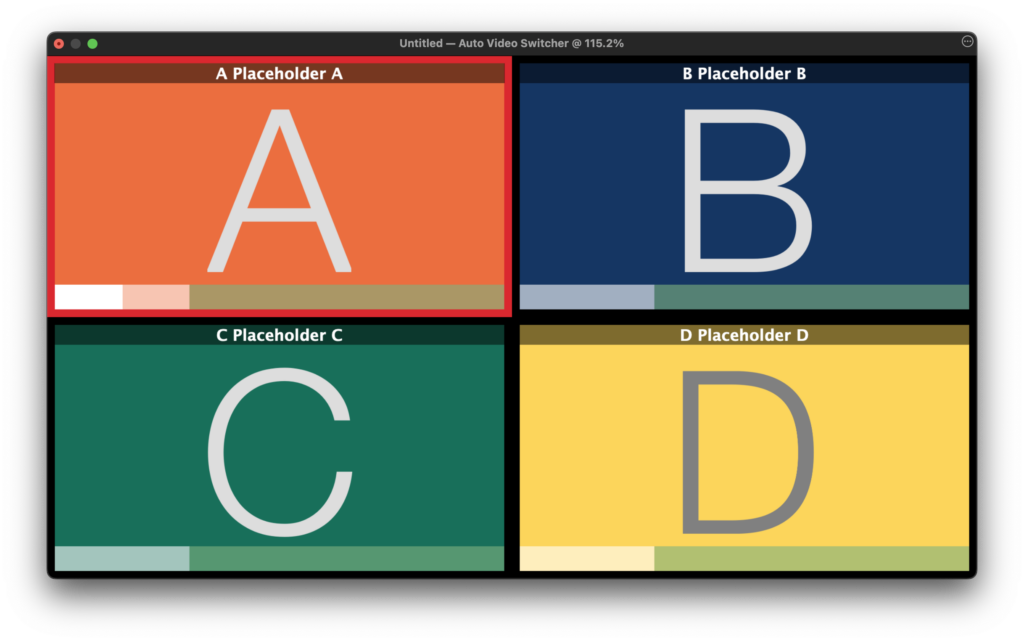
The audio levels of each source is displayed by the horizontal level (transparent white) and threshold level is overlayed in white. To set the audio trigger input, see the Audio Section below.
Setting Up Audio Triggers
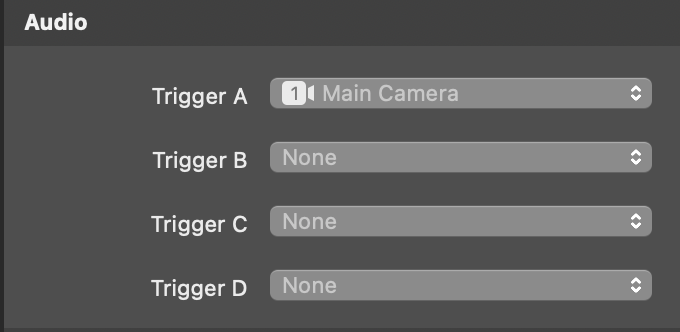
- When Source Selection is set to ‘Audio Trigger’, the Audio section of the layer settings becomes active.
- In the Audio section, configure the specific trigger settings for the sources.
Auto Switcher Layer does not switch audio
The audio trigger needs audio signals from sources to switch. Assign the sources in the Audio section. Remember to add an “Audio Only” layer for each source. Read more in the section “Configuring the Audio Trigger for the Auto Switcher Layer”
Configuring the Audio Trigger for the Auto Switcher Layer
To enable the Auto Switcher Layer to respond to audio signals, you must first assign the audio sources. This is done in the Audio section of the interface. It’s essential to add an “Audio Only” layer for each audio source you intend to use as a trigger. This is because the Auto Switcher Layer does not directly process audio; it merely switches based on the audio signals received.
- Add an “Audio Only” Layer: For each source that will trigger a switch, ensure there is a corresponding “Audio Only” layer included in your layer stack. This layer is critical as it facilitates the reception of audio signals by the Auto Switcher.
- Assign Audio Sources: Navigate to the Audio section and link your audio sources to their respective “Audio Only” layers. Without this step, the Auto Switcher will not be able to detect and react to audio cues.
By following these steps, you ensure that the Auto Switcher Layer efficiently switches scenes based on the designated audio triggers.

